Looking to enhance your home's energy efficiency and comfort without major renovations? 3M Thinsulate Window Film offers a remarkable solution, providing superior insulation and UV protection with a relatively simple installation process. This innovative film significantly reduces energy loss through your windows, leading to lower energy bills and a more comfortable indoor environment year-round. It also helps protect your furniture and flooring from fading caused by harmful UV rays, extending their lifespan and preserving their beauty.
This guide offers a comprehensive, step-by-step approach to installing 3M Thinsulate Window Film, ensuring a professional-looking finish with minimal hassle. Follow along as we meticulously detail each stage of the installation, empowering you to achieve exceptional results and reap the rewards of this energy-saving upgrade.
Preparation and Safety Guidelines
- Rubber gasket
- Knife
- Tape
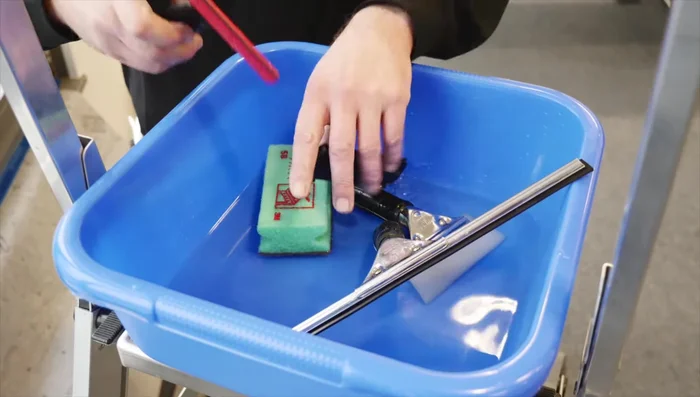
- Rubber window cleaning squeegee
- Rubber window film squeegee (max width 15cm)
- Stainless steel scraper
- Cleaning and installation solution (in spray bottle)
- Plastic squeegee
- Scotch tape
- Lint-free paper towels
- Always work in a well-ventilated area. The adhesive may release fumes.
- Wear appropriate safety glasses to protect your eyes from debris and potential adhesive spray.
- Avoid working in direct sunlight or extreme temperatures, as this can affect the film's adhesion and performance.
Step-by-Step Instructions
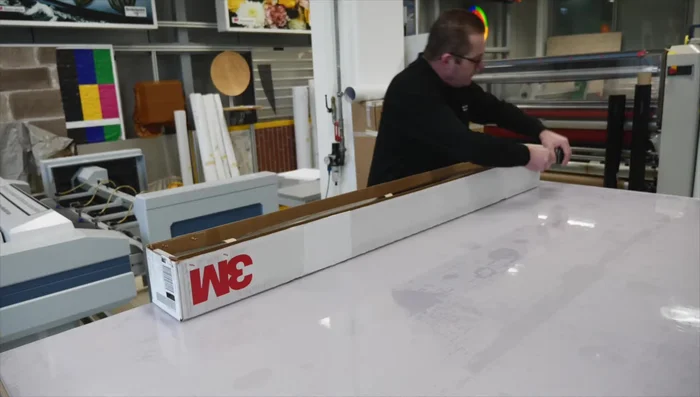
Measure and Cut Film
- Accurately measure window dimensions and cut the film to size using the provided rubber gasket.

Measure and Cut Film Clean the Window
- Clean the window thoroughly using water, mild detergent, and a stainless steel scraper. Remove excess water with a squeegee.
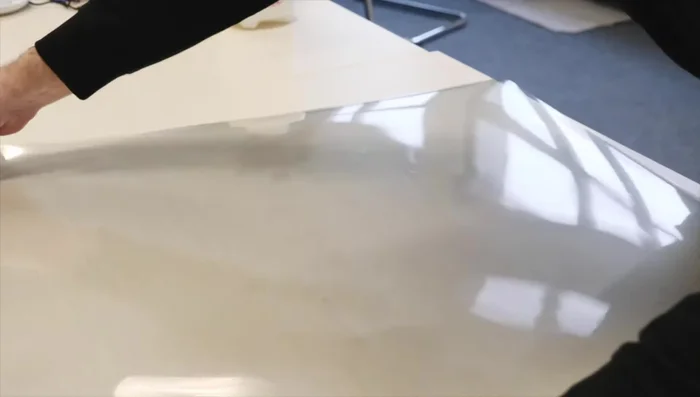
Clean the Window Prepare the Film
- Unroll the film, liner side up, on a flat surface. Secure with scotch tape.
- Wet the film with a solution of water and mild detergent, then roll it up tightly.
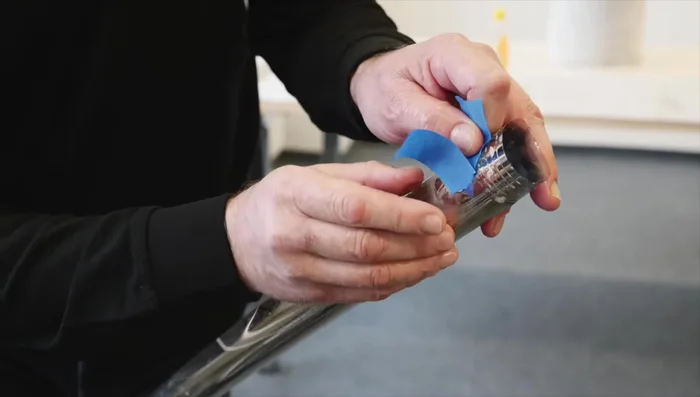
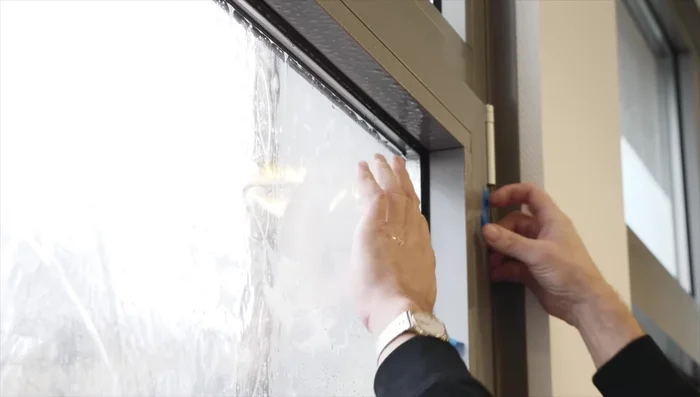
Prepare the Film Separate Liner and Apply Film
- Separate the liner from the film using the tape.
- Wet the window, place the film roll onto the window, and unroll it, removing the tape.
Separate Liner and Apply Film Initial Water Removal
- Remove the liner and slide the film into the top corners of the window frame. Remove excess water with the window cleaning squeegee.
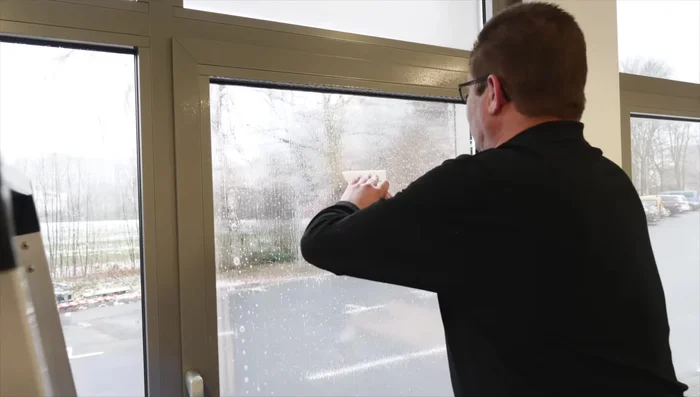
Initial Water Removal Squeegee and Trim
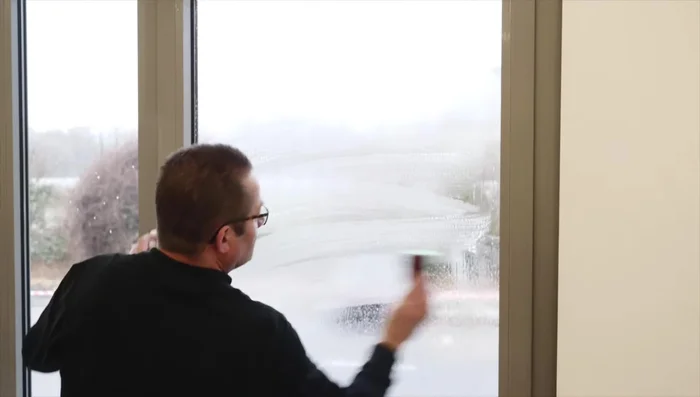
- Using the rubber window film squeegee, remove the remaining water with maximum pressure. Create a T-shape pattern, holding the squeegee at a 20-30 degree angle.
- Cut excess film along the edges of the frame with a knife and plastic squeegee.
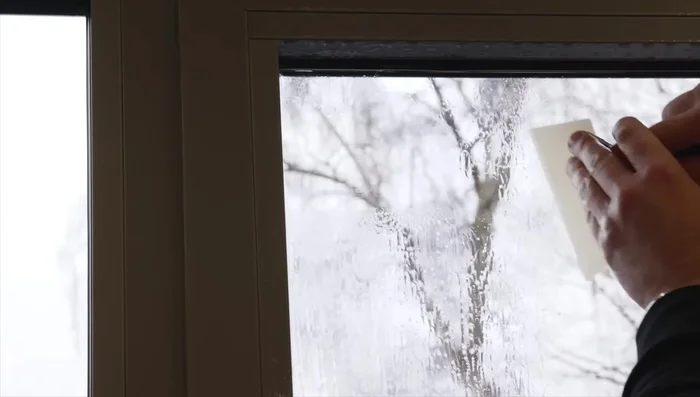
Squeegee and Trim Final Cleaning and Drying
- Wet the window again, remove excess water with the rubber film squeegee and dry the frame. Use a lint-free cloth-wrapped squeegee to remove final water traces.
- Perform a final cleaning with a sponge and squeegee, drying the edges with lint-free paper.
Final Cleaning and Drying

Read more: Pro Window Track Cleaning: A Deep Clean Guide
Tips
- Using the wrong tools or inadequate squeegee pressure will lead to moisture trapping, causing milky blisters.
- Ensure the film is placed liner side up to allow for smooth separation.
- Turn the film roll over immediately after separating the liner to prevent dust from getting trapped.
- Overlap each squeegee stroke by 50% to ensure complete water removal.
- Use lint-free paper with the plastic squeegee to prevent dirt from getting under the gasket.