Ever wondered what happens when childhood toys meet adult ingenuity? This project takes the seemingly mundane broken parts of a Beyblade launcher and transforms them into something surprisingly useful: a miniature DIY blender! We're not talking about a high-powered kitchen appliance, but rather a clever, compact device perfect for blending small quantities of ingredients like protein shakes or single servings of smoothies. It’s a testament to the resourceful spirit of making something out of nothing, turning trash into treasure with a little creativity and a dash of engineering know-how.
This surprisingly functional project demonstrates the potential hidden within discarded items. Forget expensive blenders – this project utilizes readily available materials and basic tools to achieve a surprisingly effective result. Ready to transform your broken toy into a working blender? Let's dive into the step-by-step instructions to build your own miniature, Beyblade-powered blender.
Preparation and Safety Guidelines
- Broken Beyblade launcher
- Plastic container (any color)
- Pen or similar cylindrical object
- Hot glue
- Scissors/Knife
- Cutter plates (optional)
- Always wear safety glasses to protect your eyes from flying debris during cutting and sanding.
- Use caution when handling sharp objects like blades and cutting tools. Adult supervision is strongly recommended, especially for younger readers.
- Ensure the motor is completely disconnected from any power source before attempting any disassembly or modification. Improper handling can lead to electric shock.
Step-by-Step Instructions
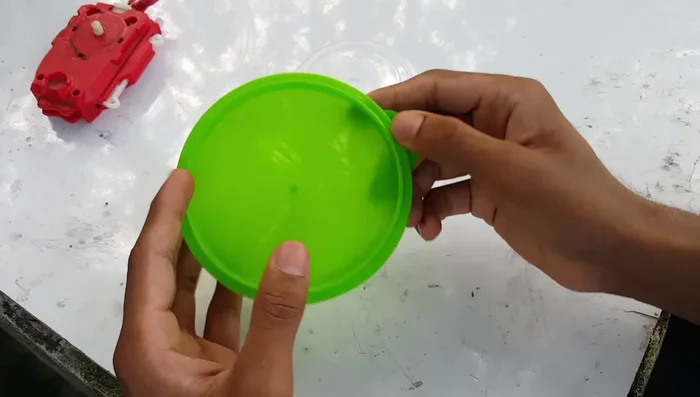
Prepare Container
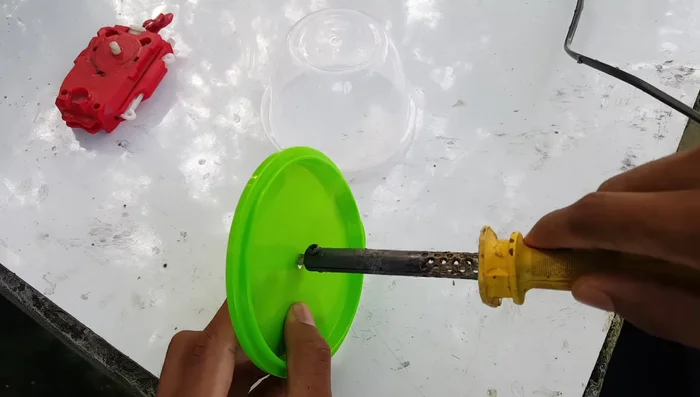
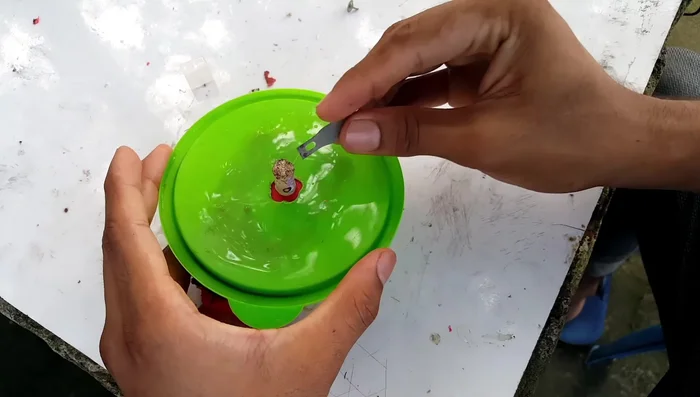
- Prepare the plastic container. Make a small hole in the center of the container cap.

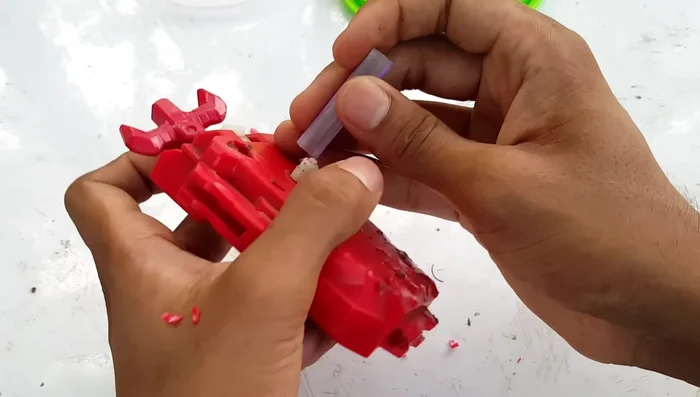
Prepare Container Prepare Launcher & Pen
- Cut down a pen body to fit securely onto the launcher's white prong. Secure with hot glue for a stronger bond.
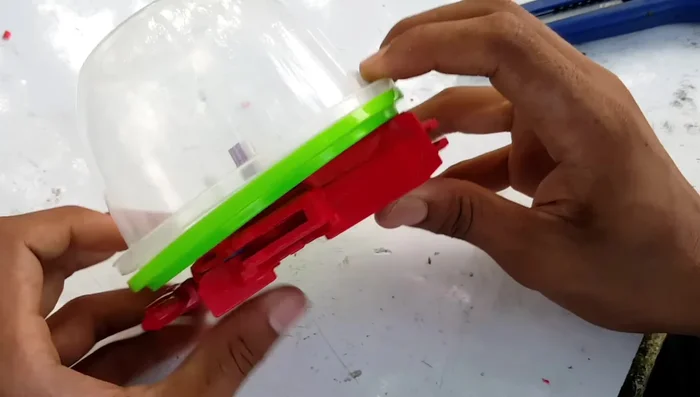
Prepare Launcher & Pen Initial Attachment & Adjustments
- Attach the container cap to the broken Beyblade launcher. This may require some adjustment and cutting of the red part of the launcher and possibly the pen body to ensure a proper fit.
- Further adjustments may be needed to ensure the launcher fits properly within the container.
Initial Attachment & Adjustments Add Cutter Plates (Optional)
- Add optional cutter plates (this step is shown but not fully detailed).
Add Cutter Plates (Optional) Final Assembly
- Securely attach the launcher-pen assembly to the container cap.
Tips
- Be careful when making the hole in the container cap to ensure it's centered.
- Use hot glue to ensure secure attachment of the pen to the launcher.
- Adjustments and cutting might be necessary to achieve a snug fit between the container cap and the Beyblade launcher.