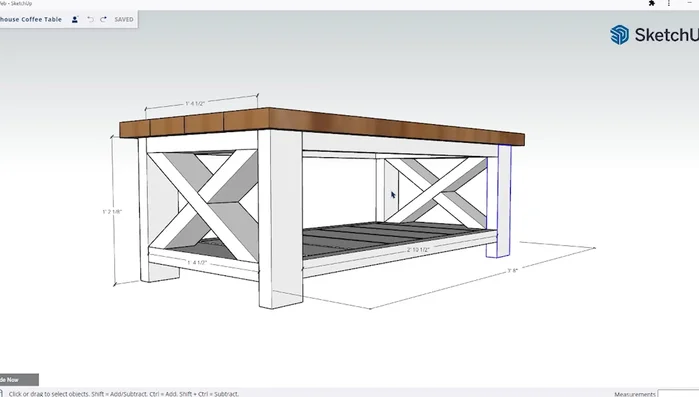
Farmhouse style continues to captivate homeowners with its rustic charm and inviting warmth. A key element often found in these spaces is a sturdy, yet stylish coffee table, and what better way to achieve that perfect piece than with a DIY project? This guide will walk you through creating your own stunning X-style coffee table, perfect for adding a touch of handcrafted elegance to your living room or family room. We'll use readily available materials and simple techniques, making this project accessible even to beginner DIY enthusiasts. Forget overpriced furniture stores; you’ll be amazed at how affordable and rewarding building your own can be.
This easy-to-follow, step-by-step guide provides clear instructions and helpful visuals to assist you at every stage of the construction process, from selecting the right lumber to applying the final touches. Whether you're a seasoned woodworker or a complete novice, get ready to build a beautiful and functional coffee table that reflects your unique style and adds a touch of rustic charm to your home. Let's get started!
Preparation and Safety Guidelines
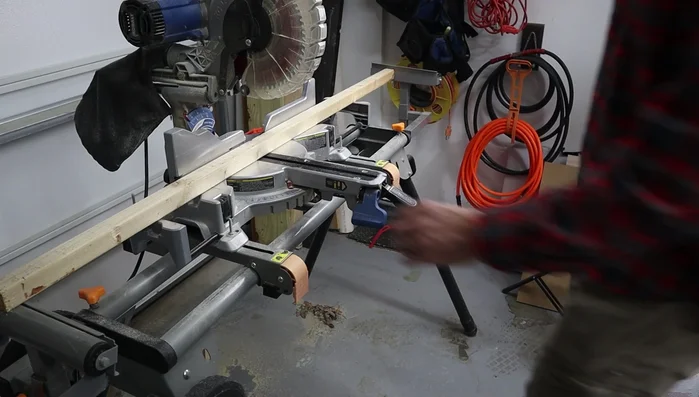
- Miter saw
- Sander
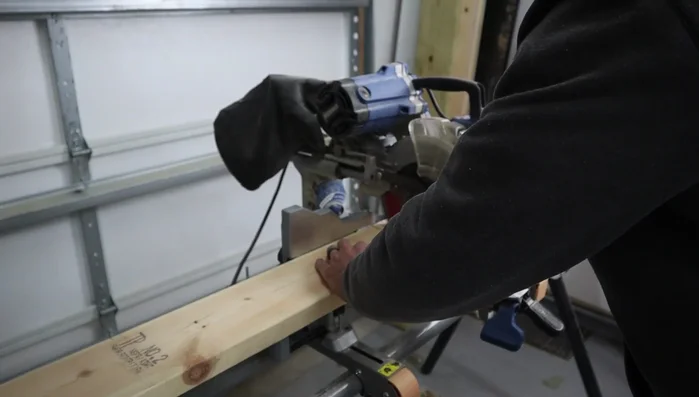
- Biscuit jointer
- Wood glue
- Clamps
- Drill
- Impact driver
- Forstner bit
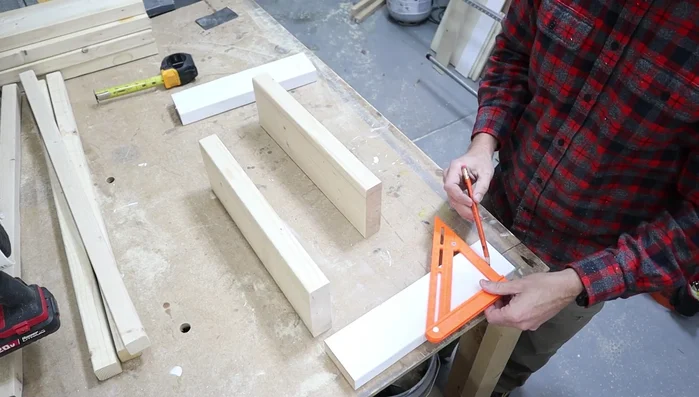
- Framing square
- Combination square
- Brad nailer
- Pocket hole jig
- Wood screws
- Stain
- Sponge brush
- Shop rags
- Always wear safety glasses when using power tools like saws and sanders. Wood dust can also irritate eyes.
- Use caution when handling sharp tools like chisels and knives. Keep fingers clear of blades.
- Ensure adequate ventilation when staining or painting. Use respirators if needed to avoid inhaling fumes.
Step-by-Step Instructions
Prepare Table Top
- Cut four 2x6s to the desired length (3 ft 8 in in this example).
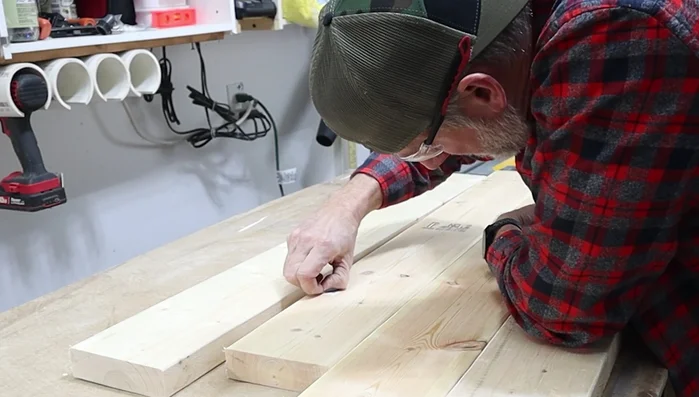
- Sand the 2x6s to remove burrs and rough edges.
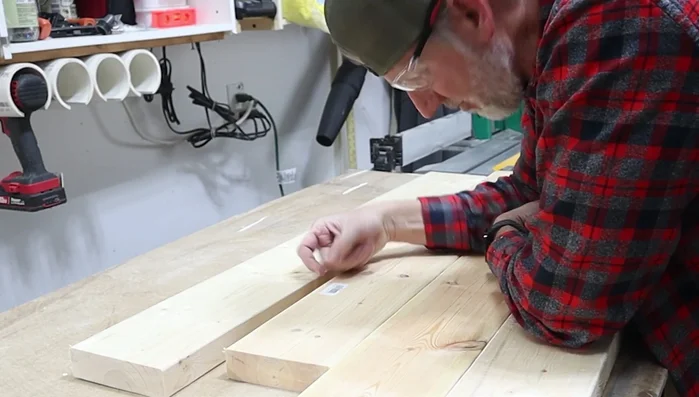
- Lay out the boards, label them in the desired order for glue-up (A1, A2, B1, etc.).
- Cut biscuit slots using a biscuit jointer, following the marked lines.

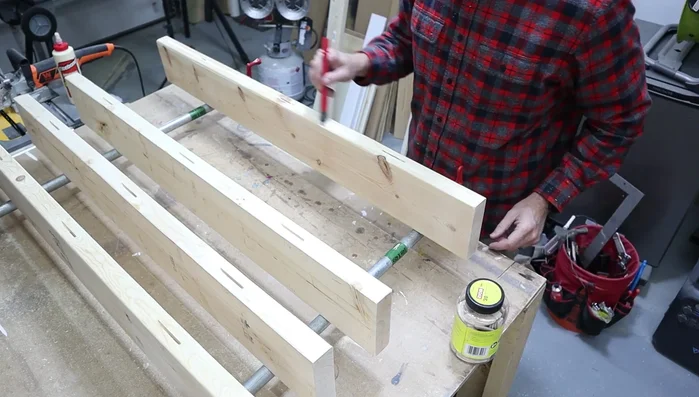
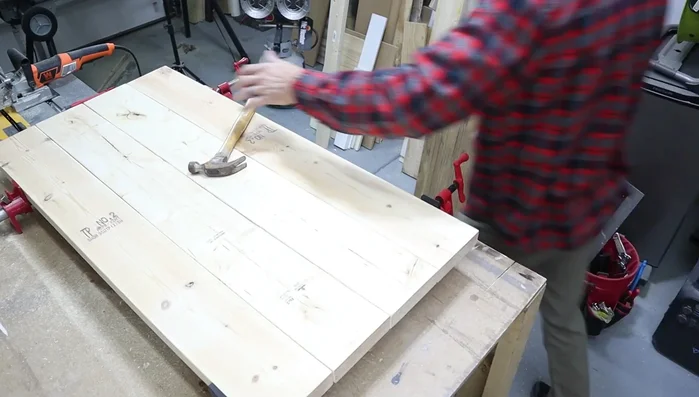
Prepare Table Top - Apply wood glue to biscuit slots and assemble the table top.
- Clamp and secure the glued table top.
Prepare Table Top Prepare Base Components
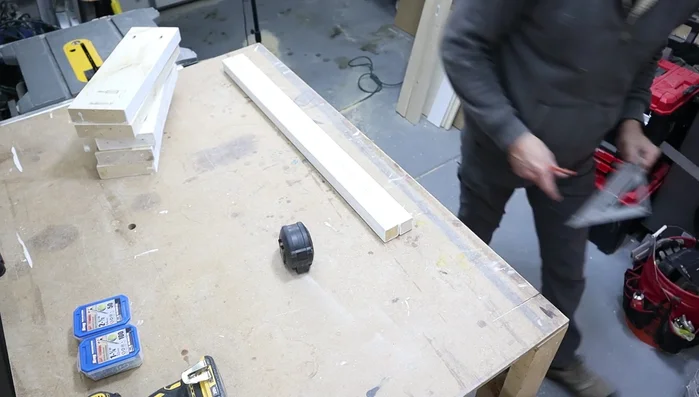
- Cut the 2x2 support pieces (34.5 inches).
- Cut the end support pieces (four 2x4s at 14 ⅛ inches, and four 2x6s at 16.5 inches).
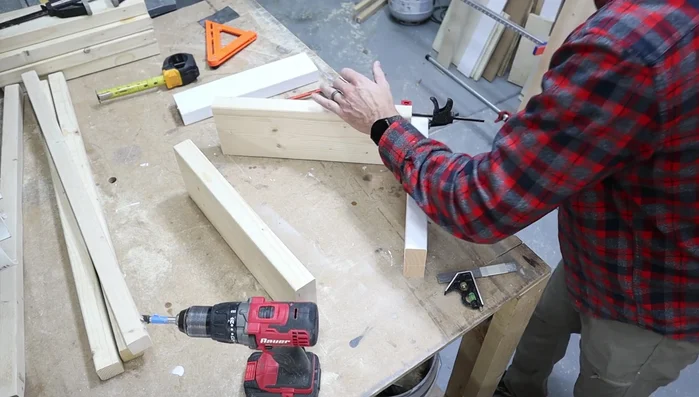
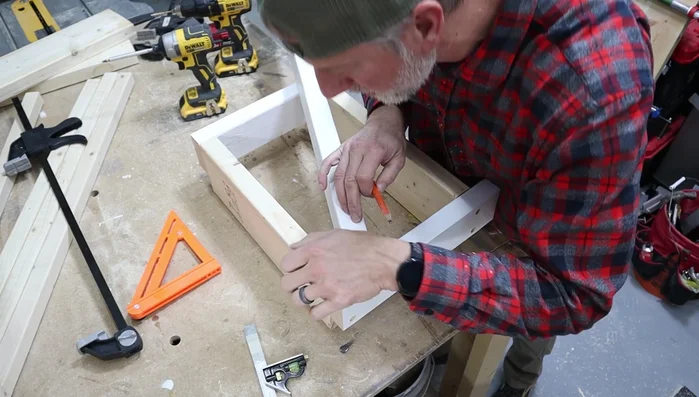
Prepare Base Components Assemble Base Frame
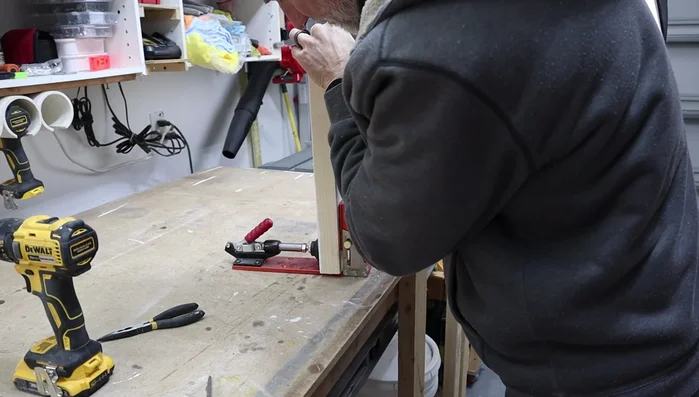
- Mark and pre-drill holes for attaching the 2x2 supports to the 2x6 end pieces.
- Attach the 2x2 supports to the 2x6 end pieces using screws.
- Cut and attach the X-shaped cross supports.
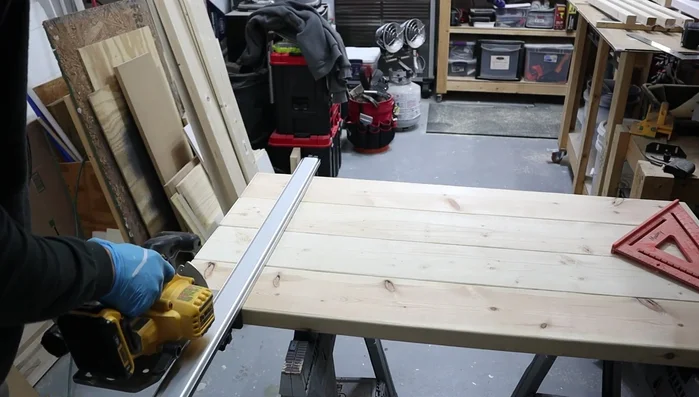
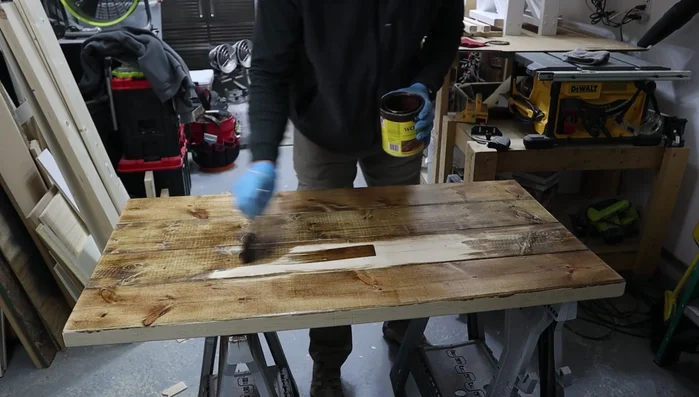
Assemble Base Frame Finish Table Top
- Square up the ends of the table top.
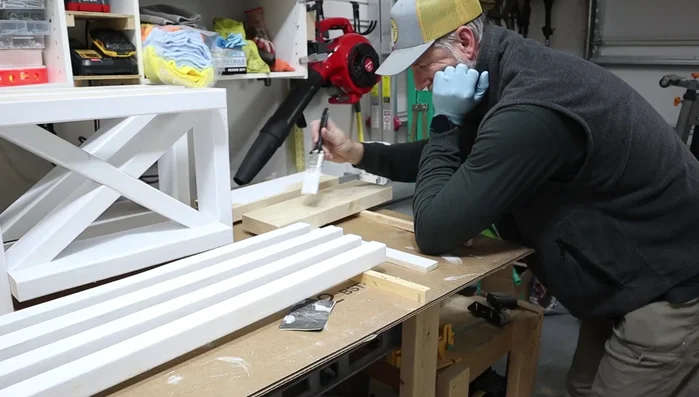
- Apply stain to the table top.
Finish Table Top Prepare and Assemble Base
- Paint the table base.
- Drill pocket holes in the 2x6 floor supports.
- Assemble the table base, attaching the 2x6 floorboards and 2x2 supports.
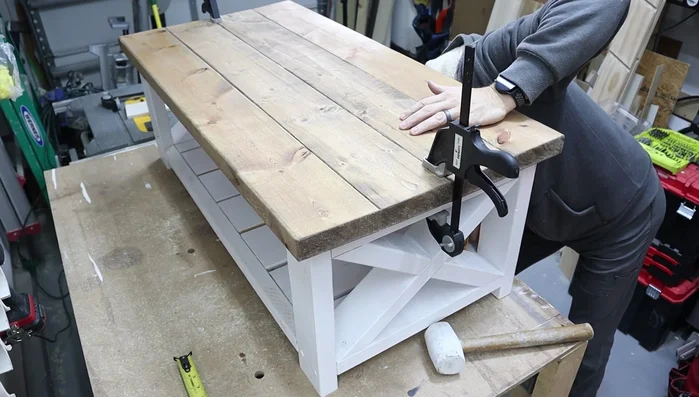
Prepare and Assemble Base Final Assembly
- Attach the table top to the base using screws and pre-drilled holes.
Final Assembly

Tips
- Label the table top boards for easier assembly.
- Use a longer clamp to hold things in place while pre-drilling and screwing.
- Pre-drill holes before screwing to prevent wood splitting.