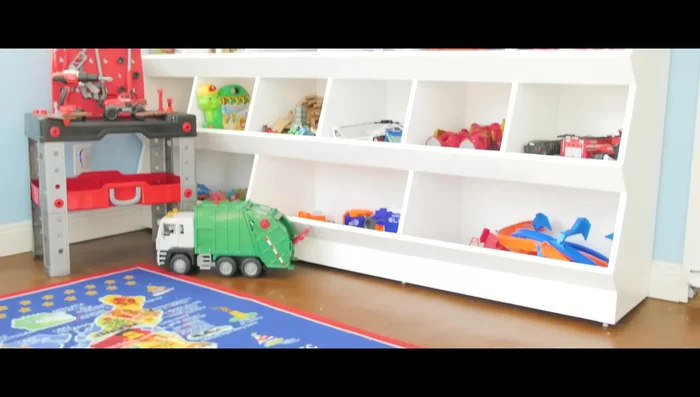
Is your playroom resembling a chaotic landscape of scattered toys and overflowing bins? Reclaim your sanity and your floor space with this fantastic DIY project: building a giant toy box! Forget flimsy plastic storage solutions that break easily and lack style. We’re talking about a sturdy, custom-built masterpiece designed to hold all those beloved playthings and, importantly, look great doing it. This isn't just about tidying up; it's about creating a functional and aesthetically pleasing play space that your children will love. Imagine the satisfaction of a beautifully organized room, free from tripping hazards and brimming with a sense of calm.
This project is surprisingly achievable, even for novice DIYers. With readily available materials and clear instructions, you'll be amazed at how quickly you can transform your playroom from a toy tornado into a haven of organized play. Ready to get started? Let's dive into the step-by-step guide to building your own giant, personalized toy box!
Preparation and Safety Guidelines
- Craftsman V20 Jigsaw
- Craftsman Router
- Craftsman V20 Brad Nailer
- MDF
- Plywood (3/4" paint grade and 1/4")
- Wood Glue
- 16 Gauge Brad Nails
- Iron-on Edge Banding
- Wood Filler
- Paint Sprayer
- Exterior Semi-Gloss White Paint
- Wood Ceiling Primer
- Adjustable Leveling Feet
- 2" Wood Blocks
- Threaded Inserts
- Angle Grinder
- Carriage Bolts
- Flathead Screwdriver
- SketchUp (for design)
- Adult supervision is required during all stages of construction and use. Sharp tools and heavy materials pose risks.
- Ensure all screws, nails, and other hardware are securely fastened to prevent collapse or injury. Regularly check for any loose components.
- Use non-toxic paints, stains, and sealants if painting or finishing the toy box. Proper ventilation is essential when working with paints and finishes.
Step-by-Step Instructions
Create Upright Templates and Cut Pieces
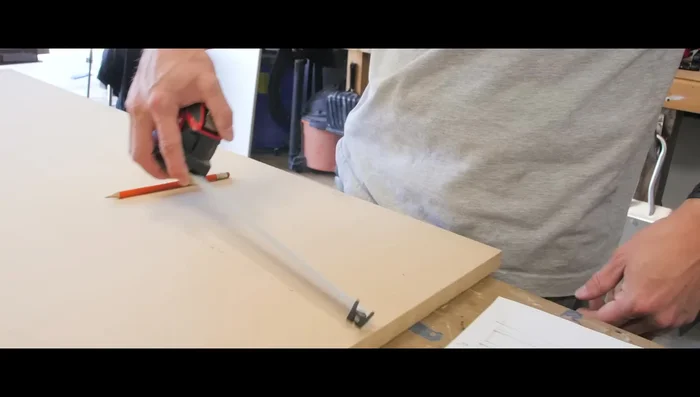
- Create a template for the uprights using MDF and cut it out with the Craftsman V20 jigsaw.
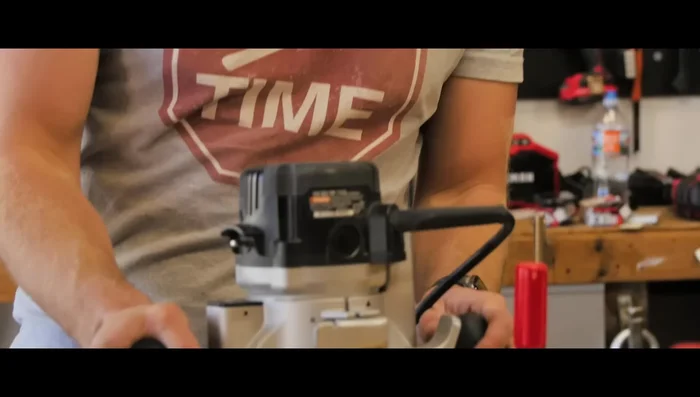
- Cut similar shapes from plywood and use a flush trim router bit to refine them based on the template.
- Repeat step 2 six more times to create all six uprights.

Create Upright Templates and Cut Pieces Prepare Top and Bottom Pieces
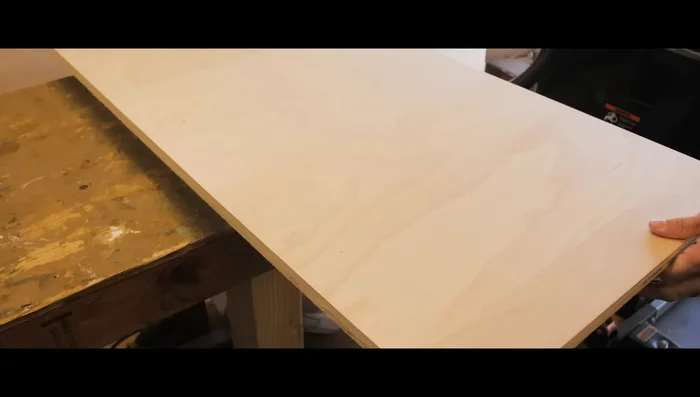
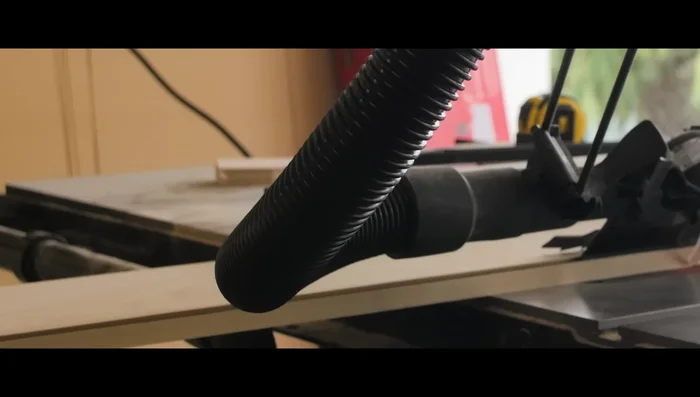
- Rip plywood for the top and bottom.
Prepare Top and Bottom Pieces Assemble Box Structure (Optional Dados)
- This step adds strength but is optional).
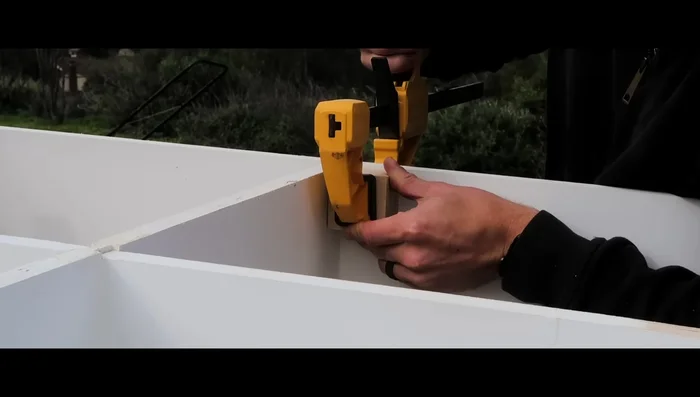
- Assemble the main box structure using dados and secure with the Craftsman V20 brad nailer.
Assemble Box Structure (Optional Dados) Attach Front Frames
- Miter the front face frames at 45 degrees and attach them using glue and brad nails.
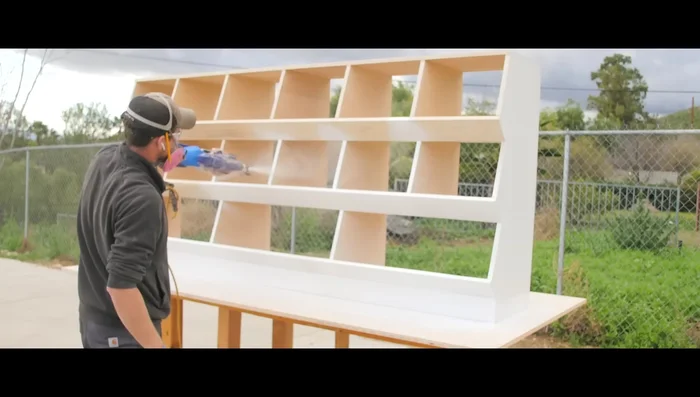
Attach Front Frames Finish and Paint
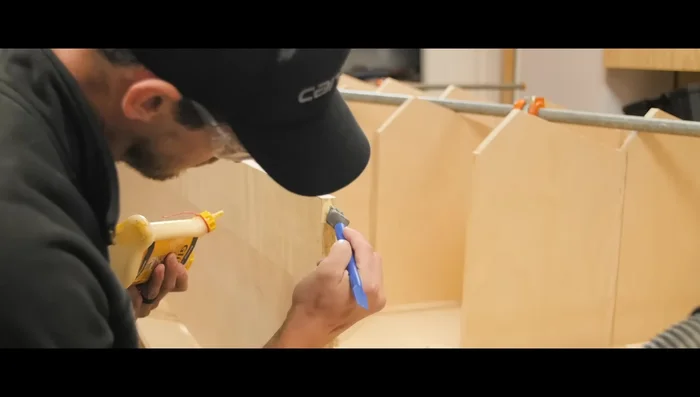
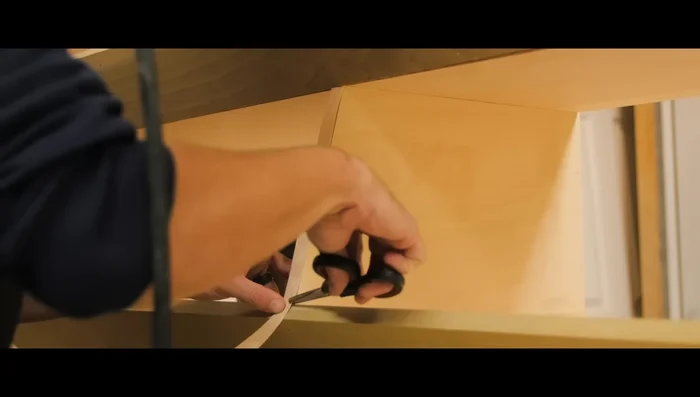
- Apply iron-on edge banding to cover exposed plywood edges.
- Fill brad holes with wood filler and prepare for painting.
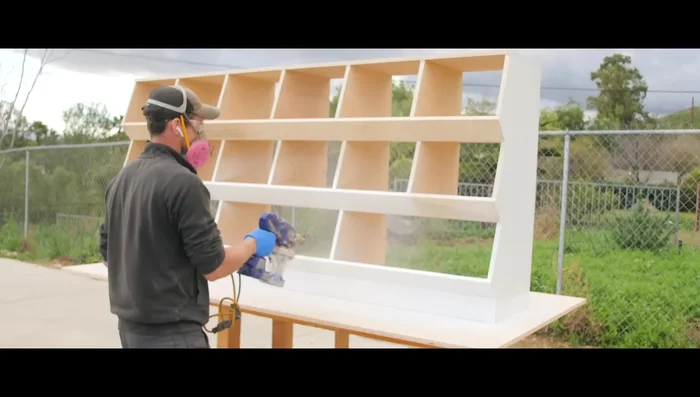
- Spray several coats of wood ceiling primer and then several coats of exterior semi-gloss white paint.
Finish and Paint Add Leveling Feet and Back Panel
- Attach adjustable leveling feet to the bottom by gluing wood blocks, adding threaded inserts, and using a carriage bolt system.
- Add a thin piece of plywood to the back for finishing.
Add Leveling Feet and Back Panel

Tips
- Use SketchUp to design your toy box based on your needs and space.
- Creating a reusable template is crucial for consistent cuts.
- Consider using 1/2" plywood instead of 3/4" to reduce weight while maintaining strength.
- Exterior paint is more durable than interior paint for a children's toy box.