Transform your bedroom from drab to fab without breaking the bank! A king-size headboard can dramatically elevate the look of your bed, but high-end options often come with equally high-end price tags. This budget-friendly guide shows you how to create a stunning, tufted king-size headboard entirely on your own, proving that luxury doesn't have to cost a fortune. We'll walk you through crafting a sophisticated piece that will become the envy of your guests, all while utilizing readily available materials and simple techniques.
Forget overpriced furniture stores and embrace the satisfaction of a DIY project that truly reflects your personal style. This project is surprisingly straightforward, perfect for beginners and seasoned DIY enthusiasts alike. Ready to create a statement piece for your bedroom? Let's dive into the step-by-step process of building your own luxurious king-size tufted headboard, saving you money and adding undeniable character to your space.
Preparation and Safety Guidelines
- Large boxes (from Walmart)
- Duct tape
- Trifold poster boards
- Hot glue gun
- Measuring stick
- Scissors
- Queen-size mattress pads
- Adhesive spray
- Batting (Walmart)
- Staple gun
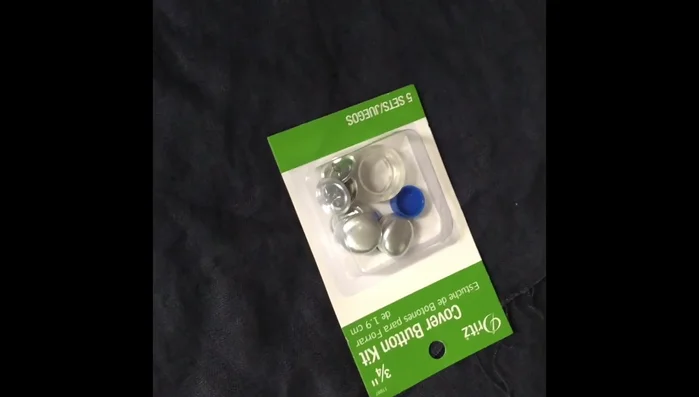
- Buttons (DIY)
- Needle
- Thread
- Always use a sturdy frame and ensure it's securely attached to your bed frame to prevent the headboard from tipping over. A king-size headboard is large and heavy.
- Exercise caution when using power tools. Wear appropriate safety gear, including eye protection and gloves. Follow manufacturer instructions carefully.
- If upholstering, work in a well-ventilated area. Some upholstery materials and adhesives release fumes that can be harmful if inhaled.
Step-by-Step Instructions
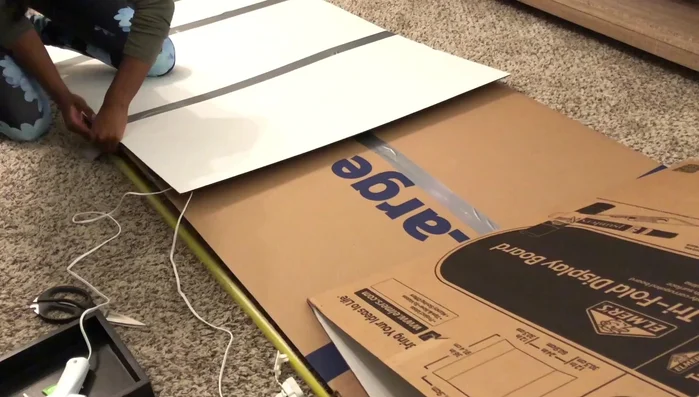
Prepare the Headboard Base
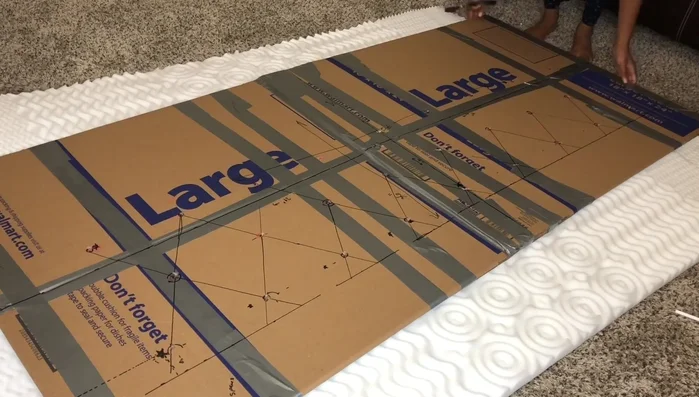
- Tape large boxes together to create a king-size frame. Ensure the boxes are the same width as your king-size bed.
- Attach trifold poster boards to the top of the taped boxes for added stability.

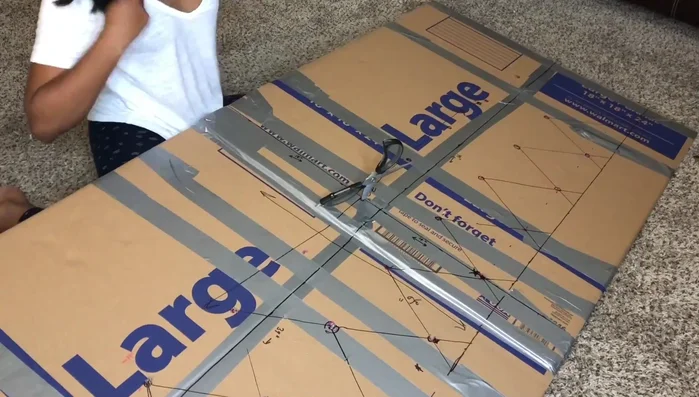
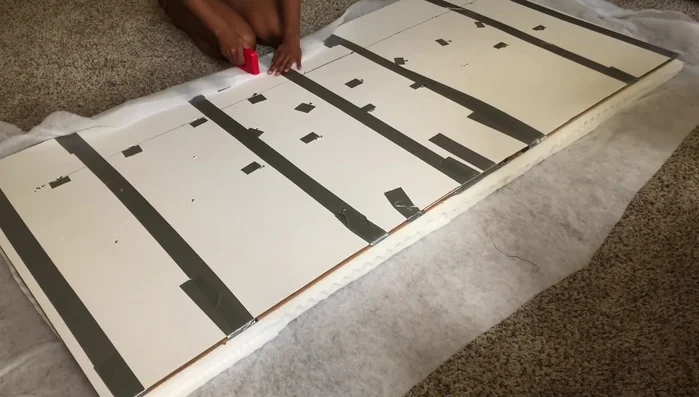
Prepare the Headboard Base Plan and Prepare for Tufting
- Draw the pattern for button placement on the poster board.
- Use scissors or a drill to make holes where the buttons will go.
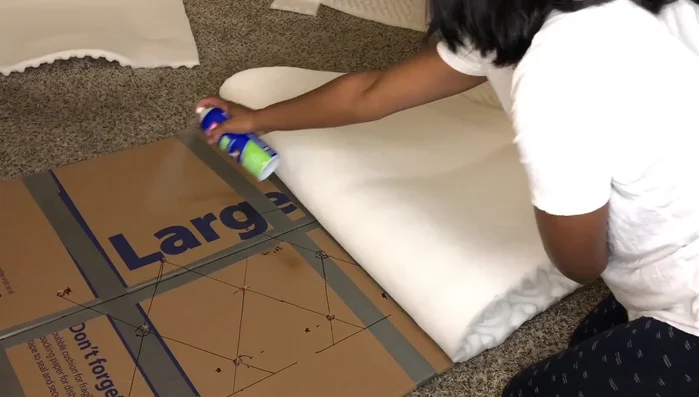
Plan and Prepare for Tufting Add Padding and Batting
- Cut two queen-size mattress pads to fit the headboard base. Secure them together using adhesive spray.
- Use adhesive spray to attach the mattress pads to the base. Make Xs in the foam where buttons will be.
- Cut and staple batting to the back of the padded headboard base.
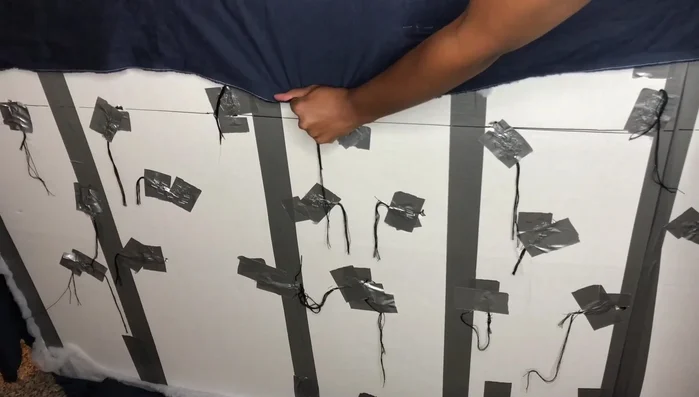
Add Padding and Batting Attach Buttons
- Create your buttons (refer to online tutorials). Attach buttons using needle and thread, pulling tight to create the tufted look. Secure the thread with hot glue and duct tape or staples.
Attach Buttons Finish and Secure Fabric
- Staple the edges of the fabric to the back of the headboard, pulling it tight.
Finish and Secure Fabric

Tips
- Using two mattress pads creates a fluffier, deeper tufted look.
- Pull the thread tight when attaching buttons to achieve the desired tufted effect.
- Stapling, in addition to hot glue, helps secure the thread.
- Pull the fabric tight when stapling it to the back to achieve a neat look.