Are you tired of rummaging through cluttered spice cabinets, desperately searching for that elusive cumin? Does the sheer volume of spice jars make your pantry feel cramped and chaotic? Then it's time to reclaim your kitchen space and organize your spice collection with a simple, yet incredibly effective DIY solution: a pantry door spice rack! This ingenious project requires minimal tools, materials, and most importantly, time. Forget expensive store-bought organizers that take up valuable counter space; this project offers a stylish and efficient alternative.
Transforming a frequently overlooked area into a functional and aesthetically pleasing spice haven is easier than you think. This DIY pantry door spice rack project offers a space-saving solution, keeping your spices readily accessible and adding a touch of personalized organization to your kitchen. Ready to embark on this quick and rewarding project? Let's dive into the simple, step-by-step instructions.
Preparation and Safety Guidelines
- 1x4 lumber
- Painter's tape
- Trim saw or miter saw
- Drill
- Screws
- Kreg Jig (pocket hole jig)
- 1 1/4 inch Kreg screws
- Hollow door and drywall anchors
- Sandpaper
- Caulk
- Paint
- Dowel pins
- Measuring tape
- Ensure the pantry door is sturdy enough to support the weight of the spices. Avoid overloading the rack.
- Use appropriate adhesive or screws for your door material. Improper fastening can damage the door.
- Always test the adhesive or mounting hardware on an inconspicuous area of the door first to avoid damage or discoloration.
Step-by-Step Instructions
Planning and Preparation
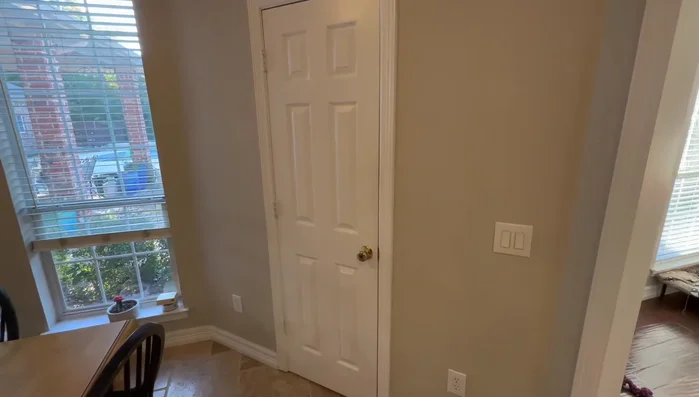
- Create a template using painter's tape on the pantry door to visualize the spice rack's size and placement.

Planning and Preparation Cutting and Assembling the Rack
- Cut 1x4 lumber pieces to the desired lengths using a trim saw or miter saw. Cut pieces at 18-inch centers.
- Drill pilot holes for screws and anchors in all cross boards, ensuring proper spacing for anchors away from cosmetic areas.
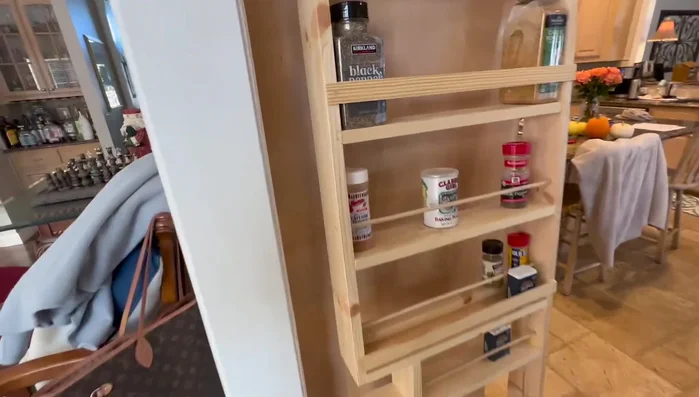
- Assemble the spice rack using Kreg Jig for pocket holes and 1 1/4 inch Kreg screws. Cut a section to accommodate the door knob.
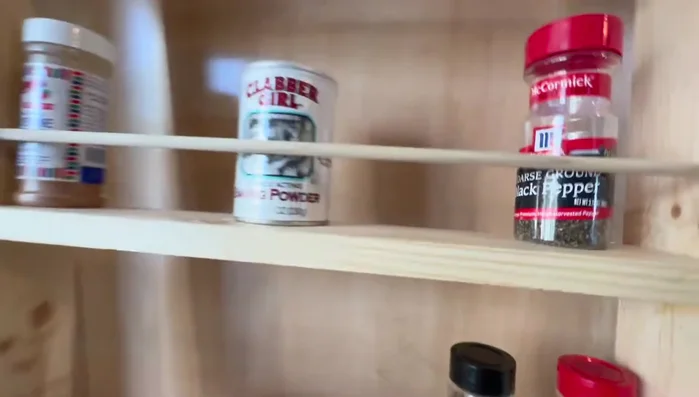
- Add dowel pins and risers to create adjustable shelves for various spice container sizes.
Cutting and Assembling the Rack Finishing the Rack
- Sand the assembled rack to smooth surfaces and caulk all joints for a professional finish.
Finishing the Rack Installation
- Do a dry install of the spice rack, drill pilot holes for anchors in the door, and then remove the rack.
- Paint the spice rack.
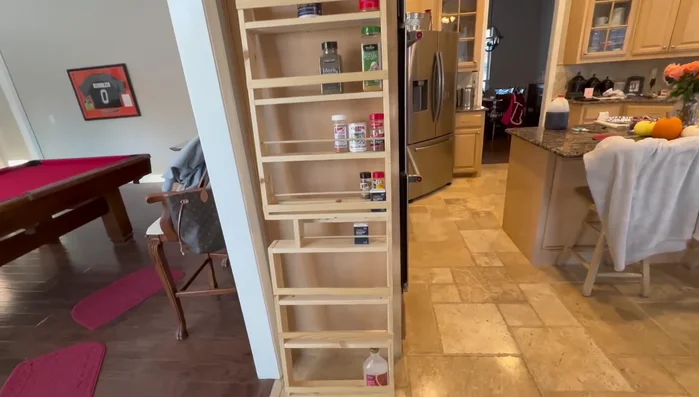
- Install hollow wall anchors into the drilled holes. Attach the spice rack to the pantry door using the anchors.
Installation


Tips
- Consider your door's thickness when planning the spice rack's depth to ensure proper closure.
- Use hollow door and drywall anchors rated for sufficient weight capacity.
- Pre-drilling pilot holes prevents wood splitting.
- Use a Kreg Jig for strong and clean pocket hole joints.
- Caulking joints provides a professional, seamless look.