Looking for a unique and budget-friendly way to display your candy this Halloween, Easter, or any festive occasion? Tired of the same old store-bought baskets? Then get ready to unleash your inner crafter with this adorable DIY project! We'll transform humble plastic gallon jugs – those ubiquitous containers often destined for the recycling bin – into charming and surprisingly sturdy candy baskets. This upcycling project is not only environmentally conscious but also incredibly versatile; customize your design to perfectly match your party theme or personal style with minimal cost and maximum creativity. Forget expensive and disposable options – let’s create something truly special.
This fun and easy-to-follow tutorial will show you how to turn ordinary plastic jugs into extraordinary candy containers, perfect for filling with treats for all your guests. Get ready to gather your supplies and follow our step-by-step instructions to create your own unique and charming DIY plastic gallon candy basket.
Preparation and Safety Guidelines
- Plastic gallon jug
- Colored tape
- Fabric (two contrasting colors)
- Scissors
- Ruler or measuring tape
- Protractor
- Glue
- Decorative lace
- Fabric shopping bag
- Decorative flower
- Thoroughly clean and rinse all plastic containers before starting. Remove any food residue to prevent contamination and odors.
- Use appropriate safety equipment, such as gloves, when working with sharp objects like scissors or craft knives.
- Adult supervision is required, especially when children are involved in any cutting, gluing, or decorating steps.
Step-by-Step Instructions
Prepare the Gallon
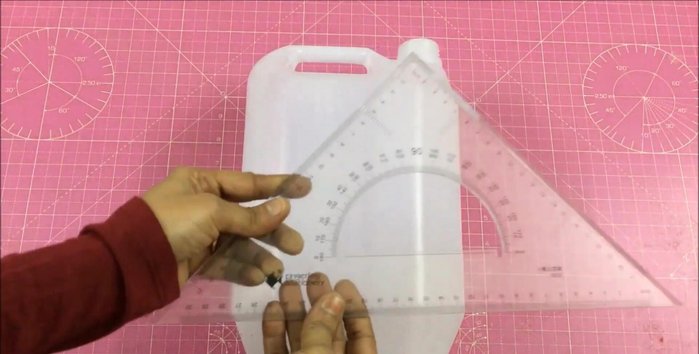
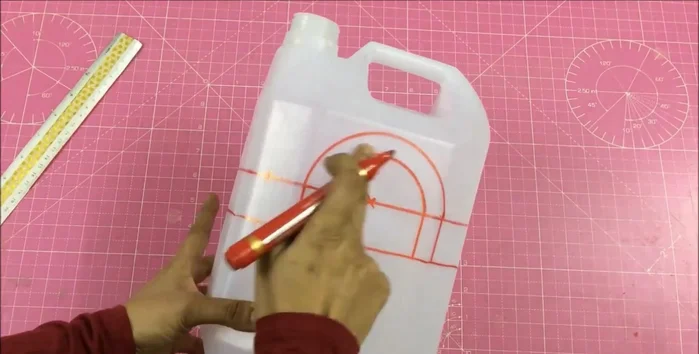
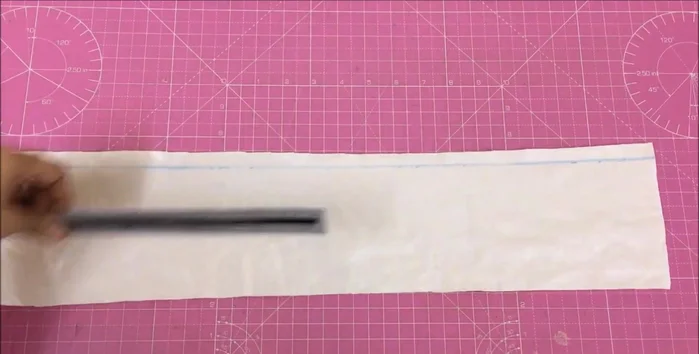
- Shape the plastic gallon using a protractor to create the handle.
- Use colored tape to mark a straight margin between the handles, then draw a broader margin underneath to enlarge the handle space.
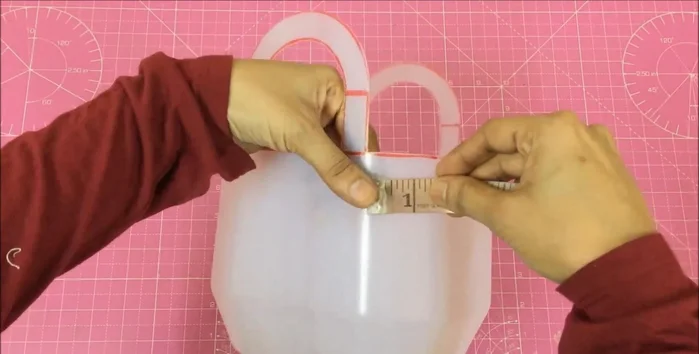
- Cut out the marked handle area.
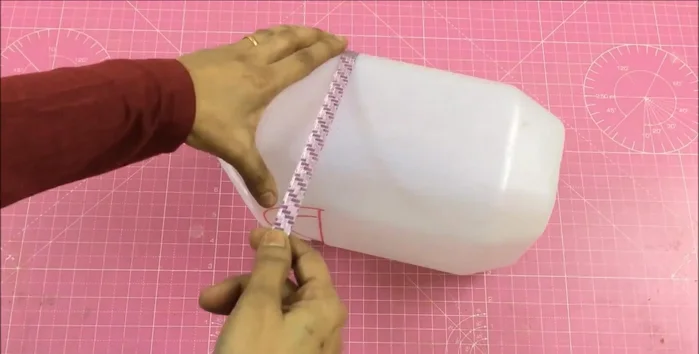
- Measure the gallon's circumference (22 inches) and depth (3.5 inches + 1.5 inches extra).

Prepare the Gallon Cut and Prepare Fabric
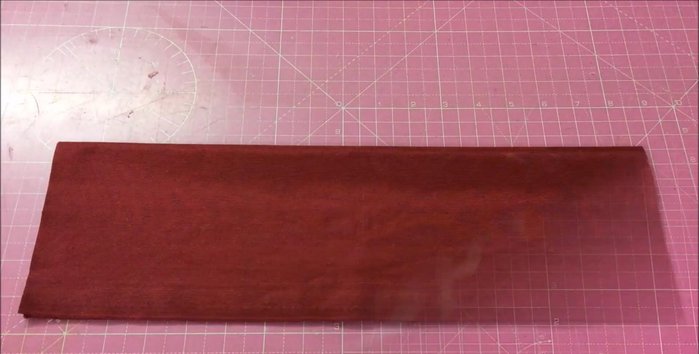
- One main piece and a contrasting colored piece (23 inches x 3.5 inches).
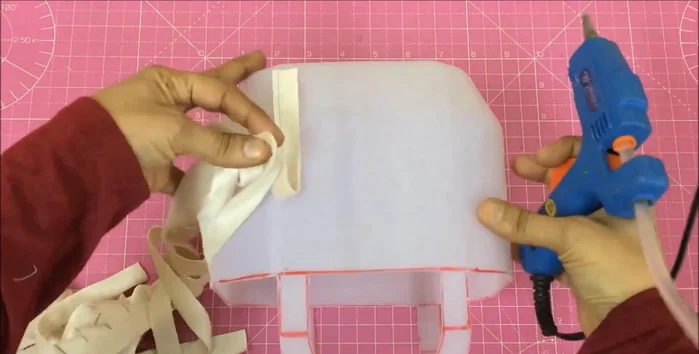
- Cut 1/2 inch strips horizontally from the contrasting fabric (7 pieces).
Cut and Prepare Fabric Attach Main Fabric & Begin Weaving
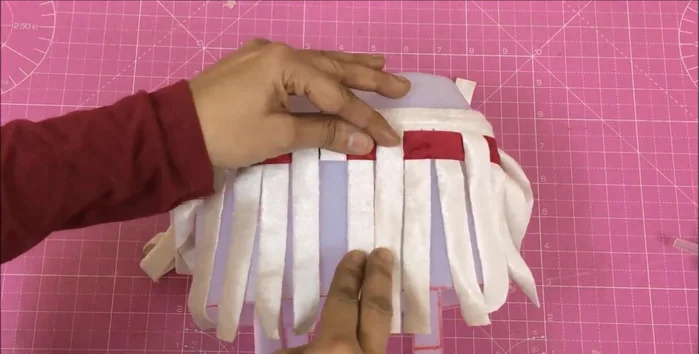
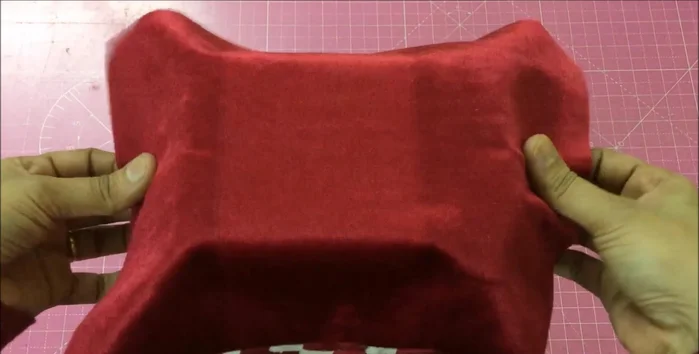
- Attach the main fabric piece to the gallon, securing the uncut strip at the curve.
- Begin weaving the contrasting strips, pulling one up and two down, fixing them to the basket.
Attach Main Fabric & Begin Weaving Weave and Secure the Basket Body
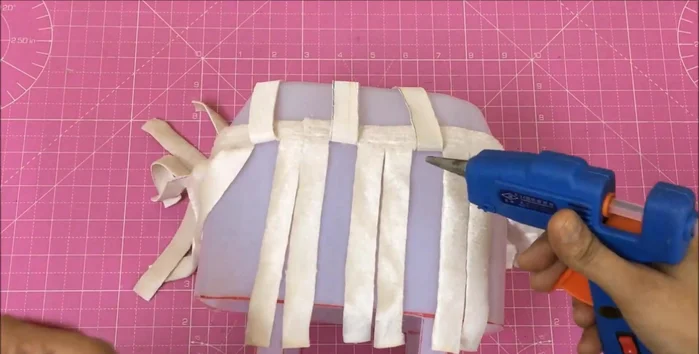
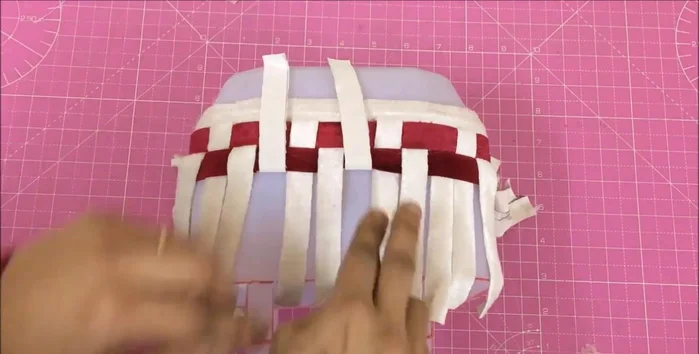
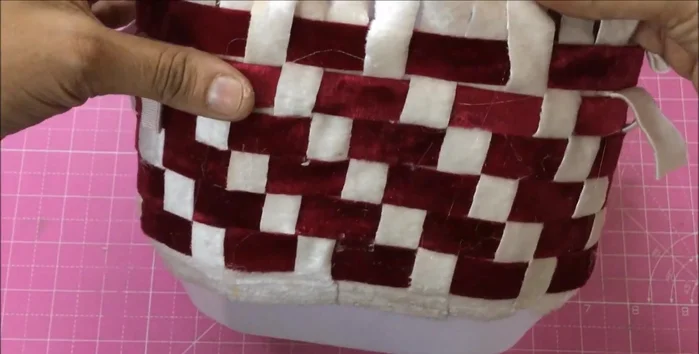
- Continue weaving and gluing the contrasting fabric strips to create the basket's body.
- Fix the second layer of contrasting strips, pulling one under and leaving two down. Continue gluing.
- Tuck extra fabric inside the basket and secure.
Weave and Secure the Basket Body Decorate and Finish
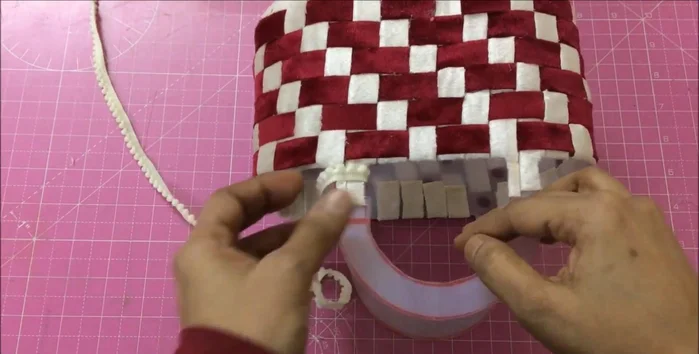
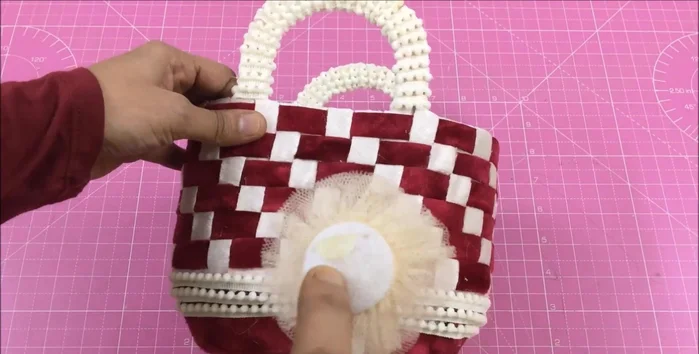
- Decorate the handle with lace.
- Cover the curved piece with lace to conceal joints.
- Attach a decorative flower to the lace closures.
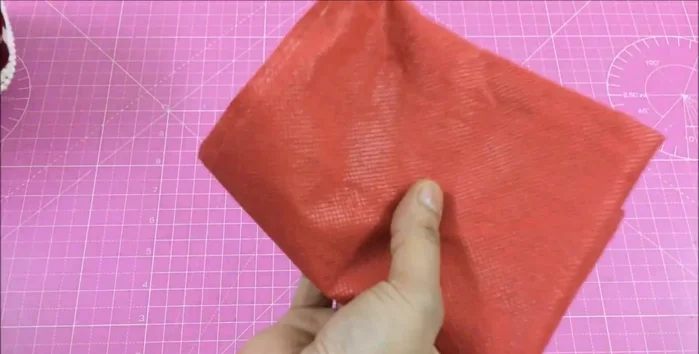
- Measure the basket's volume. Use a fabric shopping bag of similar size, cutting it to fit above the basket's top. Glue the edges and insert into the basket, gluing the ends.
Decorate and Finish
Tips
- N/A