A sagging gate is the bane of any homeowner's existence – a frustrating eyesore that compromises the security and aesthetic appeal of your property. Wooden gates, while beautiful and classic, are particularly susceptible to sagging over time due to weather exposure, improper installation, and the natural shifting of wood. But don't despair! Building a sturdy, sag-proof wooden gate is entirely achievable with the right techniques and materials. This DIY guide empowers you to create a gate that not only looks great but will also stand strong for years to come, enhancing your curb appeal and providing peace of mind.
This guide will walk you through each step, from selecting the perfect lumber to the final hanging and adjustments, ensuring your gate remains perfectly aligned. We'll delve into the crucial techniques needed to prevent sagging, focusing on robust construction methods and the use of appropriate hardware. Ready to build a gate that'll withstand the test of time? Let's get started with our step-by-step guide!
Preparation and Safety Guidelines
- Miter saw or circular saw
- Hand saw (optional)
- Screws (1 5/8" and 4" exterior coated)
- Gate hinges (recommended type shown in video)
- Gate latch
- Handle (optional)
- Drill/Impact driver
- Speed square
- Measuring tape
- Pencil
- Shims (optional)
- Reciprocating saw (recommended for relief cut)
- Safety glasses
- Respirator (recommended)
- Ear plugs (recommended)
- Always wear safety glasses and gloves when working with power tools and sharp materials like wood and metal.
- Ensure the gate is properly supported during construction to prevent injury from collapsing frames or falling materials.
- Use appropriate-sized screws and fasteners to ensure structural integrity and prevent the gate from sagging over time. Check your local building codes for regulations.
Step-by-Step Instructions
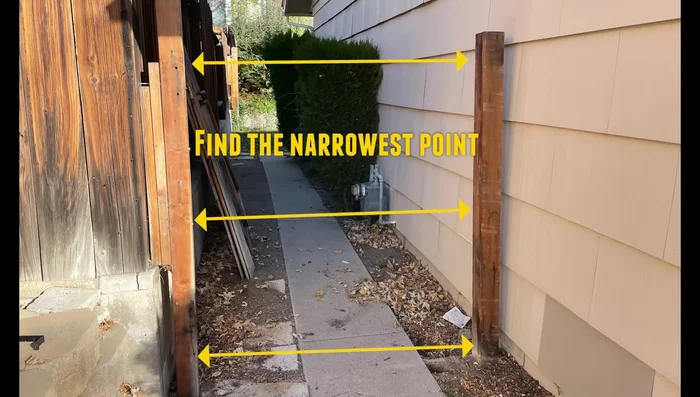
Planning and Measurement
- Distance between posts (narrowest point – measure top, middle, bottom and use the smallest), height from fence top to bottom rail center, and distance between fence rails.

Planning and Measurement Prepare Gate Rails
- Cut the top and bottom rails 1 inch shorter than the smallest post distance measurement.
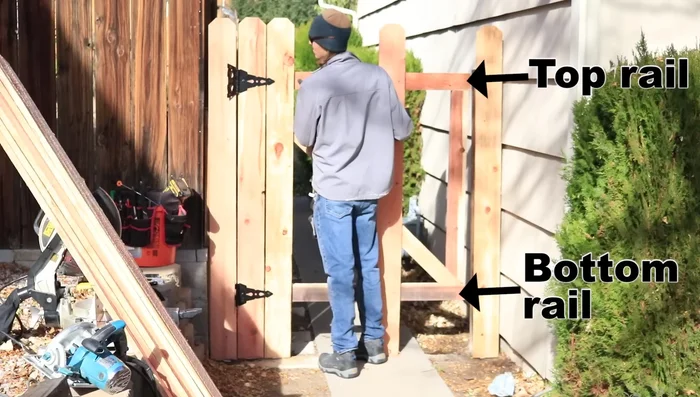
Prepare Gate Rails Assemble Gate Frame
- Position the rails the appropriate distance apart, considering hinge type. For the recommended hinges, subtract 3 inches from the fence rail spacing to allow for lag screw placement into the post.
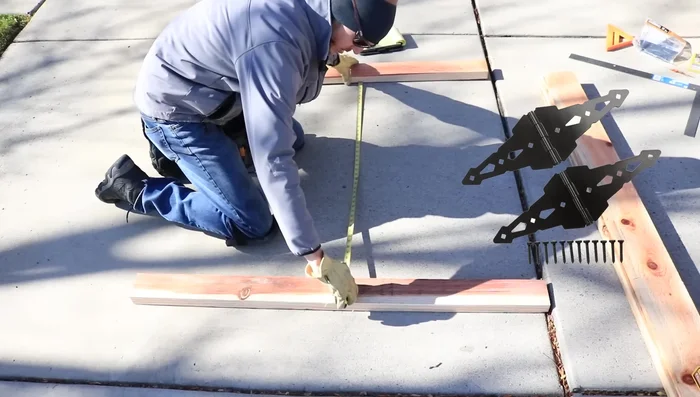
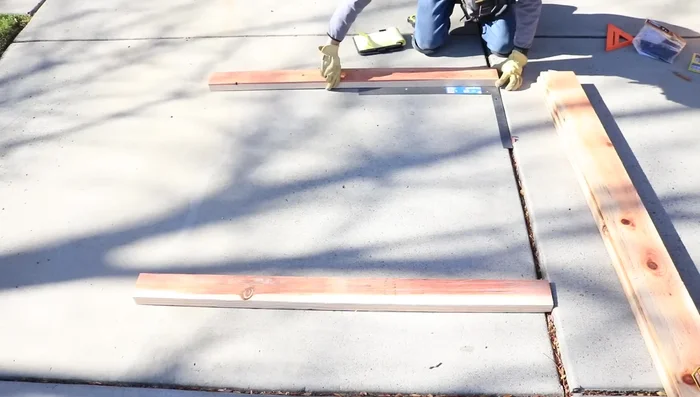
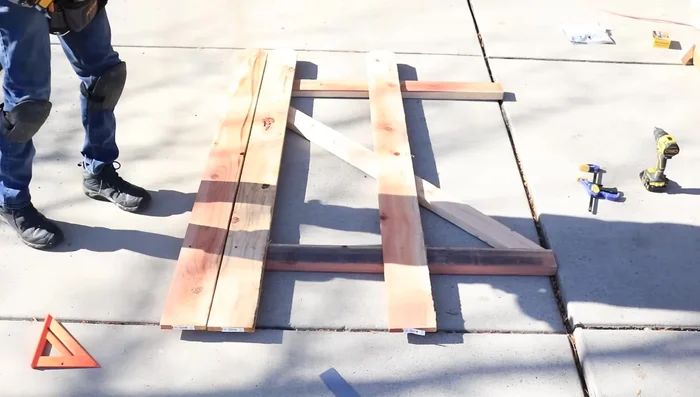
- Square up the rails using diagonal measurements. Temporarily screw them to a workbench for stability if possible.
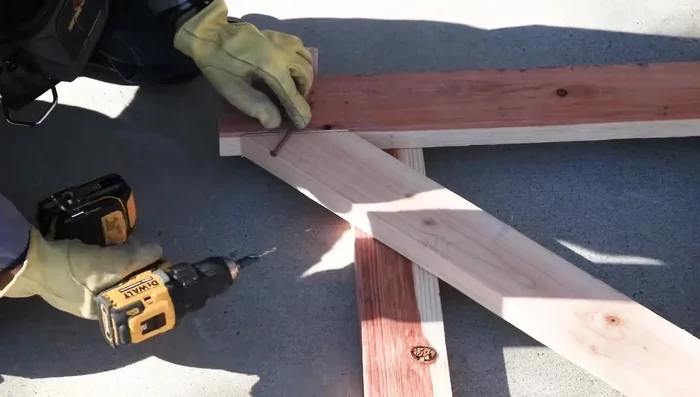
Assemble Gate Frame Install Diagonal Brace
- Cut and install the diagonal brace. **Crucially**, position it from the bottom hinge to the top of the gate on the latch side. This puts the brace in tension, preventing sagging.
Attach Rails to Brace
- Attach the rails to the diagonal brace using 4" screws. Pre-drill to prevent splitting.
Attach Rails to Brace Attach Initial Pickets
- Attach two fence pickets to the hinge side rails, using the pre-measured distance from the fence top to bottom rail center for placement.
Attach Initial Pickets Attach Hinges
- Attach hinges to the gate. Mark the center using a speed square, pre-drill, then attach using lag bolts. Only use center bolt temporarily to hold while checking fit.
Attach Hinges Install Latch Support
- Install a 2x4 support for the latch mechanism about 1 inch from the rail ends. Pre-drill and attach using 4" screws.
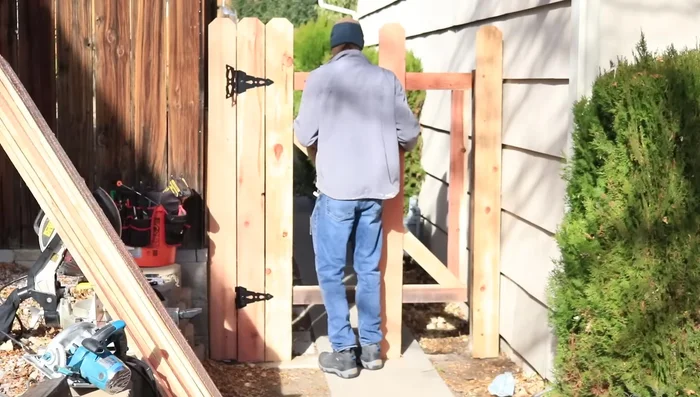
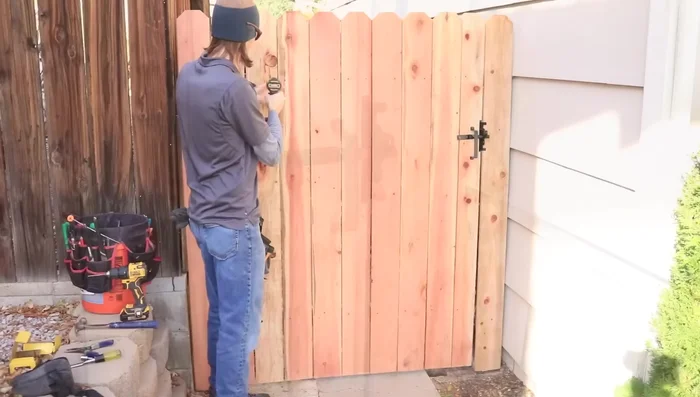
Hang and Adjust Gate
- Hang the gate, using shims if needed to adjust height. Ensure proper alignment with the fence posts, leaving a small gap if necessary. Attach hinges fully after verifying fit.
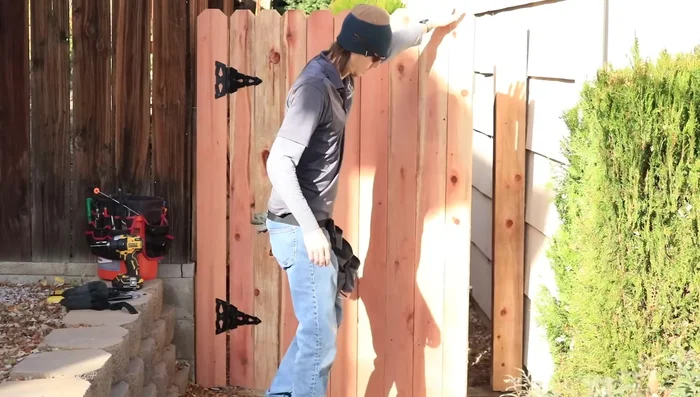
Hang and Adjust Gate Complete Picket Installation
- Attach remaining pickets. Cut a final picket to fill gaps. Use appropriate safety gear.
Trim Gate Bottom
- Trim the bottom of the gate if it rubs the ground.
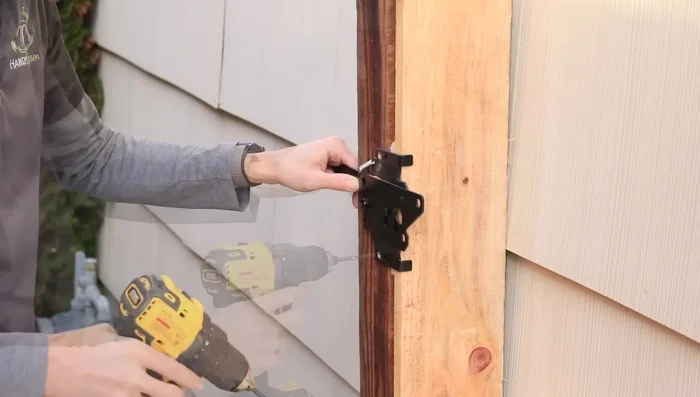
Trim Gate Bottom Install Latch Mechanism
- Mount the latch mechanism and strike plate, pre-drilling and using supplied fasteners. Ensure the strike plate is secured to the 2x4 support.
Install Latch Mechanism Final Touches
- Install a handle (optional). Secure all remaining screws for the pickets and brace.
Final Touches

Read more: DIY Outdoor Rug from Dollar Store Placemats & Shelf Liner: Durable & Budget-Friendly!
Tips
- Using a workbench simplifies some steps, particularly squaring the rails and attaching the diagonal brace.
- Pre-drilling holes before screwing prevents wood splitting, especially with the diagonal brace and support board.
- Use an impact driver for faster and easier lag bolt installation.
- For the relief cut for the latch mechanism, a reciprocating saw is safer than a circular saw.
- Prop up the gate when attaching the final lag screws for the hinges to prevent sagging.