Tired of a cluttered car interior that feels more like a chaotic junk drawer than a comfortable space? Transform your vehicle from a disorganized mess into a vibrant, functional haven with this easy-to-follow DIY car organizer quilting tutorial. We'll guide you through creating a custom-sized organizer bursting with personality, perfectly tailored to fit your specific needs and car model. Imagine the satisfaction of crafting a beautiful, practical solution that keeps everything neatly in place, from your phone and sunglasses to maps and snacks. Forget expensive, generic organizers; let's unleash your creativity and make something truly special.
This vibrant car organizer project leverages the beauty and durability of quilting to produce a stunning, long-lasting result. With simple techniques and readily available materials, you'll be amazed at how easily you can create this essential car accessory. Ready to get started? Let’s dive into the step-by-step quilting process and bring some order (and a splash of color!) to your car.
Preparation and Safety Guidelines
- Fabric
- Batting
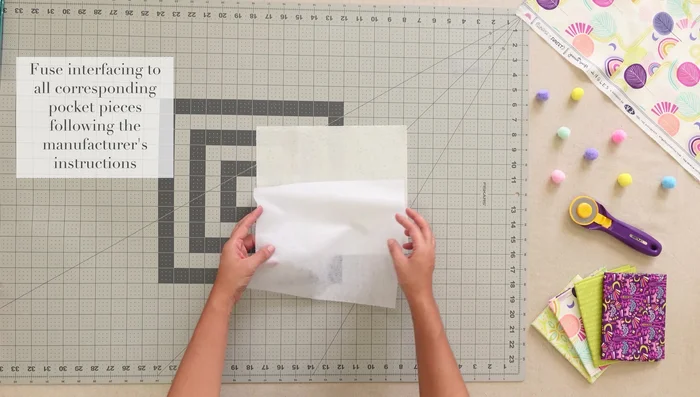
- Interfacing
- Sewing Machine
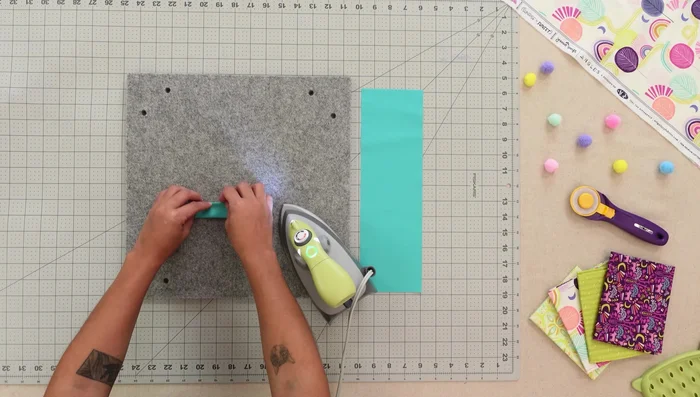
- Iron
- Pins
- Scissors
- Elastic
- Measuring Tape
- Optional: Serger
- Always use a stable, flat surface when cutting fabric and working with sharp tools like rotary cutters and scissors. Avoid working on surfaces that might slip or move unexpectedly.
- Ensure adequate ventilation when working with fabric dyes or sprays, as some may contain fumes that can be harmful if inhaled. Always follow manufacturer instructions for safe use.
- Handle your sewing machine and any sharp implements with care to prevent cuts or injuries. If unsure how to operate any tools, consult the user manual or seek assistance from an experienced sewer.
Step-by-Step Instructions
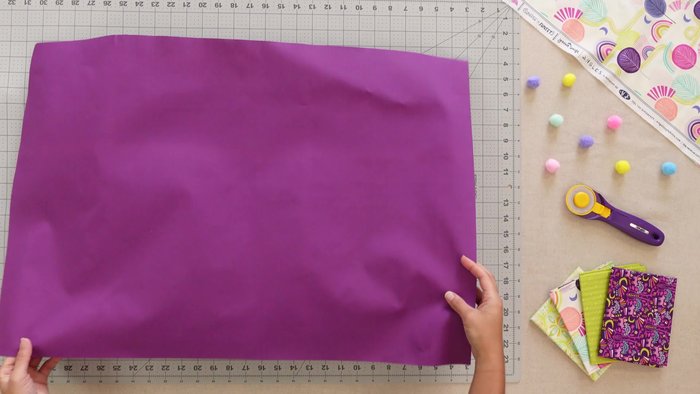
Prepare the Main Fabric
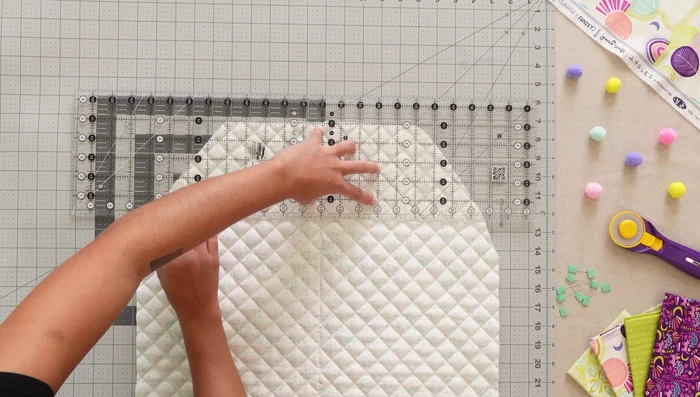
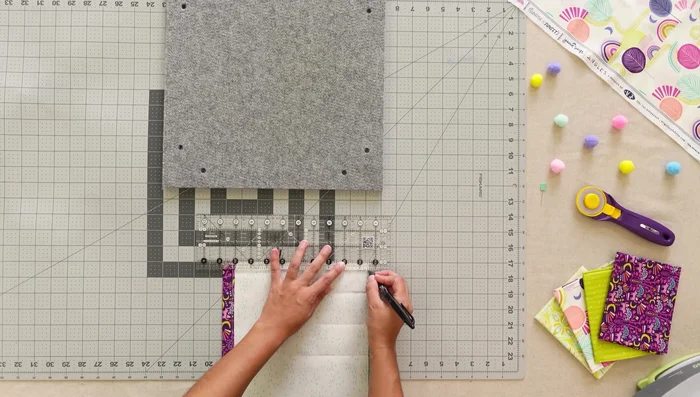
- Layer backing, batting, and main fabric; quilt as desired.

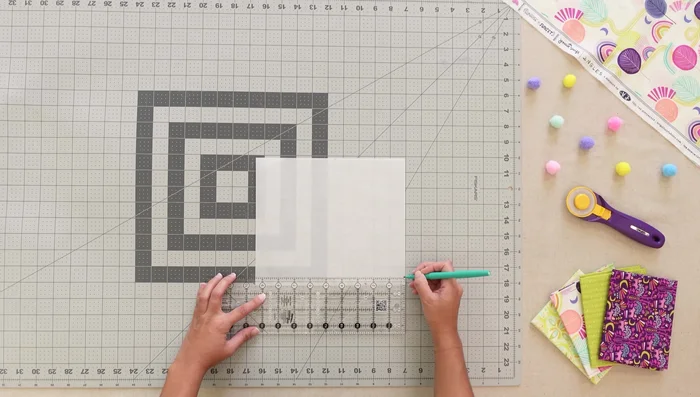
Prepare the Main Fabric Create Pocket Patterns
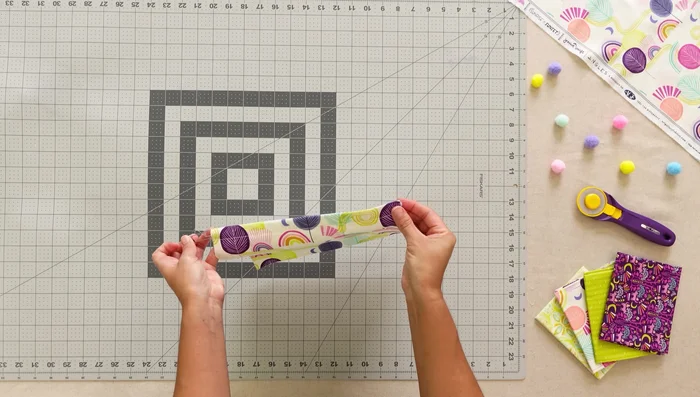
- Fold a 7x9 paper rectangle in half, mark points, and cut a smooth curve.
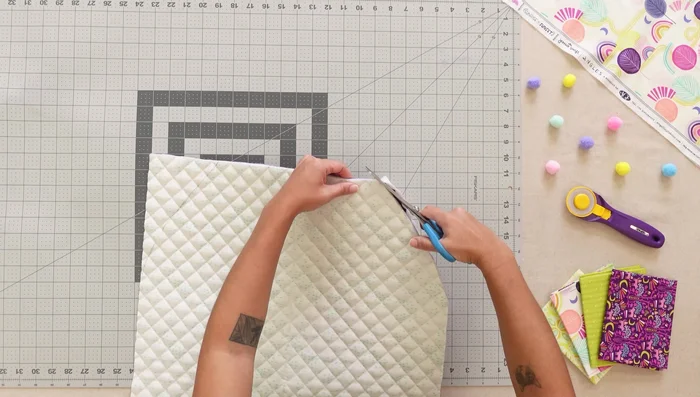
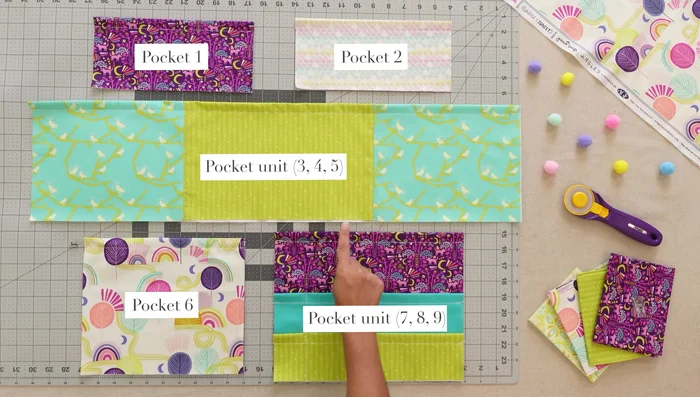
Create Pocket Patterns Assemble Main Pockets
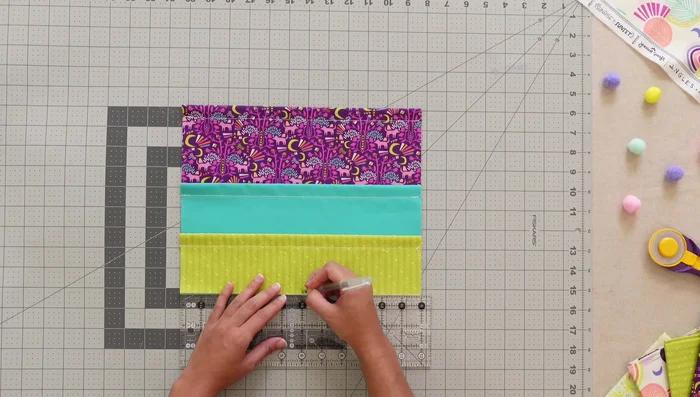
- Sew together pockets 3, 4, and 5 to form a rectangle. Fuse lining pieces to interfacing.
- Finish pocket edges with a serger or zigzag stitch.
Assemble Main Pockets Attach Pocket Linings
- Place pocket pieces wrong side up, line up lining, fold, press, and top stitch.
Attach Pocket Linings Prepare Additional Pockets
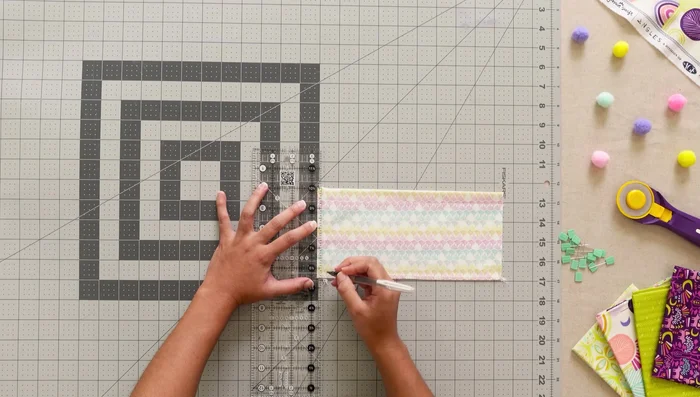
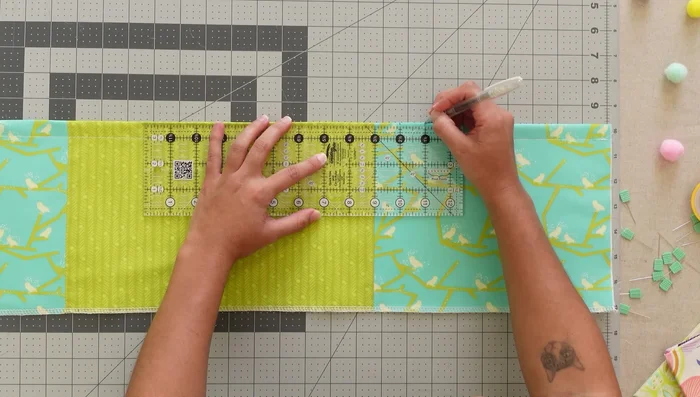
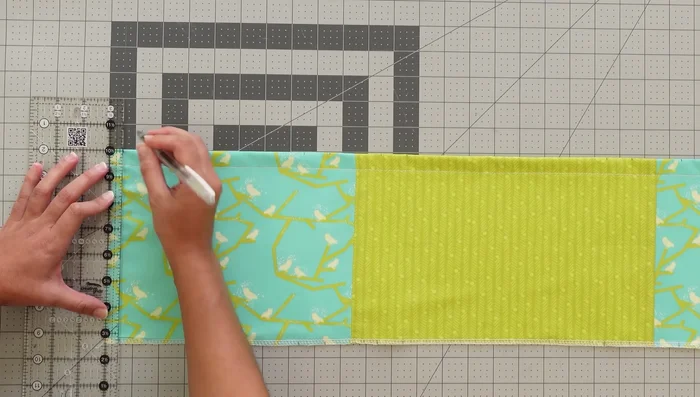
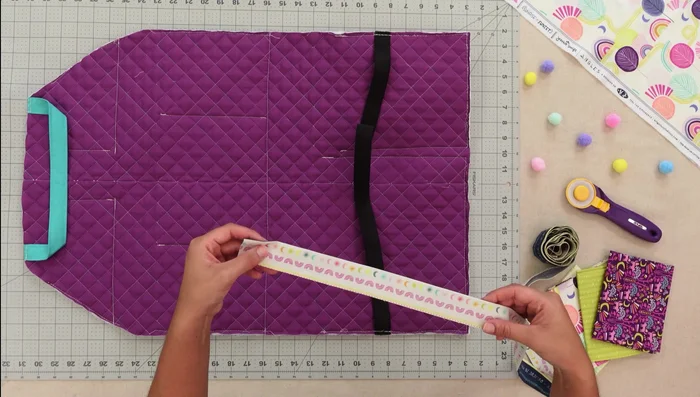
- Mark vertical lines and stitch.
Prepare Additional Pockets Create and Attach Top Pockets
- Mark, fold, press, and pin.
- Mark a line, place pockets, sew, and flip.
Create and Attach Top Pockets Create and Attach Middle Pockets
- Mark, fold, and pin.
- Place, sew, and stitch in the ditch.
Create and Attach Middle Pockets Attach Bottom Pocket
- Mark a line, place pocket, sew, and flip.
Attach Bottom Pocket Create and Attach Water Bottle Pocket
- Insert elastic, fold, pleat, and stitch.
Create and Attach Water Bottle Pocket Attach Side Pockets
- Fold, line up, and stitch.
Attach Side Pockets Create and Attach Sunglass Pocket and Strap
- Fold, press, and stitch.
Create and Attach Sunglass Pocket and Strap Attach Binding
- Use clips/pins to secure and stitch.
Attach Binding

Tips
- Use a serger or zigzag stitch for clean pocket edges.
- Use an iron to help set seams and pleats.
- Backstitch several times at the beginning and end of seams for extra security.
- Use plenty of clips or pins when attaching the binding for a neat finish.