A leaky toilet tank is more than just an annoying drip; it's a significant waste of water and money, silently driving up your utility bills. That constant, irritating sound can also disrupt the peace of your home. Ignoring a leaky tank only allows the problem to worsen, potentially leading to more expensive repairs down the line. Fortunately, fixing a leaky toilet tank is often a manageable DIY project, even for those with limited plumbing experience. Many common causes are easily identifiable and repairable with readily available parts.
This frustrating but solvable problem can be tackled with a little patience and the right tools. This step-by-step guide will walk you through the process, providing clear instructions and helpful visuals to assist you in identifying the source of your leak and making the necessary repairs, getting your toilet back to its silent, efficient self.
Preparation and Safety Guidelines
- wrench
- sponge
- lubricant
- slotted screwdriver
- locking pliers
- hacksaw
- gloves
- tank-to-bowl gasket kit
- adjustable wrench
- Always turn off the water supply to the toilet before starting any repairs. This is crucial to prevent flooding and further damage.
- Wear safety glasses to protect your eyes from splashing water or broken parts.
- If you are unsure about any step, or if the problem persists after attempting repairs, call a qualified plumber.
Step-by-Step Instructions
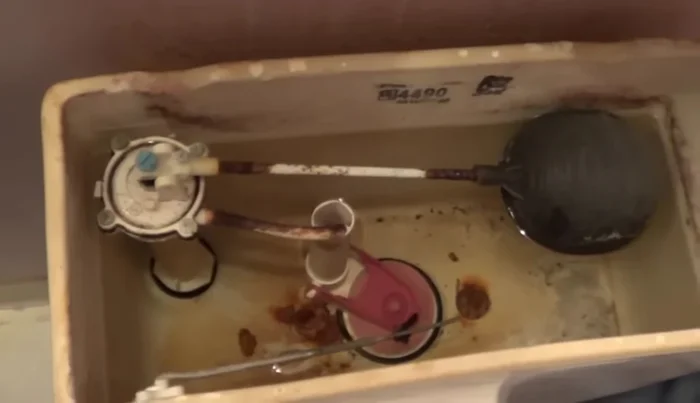
Turn off the water and drain the tank
- Turn off the water supply to the toilet using the shut-off valve (turn clockwise).
- Flush the toilet to drain the water from the tank.
- Use a sponge to remove any remaining water from the tank.

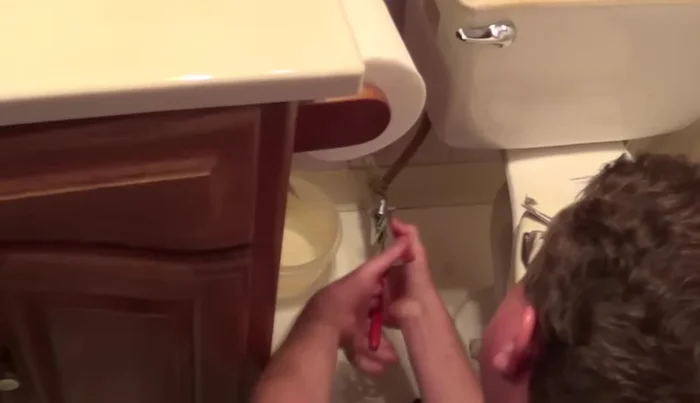
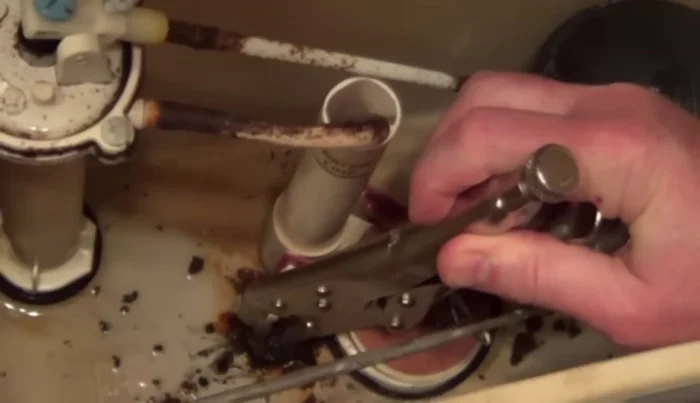
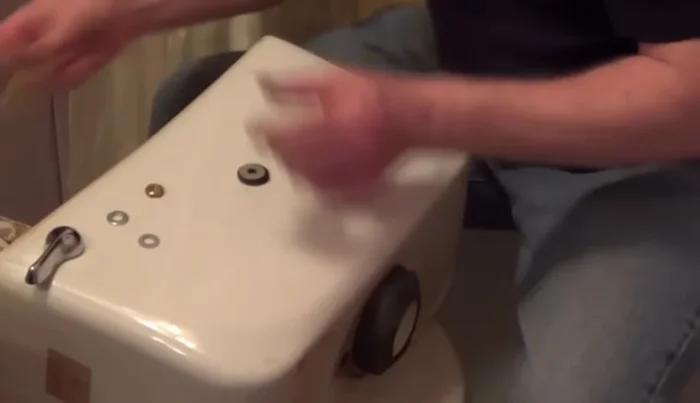
Turn off the water and drain the tank Remove the Tank Bolts
- Attempt to remove the rusted bolts securing the tank to the bowl using a slotted screwdriver. If the bolts are severely rusted (as in this case), proceed to step 5.
- If bolts are stuck due to rust, use locking pliers to grip the bolt and try unscrewing the nut. If the bolt spins freely, use a hacksaw to carefully cut the bolt above the nut.
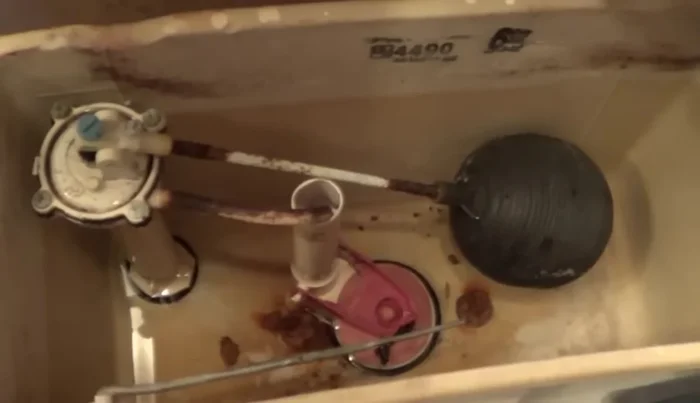
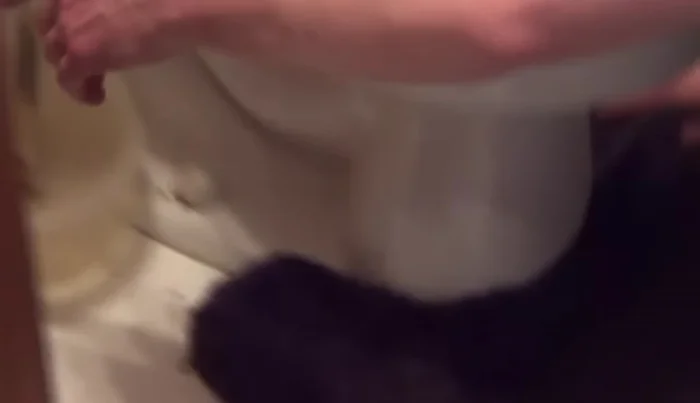
Remove the Tank Bolts Disconnect Tank
- Remove the supply line from the tank.
- Remove the tank from the bowl.
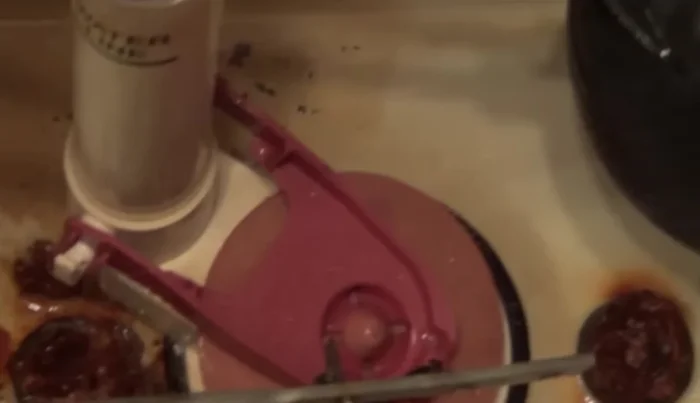
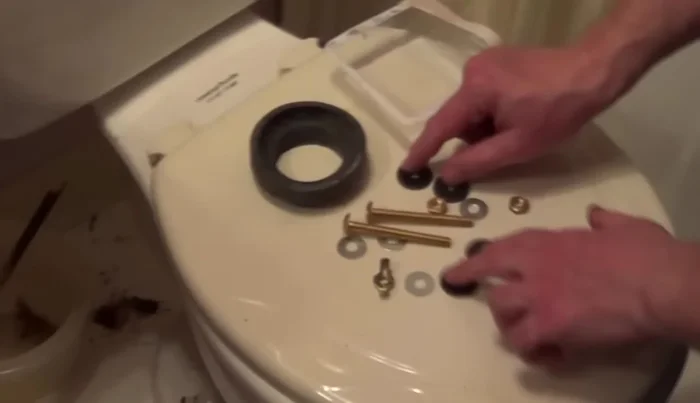
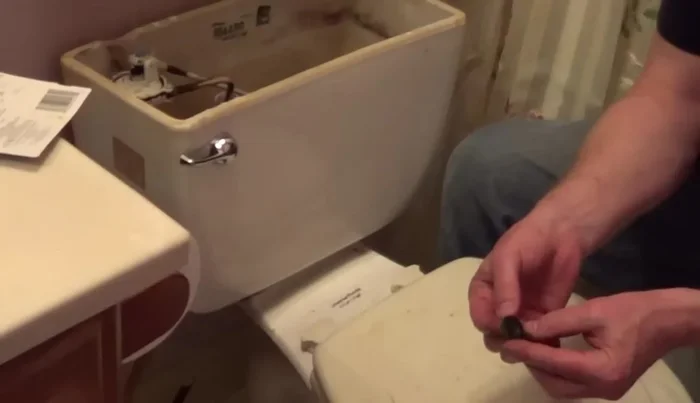
Disconnect Tank Install New Gasket and Washers
- Install a new tank-to-bowl gasket and washers (from the repair kit). Use a metal washer, followed by a rubber washer, then the nut. Add an extra metal washer for added security.
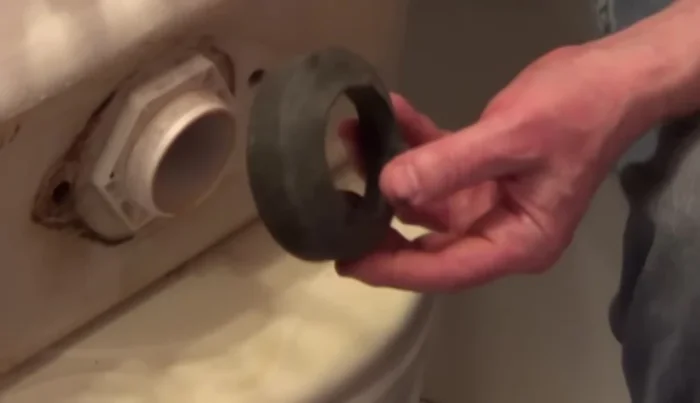
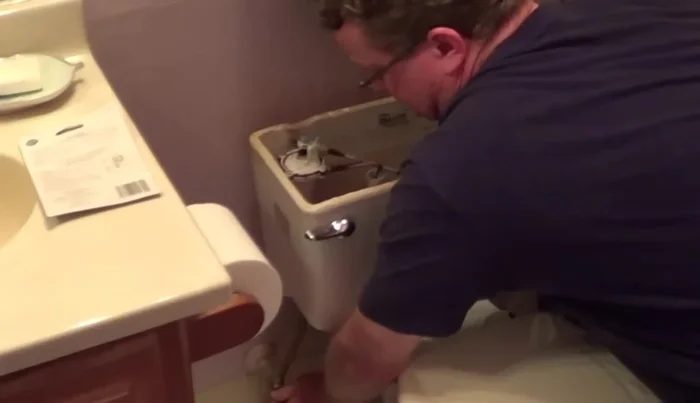
Install New Gasket and Washers Attach Tank to Bowl
- Attach the bolts to the tank with the washers and nuts, ensuring proper placement of washers under the bowl to protect the porcelain.
- Carefully tighten the nuts, using an adjustable wrench and slotted screwdriver to hold the bolts, ensuring they are snug but not overtightened to avoid cracking the porcelain.
- Replace the tank onto the bowl and secure it from underneath, ensuring even tightening of nuts with a helper.
Attach Tank to Bowl Reconnect Water Supply and Check for Leaks
- Reconnect the water supply line.
- Turn the water back on and check for leaks.
Reconnect Water Supply and Check for Leaks


Tips
- Don't overtighten the nuts when securing the tank; this can crack the porcelain.
- A helper can make tightening the nuts from underneath much easier.
- Use a thicker tank-to-bowl gasket for a better seal.