Ever dreamt of creating your own miniature metal masterpiece? This tutorial guides you through the fascinating process of building a remarkably detailed miniature spider entirely from metal components, a project perfect for the meticulous hobbyist. Forget intricate resin casting or delicate sculpting; we'll be harnessing the power of miniature welding to construct a truly unique arachnid. The intricate detail achievable through this method allows for a level of realism rarely seen in miniature creations, resulting in a captivating piece that's both a testament to your skill and a fascinating conversation starter.
Prepare to delve into the world of tiny metalwork, where precision and patience reign supreme. This guide provides a comprehensive, step-by-step process, perfect for both beginners and experienced hobbyists looking to expand their skills. From selecting the appropriate metal wire to the final polishing touches, we'll cover every crucial stage of crafting your own miniature metal spider. Let’s begin building!
Preparation and Safety Guidelines
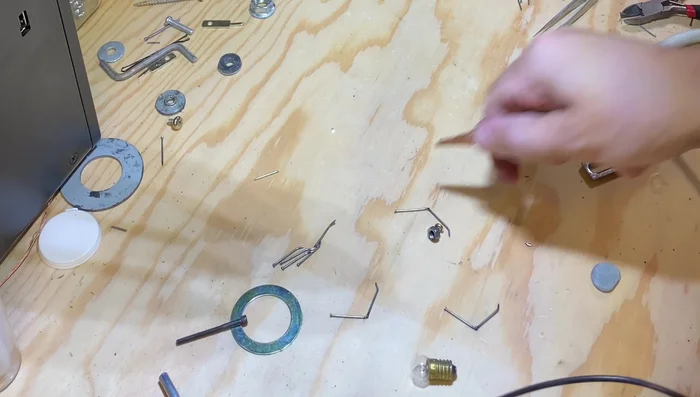
- Welding equipment
- Nuts
- Screws
- Nails
- Small antique light bulb
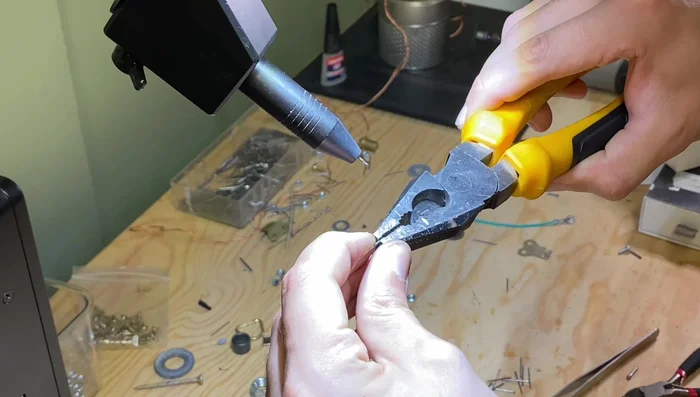
- Pliers
- Cardboard
- Super glue
- Always wear appropriate safety glasses and a respirator mask when welding, even with miniature projects. Sparks and fumes can be hazardous.
- Use a well-ventilated area to minimize exposure to welding fumes. Consider using a fume extractor.
- Work on a stable, fire-resistant surface. Keep a fire extinguisher nearby.
Step-by-Step Instructions
Constructing the Thorax and Head
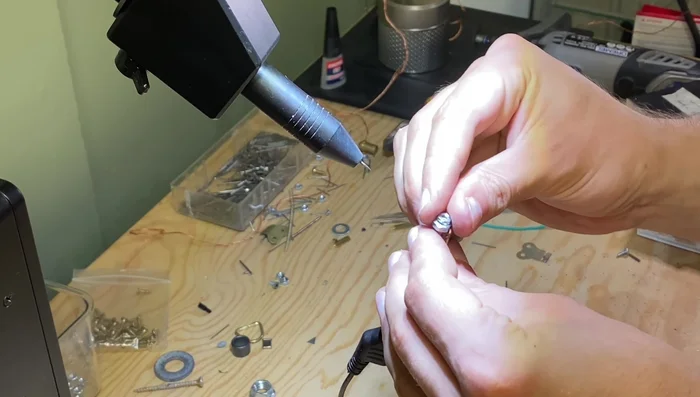
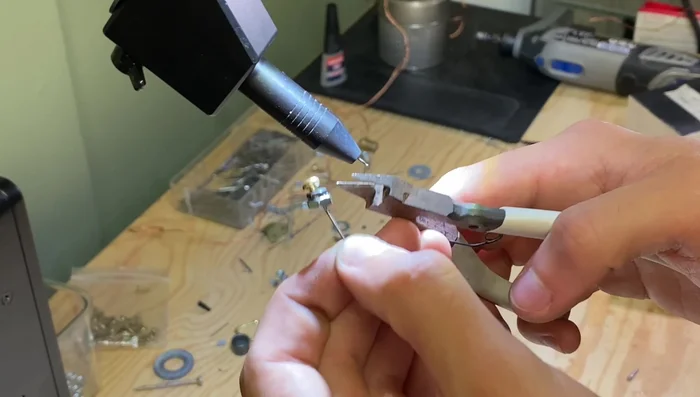
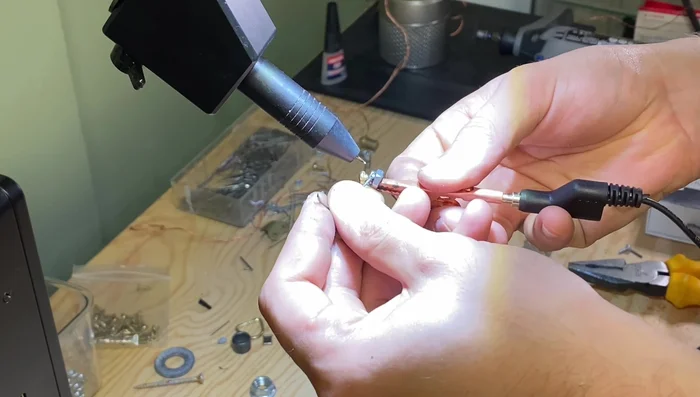
- Create the thorax by welding two random nuts together.
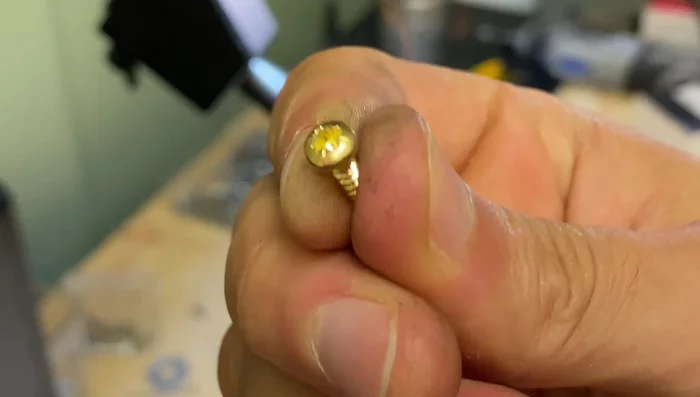
- Use a small screw for the head, cutting it to fit the thorax.
- Weld the head to a small nail, then thread the nail through the thorax and weld it from the other side to maintain the golden color.
- Adjust the head angle for a slight tilt.

Constructing the Thorax and Head - Cut off excess and ensure a strong weld.
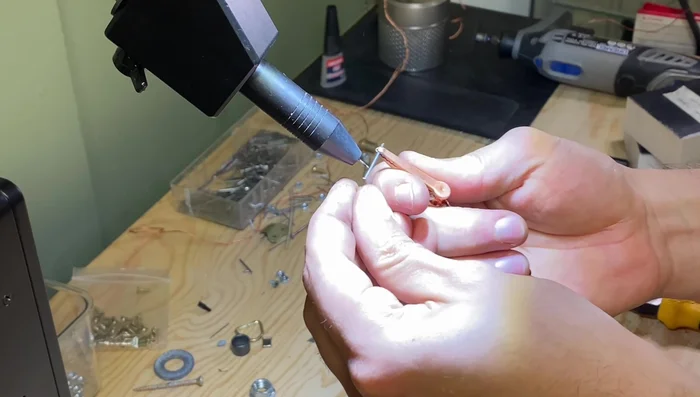
- Trim and adjust the head for a flush fit with the light bulb.
Constructing the Thorax and Head Creating the Legs
- Make the legs using two nails, bending the tips of half the nails to create three joints.
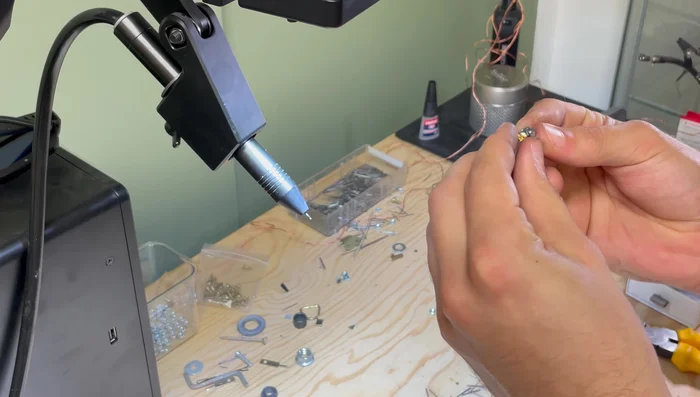
- Perform tunnel welding to attach the legs.
- Lay out the legs in a spidery shape to check angles and symmetry before welding.
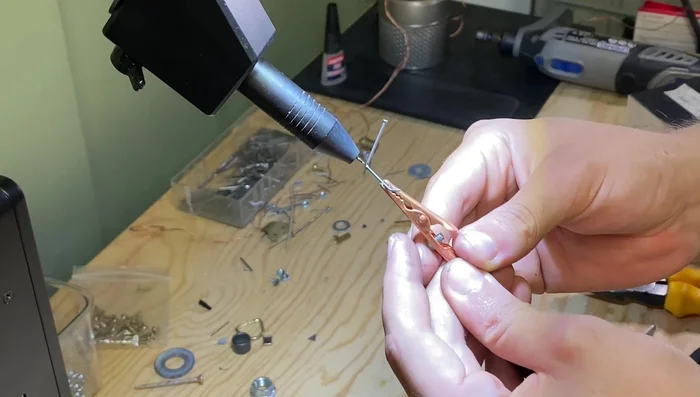
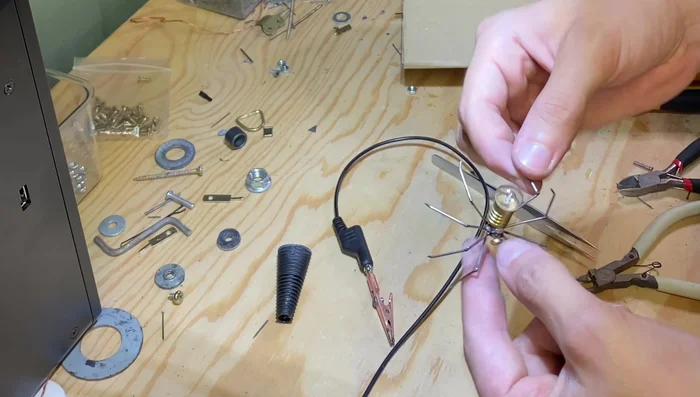
Creating the Legs Attaching the Legs to the Thorax
- Weld the legs to the thorax, starting with the front legs to establish angles, then the back legs, and finally the middle legs.
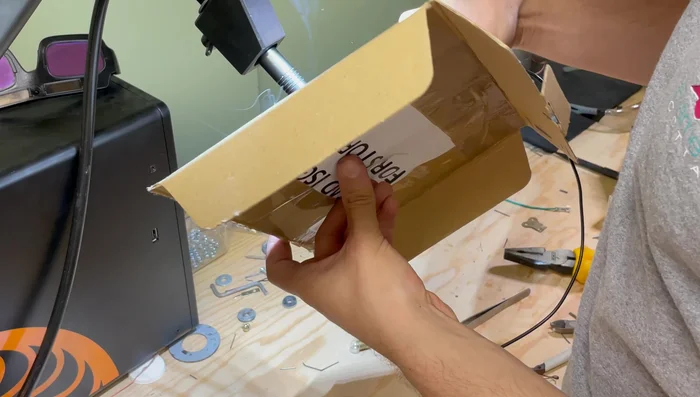
- Use a piece of cardboard as a guide to ensure level leg placement.
Attaching the Legs to the Thorax Attaching the Abdomen
- Attach the abdomen using super glue and a sliver of metal to strengthen the bond.
Attaching the Abdomen
Tips
- Take your time and ensure accuracy before welding, especially on a small scale.
- Using a guide (like cardboard) can help with leg placement and leveling.
- Increase surface area for stronger bonds with superglue by adding a sliver of metal.