Power cords are the unsung heroes of our electronic lives, quietly delivering the power we need to our devices. But their often-ignored nature makes them vulnerable to damage—from accidental kinks and cuts to the wear and tear of daily use. A damaged power cord isn't just an inconvenience; it poses a serious fire hazard if not addressed properly. Ignoring frayed wires or exposed copper is never a good idea, and attempting a poorly executed repair can make things significantly worse. This is why understanding how to safely and effectively repair a damaged power cord is crucial for both safety and extending the lifespan of your valuable electronics.
This ultimate guide provides a comprehensive, step-by-step process for repairing damaged power cords, covering various types of damage and necessary tools. From identifying the extent of the damage to properly insulating the repaired section, we'll walk you through every stage to ensure a safe and successful repair. Let's delve into the details and learn how to handle those damaged cords effectively.
Safety Guidelines
- Always unplug the power cord from both the appliance and the wall outlet before attempting any repairs. Electricity is dangerous and can cause serious injury or death.
- Never attempt to repair a cord if the damage affects the insulation near the plug or if the wires are exposed. Replace the entire cord if this is the case.
- If you are unsure about any aspect of the repair process, consult a qualified electrician. Improper repairs can create fire hazards.
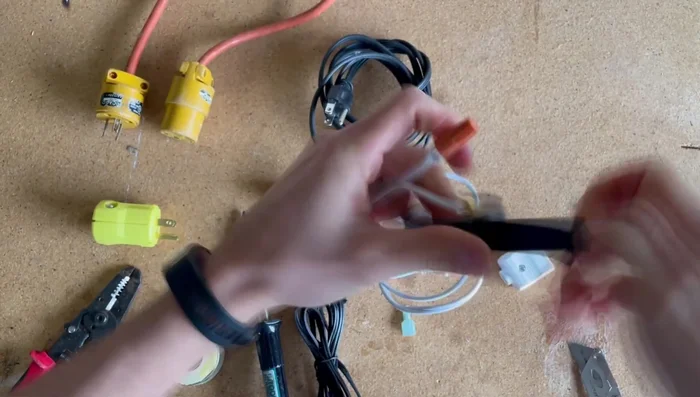
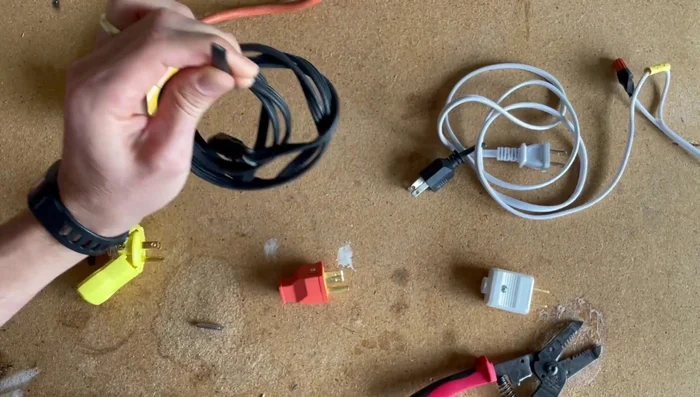
Methods: Inline Splicing with Crimp Connectors
Tools Needed
- Crimpers
- Wire strippers
- Razor blade (optional)
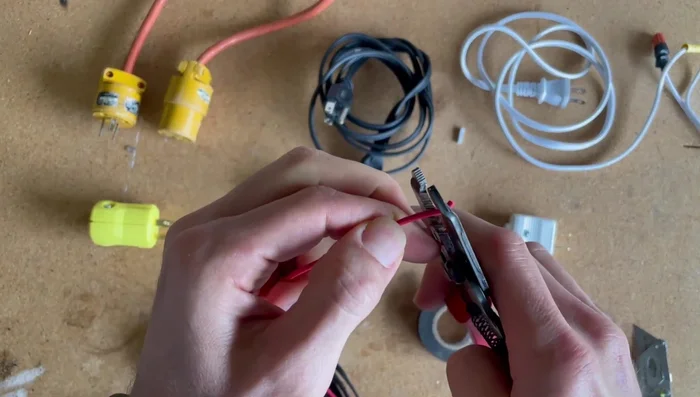
Step-by-Step Instructions
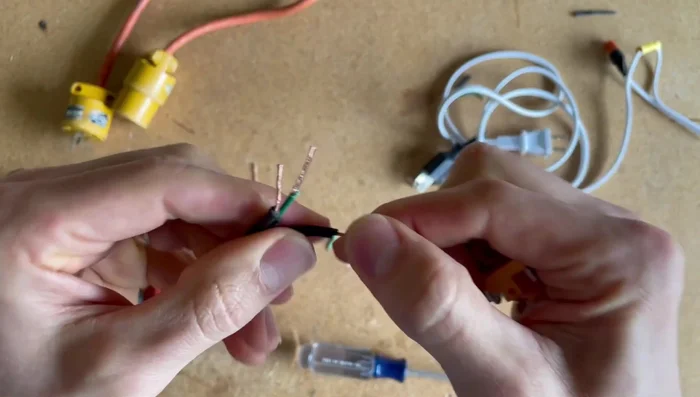
Prepare the Wires
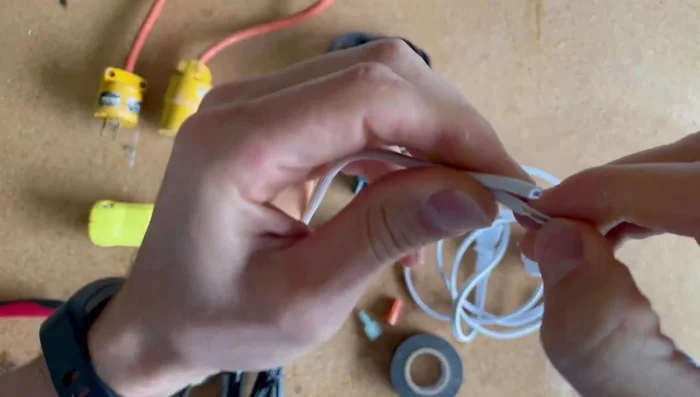
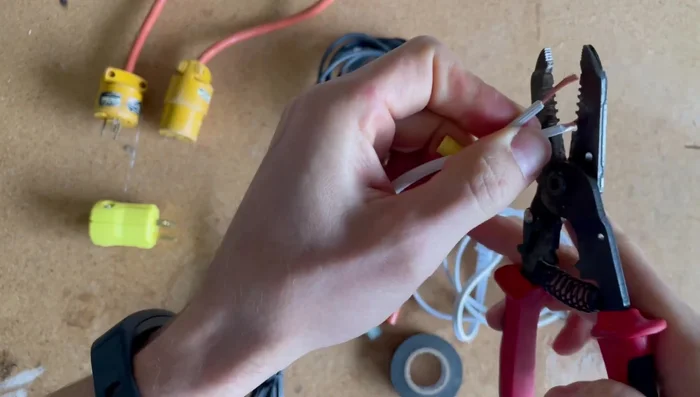
- Cut the damaged section of the wire, ensuring to cut away from yourself.
- Strip the insulation from the ends of the wires using wire strippers.

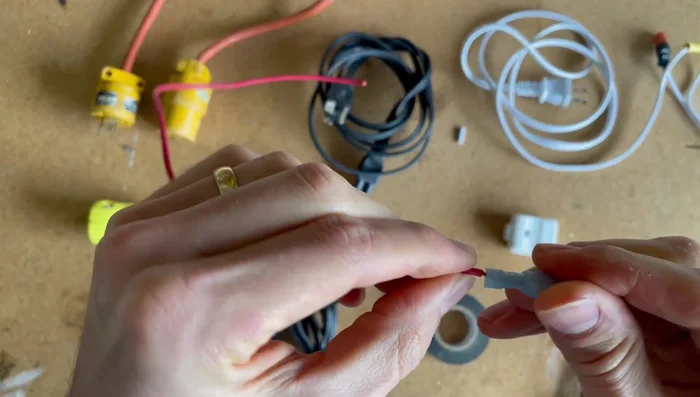
Prepare the Wires Align and Join Wires
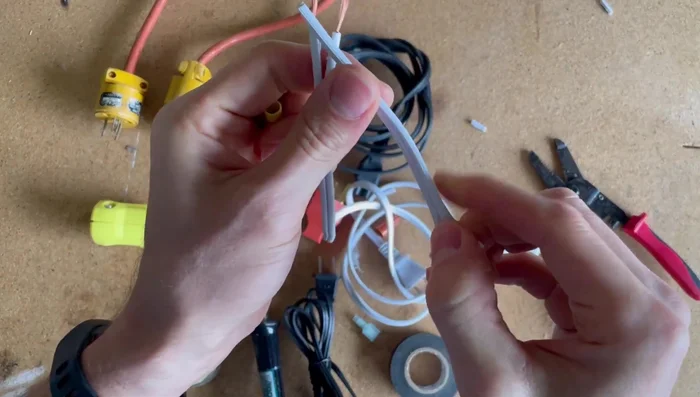
- Align the wires, matching the neutral (ridged) sides together.
- Twist the wires together securely.
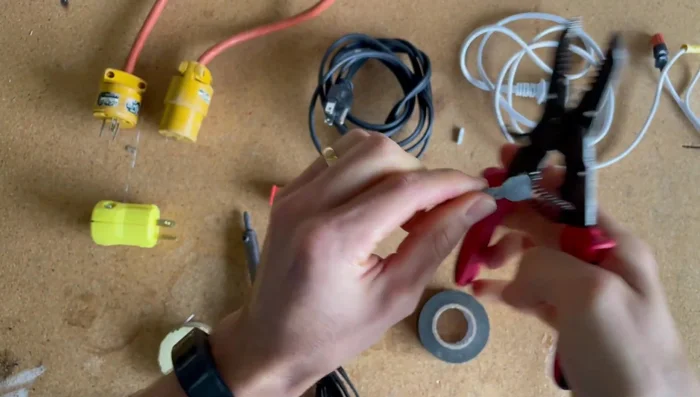
Align and Join Wires Crimp Connection
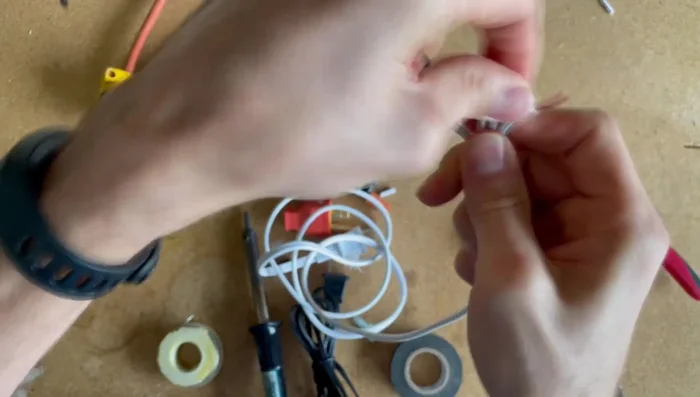
- Insert the wires into the crimp connector.
- Crimp the connector firmly using crimpers. Ensure a solid connection by tugging gently.
Crimp Connection
Tips
- Use the correct size crimp connector for your wire gauge.
- Check for a solid connection after crimping.
Methods: Wire Nut Connection
Tools Needed
- Wire nuts
- Electrical tape
- Wire strippers
Step-by-Step Instructions
Prepare the Wires
- Strip the insulation from the ends of the wires.
Prepare the Wires Twist Wires Together
- Twist the corresponding wires (hot to hot, neutral to neutral) together.
Twist Wires Together Connect with Wire Nut
- Securely attach the wire nut.
Connect with Wire Nut Insulate the Connection
- Wrap electrical tape around the connection for added security.
Insulate the Connection

Tips
- Ensure the wires are twisted tightly before applying the wire nut.
- Wrap the electrical tape in the tightening direction for reinforcement.
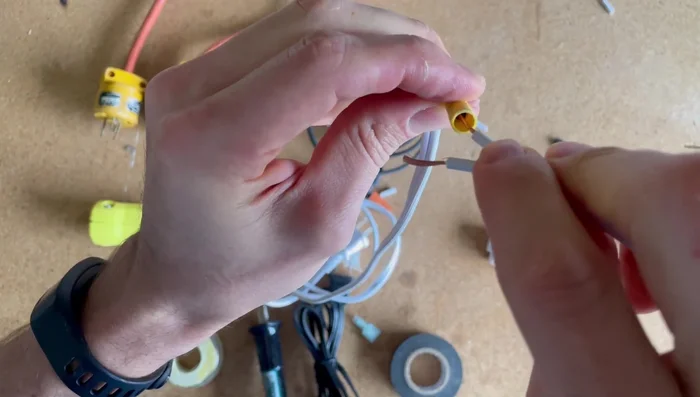
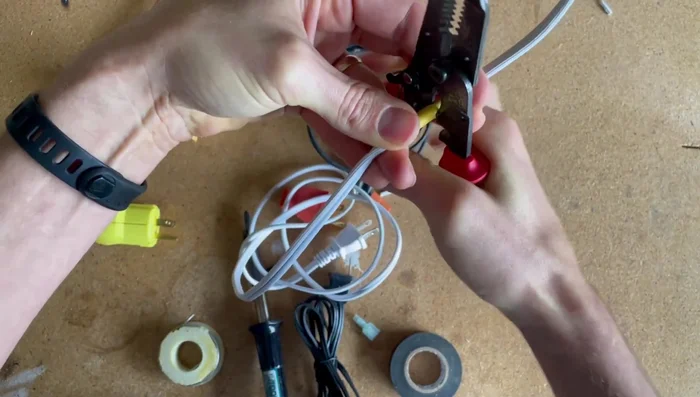
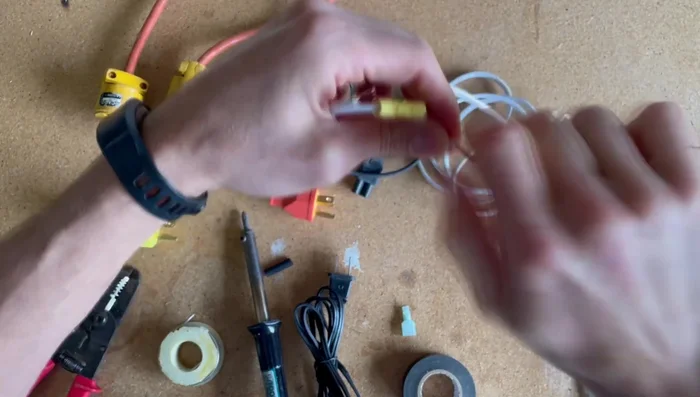
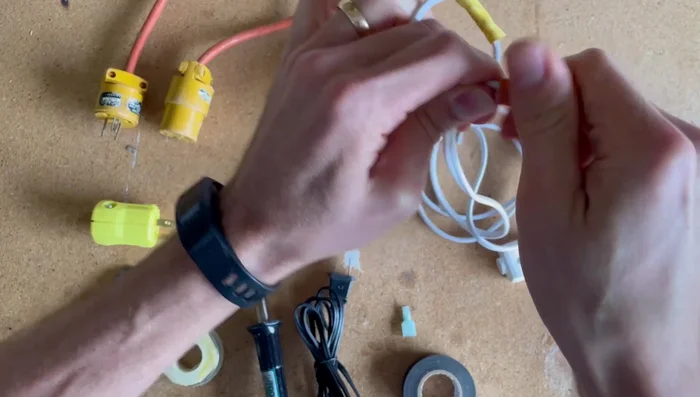
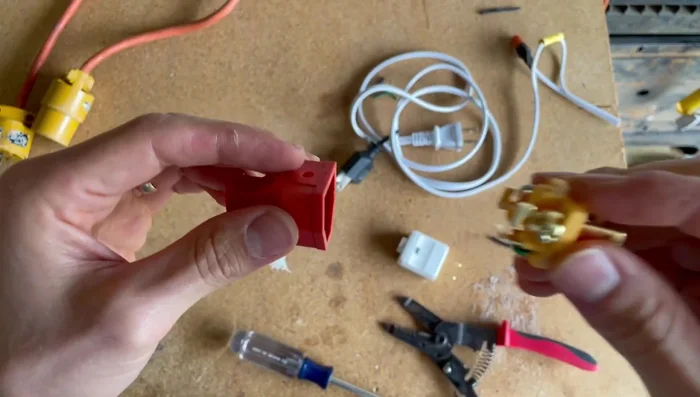
Methods: Male and Female Crimp Connectors
Tools Needed
- Male and female crimp connectors
- Wire strippers
- Crimpers
Step-by-Step Instructions
Prepare the Wires
- Strip the insulation from the wire ends.
Prepare the Wires Connect the Wires
- Insert the wires into the crimp connectors.
Connect the Wires Secure the Connection
- Crimp the connectors firmly using crimpers.
Secure the Connection
Tips
- Use connectors designed for the appropriate wire gauge.
Methods: Retrofit Plug Replacement
Tools Needed
- Retrofit plug
- Wire strippers
- Screwdriver
Step-by-Step Instructions
Prepare the Cord
- Cut the damaged plug off the cord.
- Strip the insulation from the wire ends to the recommended length.
Prepare the Cord Wire the Retrofit Plug
- Connect the wires to the correct terminals of the retrofit plug (ground to green, neutral to silver/nickel, hot to brass/copper).
Wire the Retrofit Plug Secure Connections
- Securely fasten the wires to the terminals by tightening the screws.
Secure Connections Assemble the Retrofit Plug
- Assemble the plug and cover.
Assemble the Retrofit Plug

Tips
- Identify the neutral and hot wires correctly (usually white and black, or ribbed and smooth).
- Ensure that none of the wires are touching each other inside the plug.