Deck railings are essential for safety, providing a crucial barrier and preventing accidents. However, over time, exposure to the elements and general wear and tear can cause even the sturdiest railing to become wobbly and unsafe. A loose railing is not just an inconvenience; it's a serious hazard, particularly for children and the elderly. Ignoring the problem can lead to costly repairs, or worse, injuries. One effective and relatively straightforward method to reinforce a wobbly deck railing is by using lag bolts.
This reliable technique strengthens the connection between the railing posts and the deck itself, restoring stability and peace of mind. This article will provide a comprehensive, step-by-step guide on how to successfully reinforce your wobbly deck railing using the lag bolt method, ensuring your deck remains a safe and enjoyable space for years to come.
Preparation and Safety Guidelines
- Half-inch lag bolts
- Washers
- Half-inch wrench
- Drill
- 15/64 inch drill bit (or slightly larger)
- Spade bit (for corner posts)
- Ratchet
- Always wear safety glasses and work gloves to protect yourself from flying debris and splinters.
- Ensure the deck is structurally sound before reinforcing railings. Wobbly railings may indicate a larger underlying problem.
- Use appropriate length lag bolts for your decking material and thickness. Too short, and they won't hold; too long, and they may penetrate through the decking.
Step-by-Step Instructions
Prepare Existing Fasteners
- Tighten existing fasteners.

Prepare Existing Fasteners Prepare for New Lag Bolts
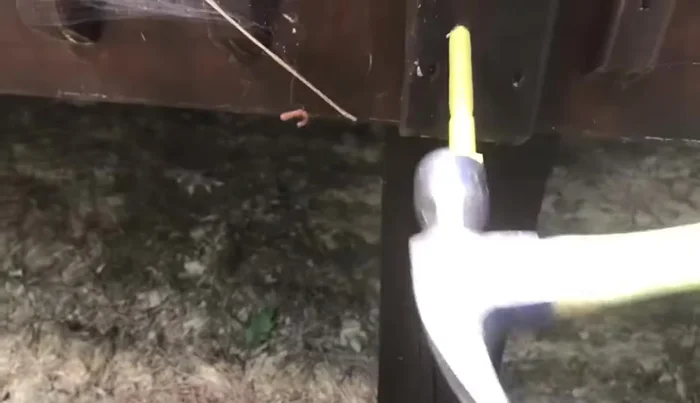
- Pre-drill pilot holes for new lag bolts using a correctly sized drill bit (15/64 inch for a 1/2 inch lag bolt in pine).
Prepare for New Lag Bolts Install Lag Bolts on Flat Posts
- For flat posts, install two lag bolts per leg, one high and one low, slightly offset to prevent splitting the wood.
- Start the lag bolts with a few hammer taps to help the threads bite.
- Tighten the lag bolts using a ratchet and socket until the washer gently bites into the post.
Install Lag Bolts on Flat Posts Prepare Corner Posts
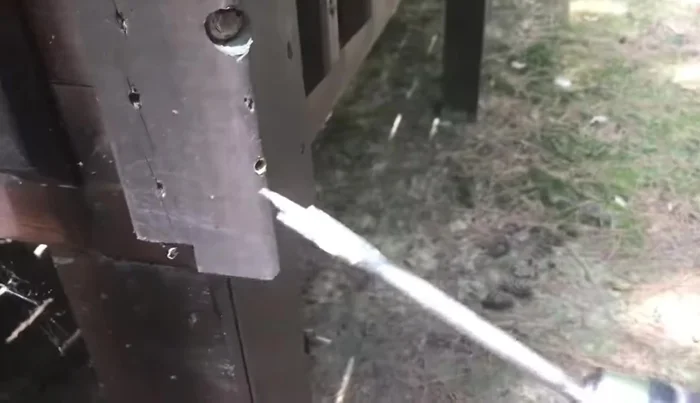
- For corner posts, use a spade bit to create a pocket for the washer to sit in at the angled surface.
Prepare Corner Posts Install Lag Bolts on Corner Posts
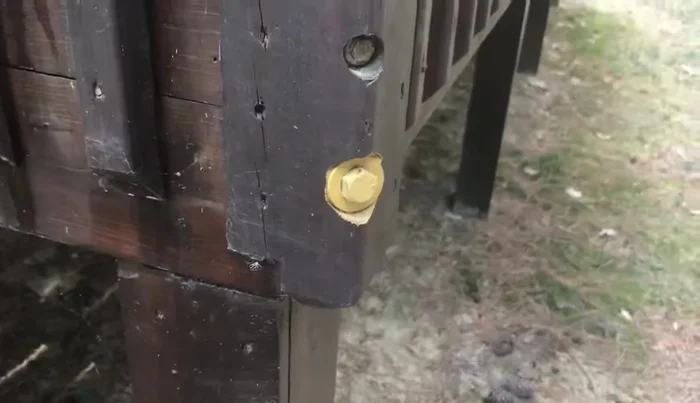
- Install longer lag bolts (6 inches recommended) in the corner posts, following the same tightening procedure.
Install Lag Bolts on Corner Posts


Tips
- Use exterior-grade lag bolts to prevent corrosion.
- Offset lag bolts to prevent grain splitting.
- Always use washers with lag bolts.
- Pre-drilling is crucial to prevent splitting the wood.
- Use a larger wrench (1/2 inch) for tightening the bolts.