Tired of the same old bedroom aesthetic? Yearning for a unique, stylish bed frame without breaking the bank? Then look no further! This guide will walk you through creating your own stunning, upcycled bed frame, transforming discarded or unwanted materials into a beautiful and sustainable piece of furniture. Forget mass-produced, generic designs; embrace the creativity and satisfaction of building something truly personal and eco-friendly. You'll be amazed at the transformation possible with a little ingenuity and elbow grease.
This project is perfect for both beginners and experienced DIY enthusiasts, requiring only basic tools and readily available materials. Whether you're working with reclaimed wood pallets, repurposed pipes, or even old doors, the possibilities are endless. Let's dive into the step-by-step process and craft your dream DIY upcycled bed frame, transforming unwanted items into a cherished centerpiece for your bedroom.
Preparation and Safety Guidelines
- Ryobi cordless bolt cutter
- Upholstery tools
- Butane torch
- Dremel saw Max
- Miter saw
- Wood glue
- Brad nailer
- Pocket hole jig
- Rockler clampet clip
- T-Rex tape
- WID fill
- Hairpin legs
- Clamps
- Always prioritize safety! Wear appropriate safety glasses and gloves when using tools like saws, drills, or hammers. Take your time and work methodically to avoid injury.
- Ensure structural integrity. Carefully assess the strength of your upcycled materials before building the bed frame. Reinforce weak points with additional supports or screws as needed to prevent collapse.
- Check for splinters and sharp edges. Thoroughly sand any rough or potentially hazardous surfaces on your upcycled wood before assembling and painting to prevent injury.
Step-by-Step Instructions
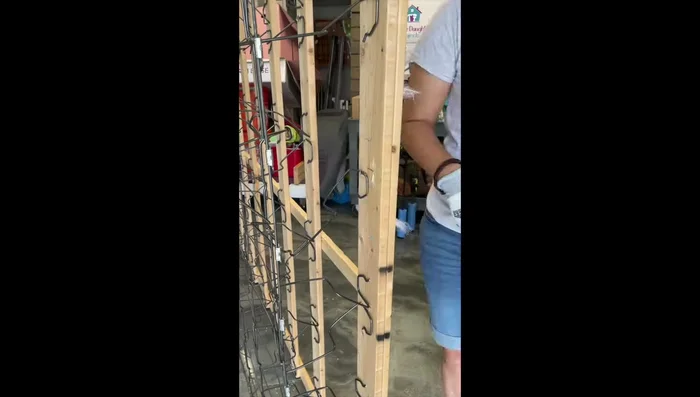
Deconstruct Old Box Springs
- Remove textiles, metal springs (using bolt cutter to remove staples), and burn away fabric puffs with a butane torch.

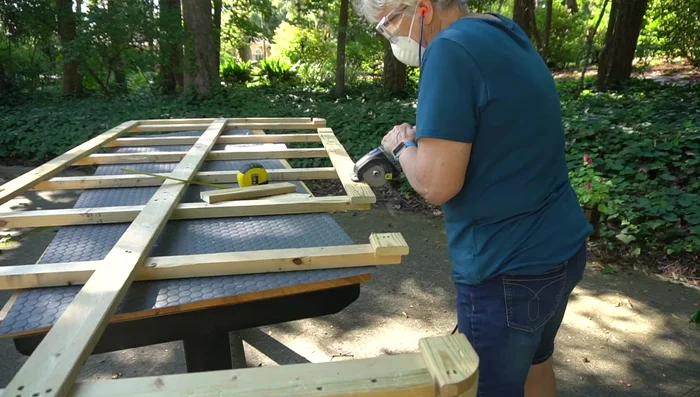
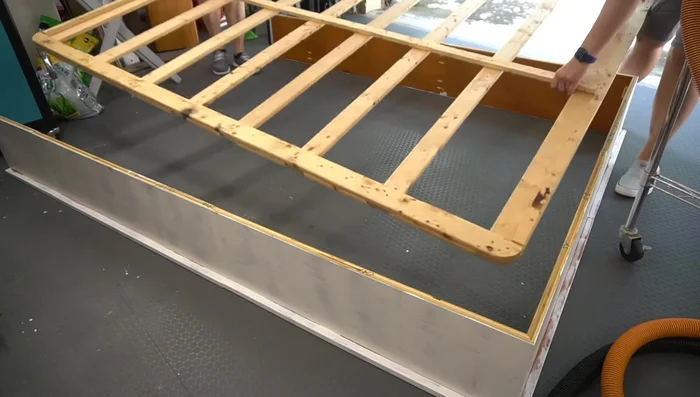
Deconstruct Old Box Springs Prepare Box Spring Base
- Cut and attach additional wood supports to reinforce the queen-size box spring using glue and brads. (Consider extending supports slightly beyond the existing frame for better bed fit).
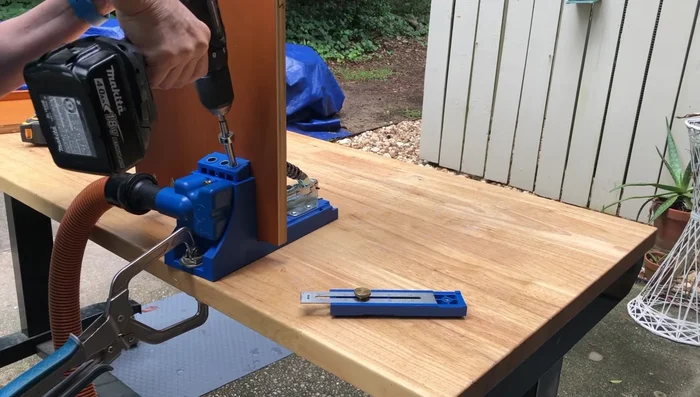
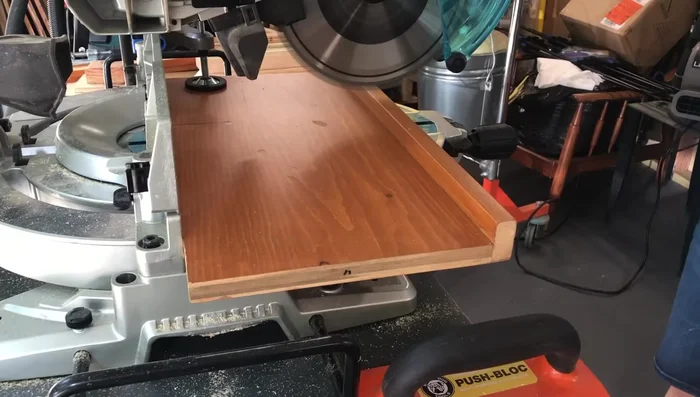
Prepare Box Spring Base Construct Bed Frame Sides
- Cut and assemble shelving pieces using pocket holes and screws. For corners, use bevel cuts for a cleaner look.
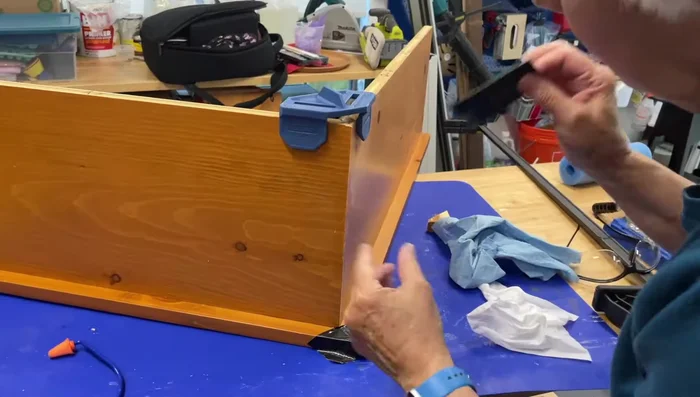
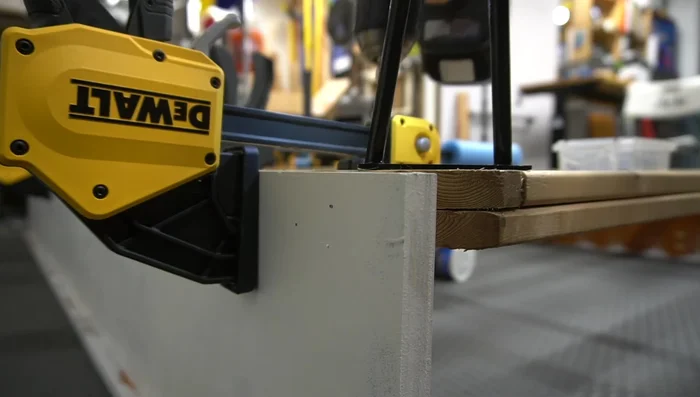
Construct Bed Frame Sides Assemble Frame Corners
- Glue and brad nail, using clamps and tape to hold pieces in place while drying. (Avoid using corner blocks; L-brackets offer a lower profile and better functionality)
Assemble Frame Corners Cut and Attach Front and Side Pieces
- Measure and cut shelving to fit the frame's front and sides. Attach using pocket holes and screws.
Cut and Attach Front and Side Pieces Attach Base to Frame
- With the frame upside down, attach the prepared box spring base using wood glue, clamps, and brads.
Attach Base to Frame Attach Legs and Paint
- Attach hairpin legs to the corners. Paint the frame (black in this example).
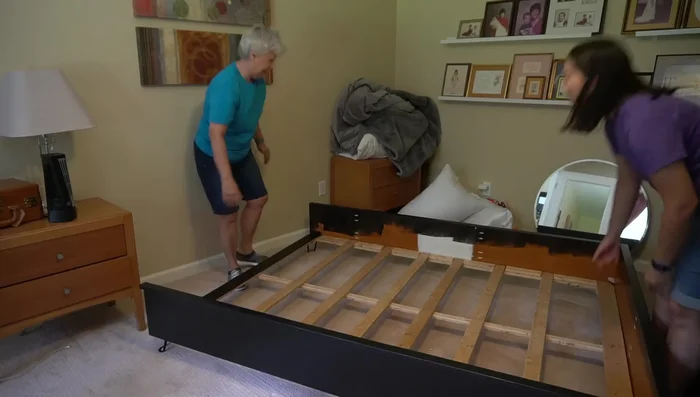
Attach Legs and Paint Position and Place Mattress
- Carefully maneuver the completed bed frame into its desired location and assemble the mattress.
Position and Place Mattress
Tips
- Extend wood supports beyond the existing box spring frame for a better fit.
- Use L-brackets instead of corner blocks for a lower profile and improved functionality.
- Precise measurements are crucial, accounting for the box spring's existing wood frame.