Unearthing hidden treasures at thrift stores is a thrill, and my recent discovery of a dilapidated antique mirror for a mere four dollars was no exception. Its tarnished frame and clouded glass hinted at a forgotten elegance, sparking an immediate desire to restore it to its former glory. This wasn't just a cleaning project; it was a journey of transformation, revealing the artistry and craftsmanship hidden beneath layers of grime and age. The challenge lay in carefully coaxing this forgotten beauty back to life, a process requiring patience, precision, and a healthy dose of elbow grease.
This article will guide you through the complete restoration process, from initial assessment and cleaning to the delicate task of repairing the mirror's frame and rejuvenating its reflective surface. Get ready to roll up your sleeves and discover the secrets to breathing new life into your own neglected antique finds, as we chronicle the step-by-step process of transforming this $4 thrift store treasure into a stunning piece of restored décor.
Preparation and Safety Guidelines
- Glue
- Wood
- Plywood
- Nails
- Sandpaper (various grits)
- Walnut Dye Stain
- Shellac
- French Polish
- Damp Rag
- Alcohol
- Scotch-Brite Pad
- Mahogany Aerosol Toner
- Extra Dark Walnut Toner
- Medium Brown Walnut Toner
- Marker
- Wax
- Always wear appropriate safety gear, including gloves and eye protection, when handling chemicals and sharp tools.
- Work in a well-ventilated area to avoid inhaling fumes from cleaning solutions or paints.
- Test any cleaning solution or paint on an inconspicuous area of the mirror first to ensure it doesn't damage the antique finish.
Step-by-Step Instructions
Preparation
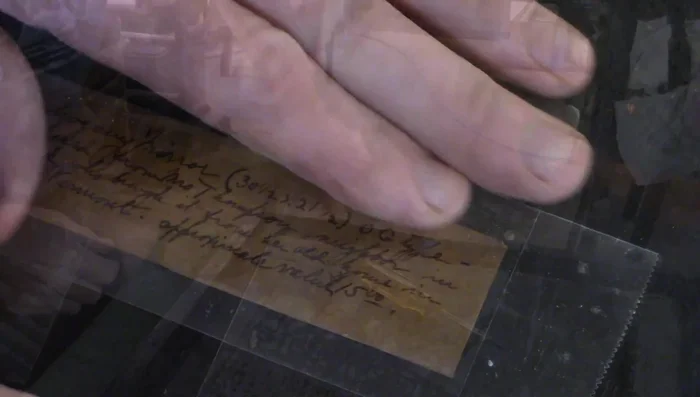
- Secure the note on the back of the mirror.
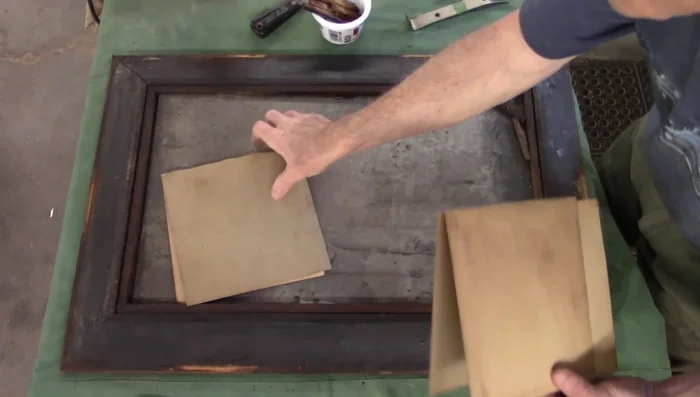
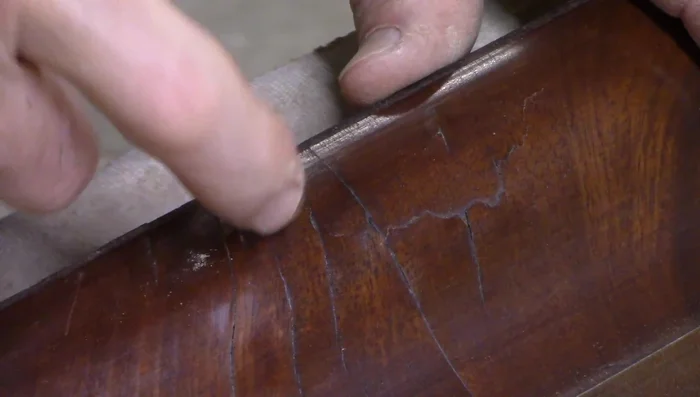
- Remove the glass and assess the frame damage.

Preparation Frame Repair
- Glue and clamp the broken frame pieces together.
- Create a block to support the curved molding during repair.
- Fill gaps and imperfections in the frame with wood filler.
- Let the glue dry overnight.
Frame Repair Frame Finishing (Exterior)
- Sand the frame to smooth out repairs and prepare for staining.
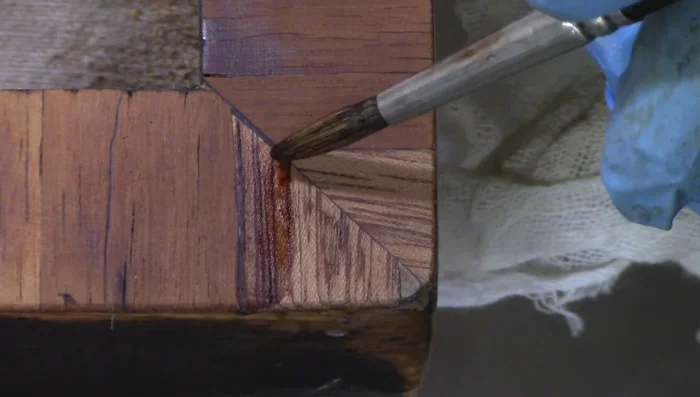
- Apply walnut dye stain to the repaired areas and the entire frame.
- Apply a coat of shellac.
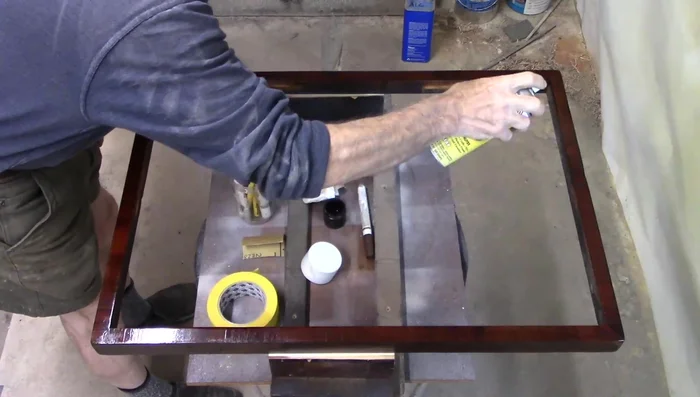
- Spray with aerosol shellac to build up the finish.
Frame Finishing (Exterior) - Sand the areas with new wood.
- Apply mahogany toner to repair areas.
- Blend in repair areas with medium brown walnut toner.
- Apply a final coat of aerosol shellac.
Frame Finishing (Exterior) Inner Frame Restoration
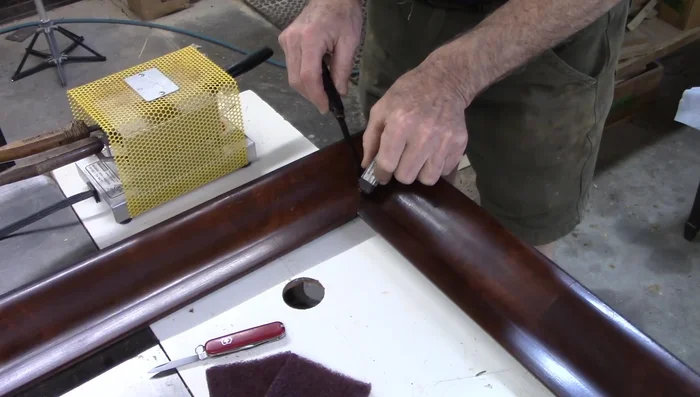
- Clean the inner frame and apply French polish.
- Fill any remaining gaps with wax.
Inner Frame Restoration Final Assembly and Polish
- Apply French polish for final finish.
- Install the inner frame into the outer frame.
Final Assembly and Polish


Read more: Silence that Squeaky Bed: A Complete Fix-It Guide
Tips
- Be patient when removing glue with a damp rag.
- Sanding cross-grain is acceptable on frames, provided you sand up to 220 grit.
- Test stain colors on a small, inconspicuous area before applying to the entire frame.