Is the rhythmic squeak of your bed disrupting your peaceful nights and intimate moments? A noisy bed isn't just annoying; it can be a real relationship strain! That persistent creak isn't just a minor inconvenience; it's a clear sign that something needs attention. Whether it's the result of loose screws, worn-out slats, or the friction of wood against wood, that irritating sound can be silenced permanently, and far more easily than you might think. Imagine sinking into a bed that offers blissful silence instead of a nightly symphony of squeaks.
This comprehensive guide will equip you with the knowledge and practical steps to conquer that bothersome bed squeak once and for all. From identifying the source of the noise to employing various DIY fixes, we'll walk you through a straightforward process, providing solutions for every type of squeaky bed. Ready to reclaim your peaceful slumber and rediscover the comfort of a silent night? Let's get started with our step-by-step guide to silencing that noisy bed.
Preparation and Safety Guidelines
- Hammer
- Nails (long and short)
- Pliers or Wrench
- Screwdriver (if applicable)
- Spare inner tube (optional)
- Always disconnect the power to any electrical outlets near the bed before starting any repairs. This prevents electric shock.
- If you are uncomfortable working with tools or are unsure about any step, it's best to hire a professional handyman. Avoid injury.
- Use appropriate safety glasses or eye protection when using tools like hammers or screwdrivers to protect your eyes from debris.
Step-by-Step Instructions
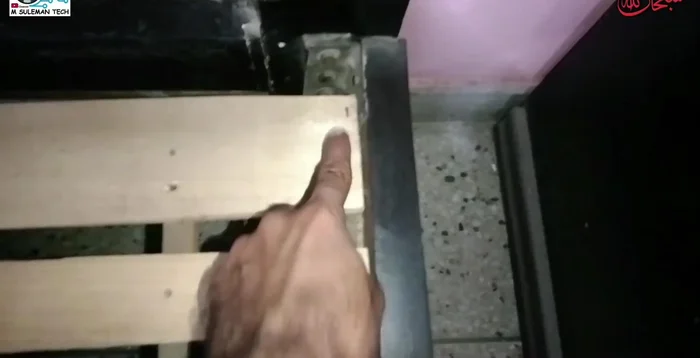
Secure Loose Nails
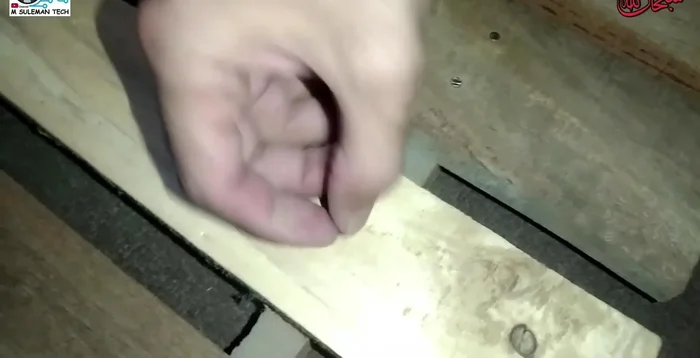
- Check and Secure Loose Nails:
- Identify loose nails causing the squeak. Use longer nails to replace any that are short or damaged.
- Hammer in the loose nails securely.

Secure Loose Nails Tighten Fasteners
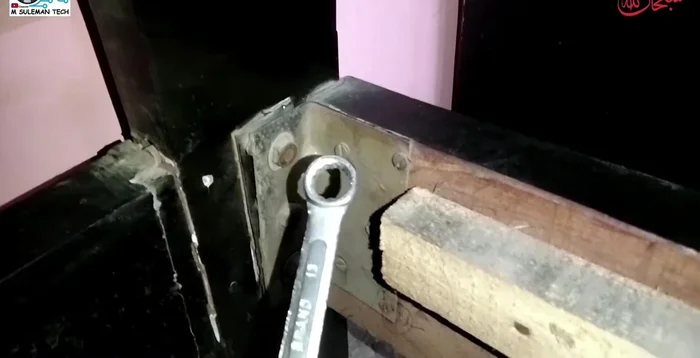
- Tighten Bolts and Screws:
- Locate and tighten any loose bolts or screws connecting the bed frame using a wrench or screwdriver. Ensure the bed is level before tightening.
Tighten Fasteners Eliminate Friction
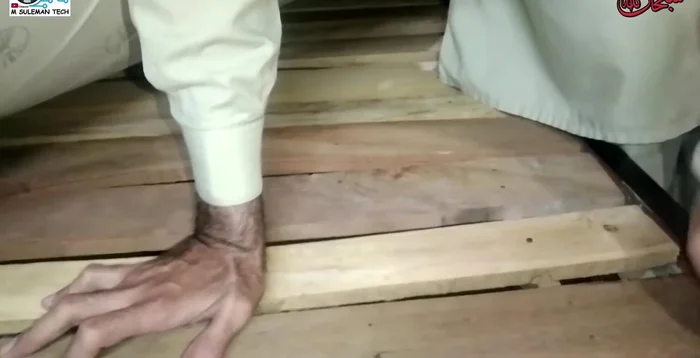
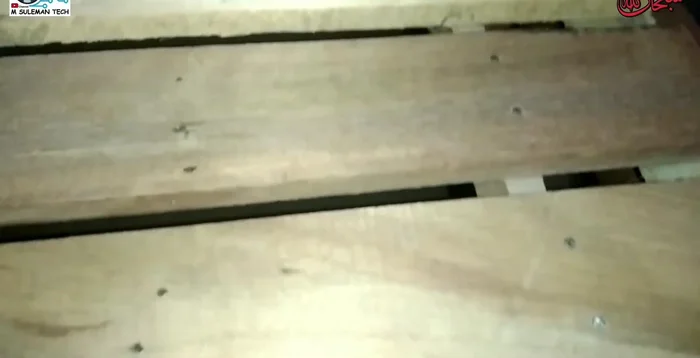
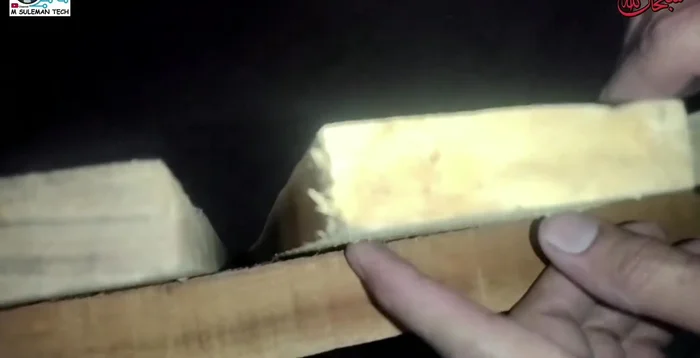
- Address Friction Points:
- Check for friction points between the bed frame and mattress. Remove any hair or debris causing rubbing.
- If there are gaps in the bed frame (common near the center support), use a cut-up inner tube to fill the gap and reduce friction.
Eliminate Friction Optimize Mattress Placement
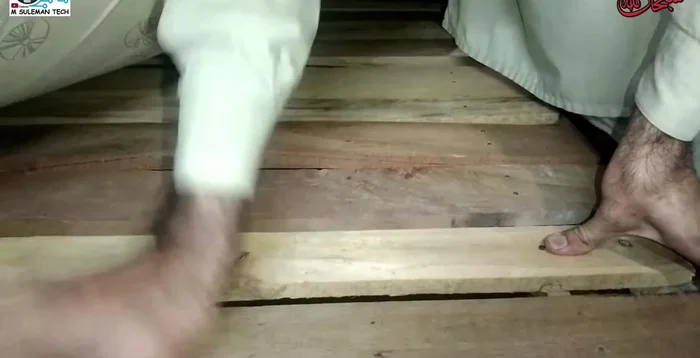
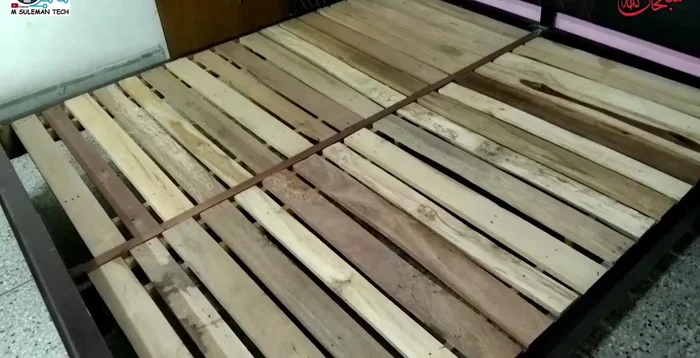
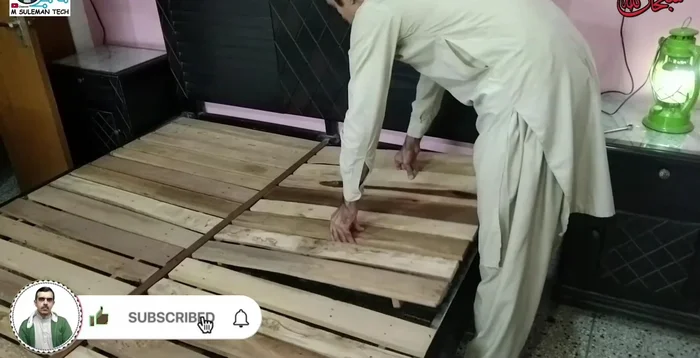
- Proper Mattress Placement:
- Number the slats of your bed frame to ensure correct reassembly after lifting. This prevents gaps and misalignment.
- Rotate your mattress periodically (every 6 months) to distribute wear and tear more evenly.
Optimize Mattress Placement


Read more: Antique Mirror Restoration: Transforming a $4 Thrift Store Find
Tips
- Always use longer nails for better stability. Short nails tend to loosen easily.
- Ensure the bed is level before tightening bolts or screws to avoid further damage.
- Numbering the slats helps in proper reassembly, which is crucial for preventing squeaks.
- Regular mattress rotation is important for overall bed longevity and squeak prevention.