Is your fire pit looking a little worse for wear? Perhaps the old bricks are crumbling, or the mortar is failing, leaving your cozy outdoor space looking less than inviting. A simple and stunning solution exists to rejuvenate your fire pit and transform its aesthetic: durable basalt tile. This incredibly resilient and heat-resistant natural stone offers both beauty and practicality, significantly extending the lifespan of your favorite gathering spot. Basalt's rich, dark tones add a touch of sophisticated elegance, while its inherent strength ensures years of worry-free enjoyment.
Transforming your fire pit with basalt tile is surprisingly manageable, even for DIY enthusiasts. This step-by-step guide will walk you through the entire process, from planning and material selection to the final grouting and sealing, equipping you with the knowledge and confidence to create a stunning focal point for your backyard. Let's get started!
Preparation and Safety Guidelines
- Basalt tile
- Tile saw
- Measuring tape
- Grinder with diamond wheel
- Dust mask
- Safety glasses/goggles
- Thinset
- Notch trowel
- Corner tool
- Drill with mixing wand
- Wire brush
- Spray bottle
- Palm sander
- Flap disc
- Outdoor/indoor paint (e.g., trim clad latex-based rust paint)
- Foam brush
- Stone sealant (e.g., Enrich and Seal)
- Always wear safety glasses and gloves when working with basalt tiles and cutting tools. Sharp edges and dust can cause injury.
- Ensure your fire pit is completely cool before beginning any tile installation. Hot surfaces can cause severe burns.
- Use appropriate heat-resistant mortar and adhesive designed specifically for high-temperature applications around fireplaces and fire pits.
Step-by-Step Instructions
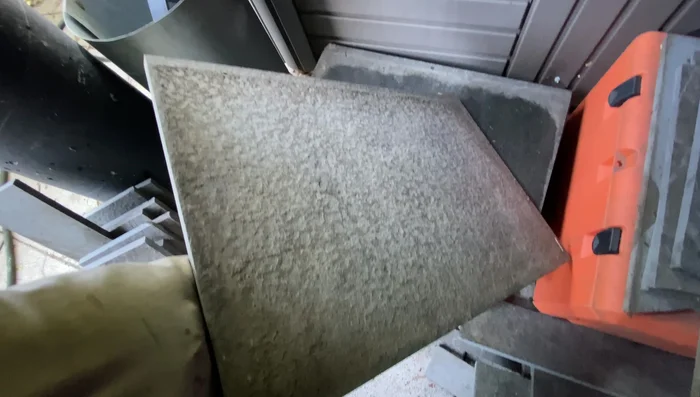
Prepare the Tiles
- Measure and cut basalt tiles to the desired size (7 1/4 inches wide).

Prepare the Tiles Plan Tile Placement
- Layout the cut tiles on the fire pit surface to plan the arrangement.
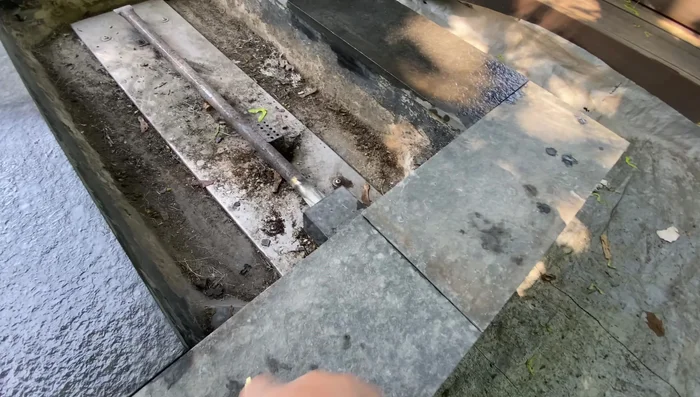
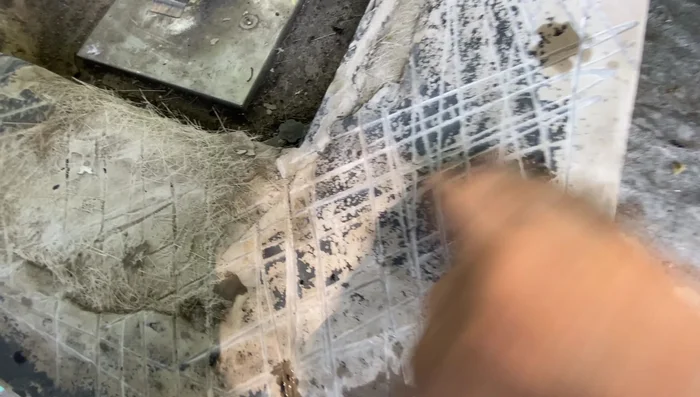
Plan Tile Placement Prepare the Fire Pit Surface
- Prepare the fire pit surface by creating slots/tooth using a grinder with a diamond wheel. Remember to wear a dust mask and safety glasses/goggles and wet the surface to minimize dust.
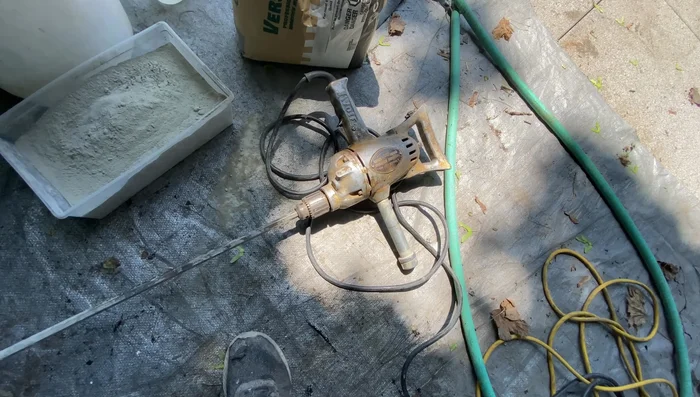
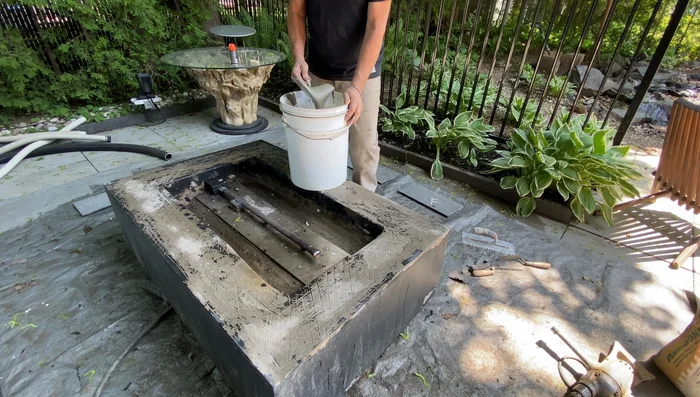
Prepare the Fire Pit Surface Mix and Prepare Thinset
- Mix the thinset according to the manufacturer's instructions.
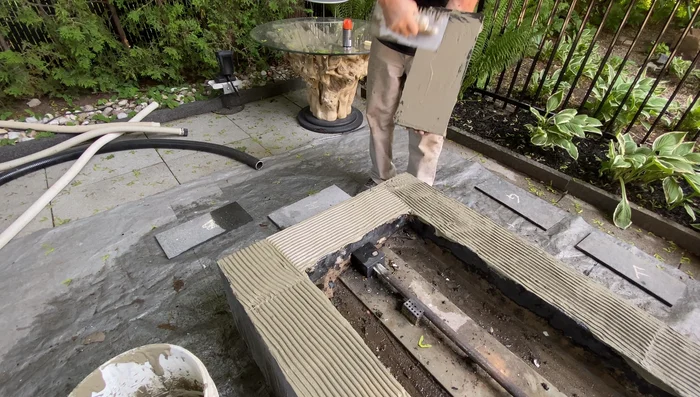
Mix and Prepare Thinset Install the Tiles
- Apply thinset to the fire pit surface using a notch trowel.
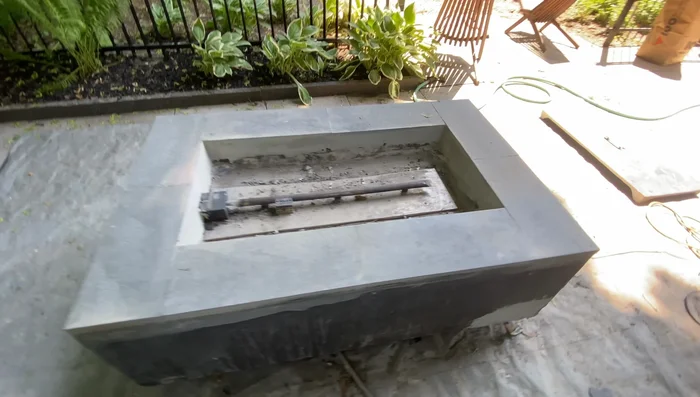
- Apply the basalt tiles, pressing gently to ensure good contact with the thinset. Let it cure overnight.
Install the Tiles Smooth and Finish Edges
- Sand the edges of the fire pit and basalt tiles to smooth any sharp edges. Use a flap disc to round off the edges for safety.
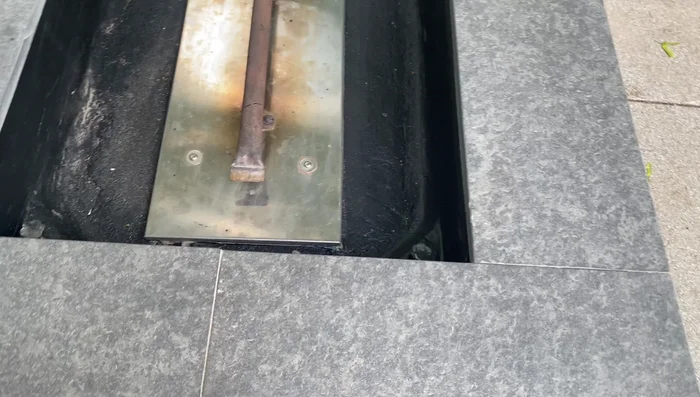
Smooth and Finish Edges Paint the Fire Pit
- Paint the fire pit sides, lid, and interior with an outdoor/indoor paint suitable for high-heat areas. Apply multiple coats.
Paint the Fire Pit Seal the Tiles
- Apply a sealant to the basalt tiles using a foam brush, then wipe off any excess. Allow to dry.
Seal the Tiles Final Touches
- Replace any decorative rocks or elements.
Final Touches

Read more: Reinforce Wobbly Deck Railings: The Lag Bolt Method
Tips
- Wear appropriate safety gear, including a dust mask with fine particle filtration and safety glasses or goggles, when using a grinder.
- Wet down the fire pit surface before grinding to reduce dust.
- Allow thinset to sit for 5 minutes after mixing before applying.
- Use a wire brush to lightly mist the fire pit surface before applying thinset to prevent moisture draw.
- Don't apply pressure to the tiles when setting; let them 'float' on the thinset.