A gaping hole in your basement door is more than just an eyesore; it's a security risk and a potential energy drafter, letting in cold air, pests, and unwanted visitors. A damaged basement door compromises the integrity of your home's security and can lead to increased energy bills. Whether the damage is from a forceful entry, accidental impact, or simply age and wear, a compromised door needs immediate attention. Ignoring the problem only allows the damage to worsen, leading to more extensive and costly repairs down the line. Fortunately, fixing a hole in your basement door doesn't require professional help and can be accomplished with basic tools and a little DIY know-how.
This guide offers a comprehensive, step-by-step process for repairing a hole in your basement door, no matter the size or cause. From assessing the damage and gathering the necessary materials to patching and finishing the repair, we'll walk you through each stage, providing clear instructions and helpful tips to ensure a professional-looking and long-lasting fix. Let's get started!
Preparation and Safety Guidelines
- Wire brush
- Rust reformer
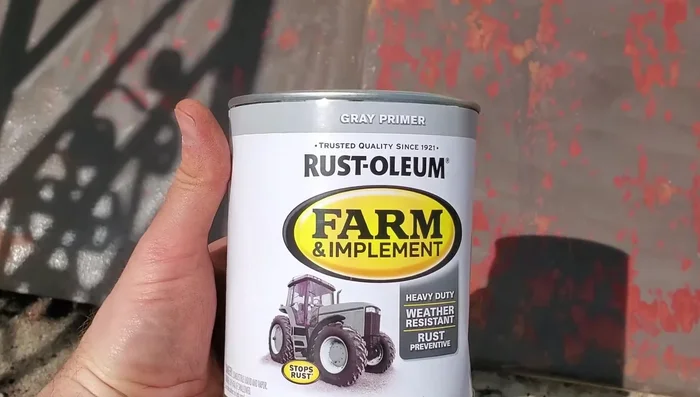
- Primer for farm implements
- Spray can (with paint scraper alternative)
- High-performance metal reinforced bondo
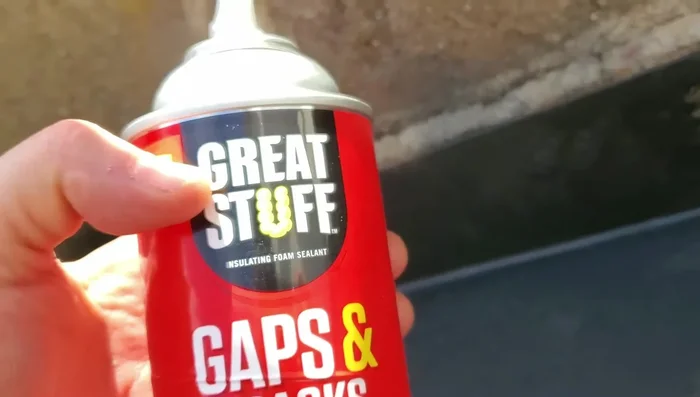
- Great Stuff gap filler
- Solo cups
- Paint stick
- Sandpaper
- Always disconnect the power to any nearby electrical circuits before starting any repairs to avoid electric shock.
- Wear appropriate safety gear, including gloves and eye protection, to protect yourself from sharp edges, debris, and potential hazards.
- If the damage is extensive or you are unsure about any step of the repair process, consult a qualified professional. Attempting repairs beyond your skill level could worsen the damage or create safety risks.
Step-by-Step Instructions
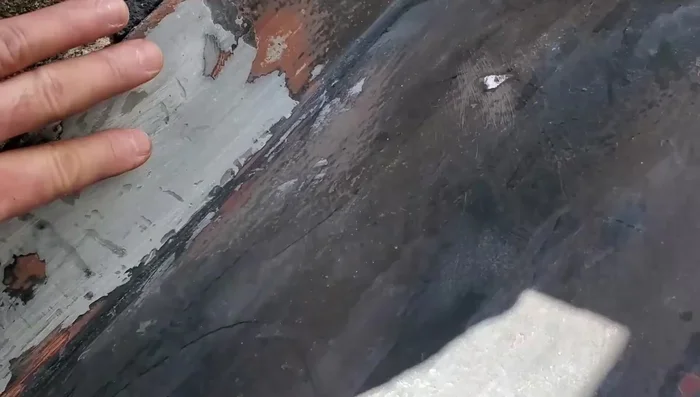
Prepare the Damaged Area
- Clean the rusted area with a wire brush to expose bare metal. This will involve making the hole larger initially.
- Apply rust reformer to the bare metal to convert rust into a paintable surface.

Prepare the Damaged Area Fill the Hole with Expanding Foam
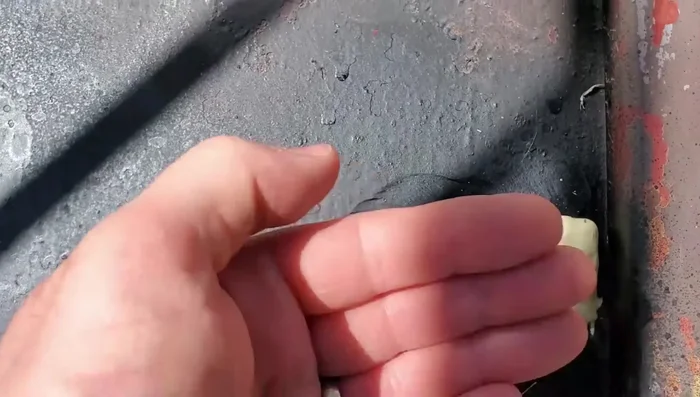
- Backfill the hole with Great Stuff gap filler. Allow it to expand completely (about an hour).
- Trim excess expanding foam, leaving a cavity to be filled with bondo.
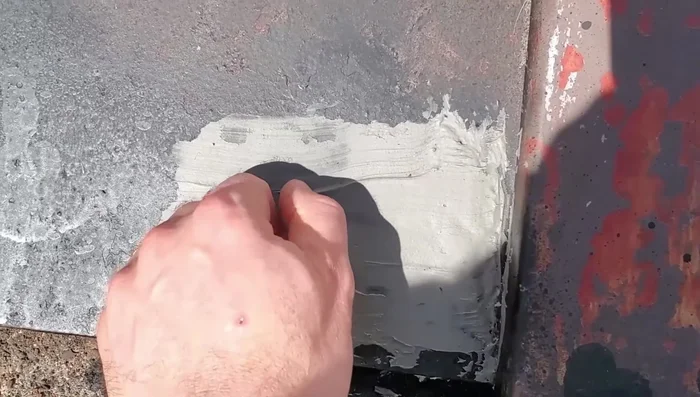
Fill the Hole with Expanding Foam Fill and Shape with Bondo
- Mix the metal-reinforced bondo according to the instructions (35 drops of hardener for this example).
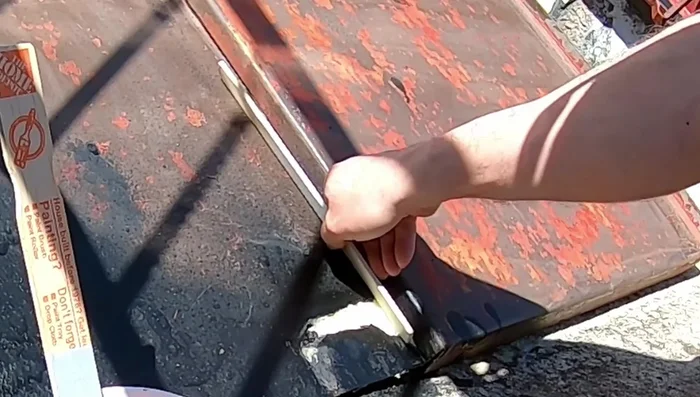
- Apply the bondo to the hole, ensuring it fills the cavity and adheres to the metal on both sides. Shape it as needed using a paint stick.
- Allow the bondo to harden completely (approximately 24 hours).
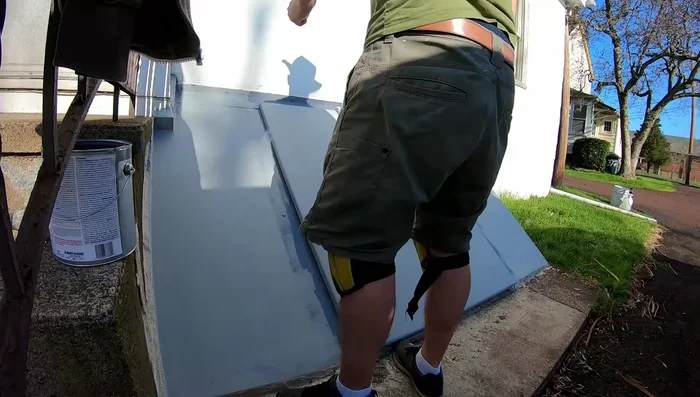
Fill and Shape with Bondo Smooth and Prepare for Painting
- Sand the bondo smooth to match the surrounding area of the door.
- Prime the repaired area with a heavy-duty primer (farm implement primer in this case).
- Apply a top coat of paint to match the existing door.
Smooth and Prepare for Painting


Read more: Reinforce Wobbly Deck Railings: The Lag Bolt Method
Tips
- Wear a mask during the cleaning and preparation phases to avoid inhaling dust and potentially harmful particles.
- Mix the bondo thoroughly and work quickly, as it has a limited working time.
- Always work with bondo outdoors due to its strong odor.
- The initial shaping of the bondo is crucial for a smooth final result.
- Metal-reinforced bondo is significantly harder and more durable than standard bondo.