Cracked, crumbling, or simply unsightly concrete steps are a common eyesore, detracting from the curb appeal of any home. These seemingly minor imperfections can quickly become significant safety hazards, especially for children and the elderly. Fortunately, tackling a concrete step repair project doesn't require professional expertise or a hefty budget. With the right tools and a little patience, you can restore your steps to their former glory and enhance both the aesthetics and safety of your property. Repairing damaged concrete steps is a manageable DIY project, saving you potentially substantial repair costs.
This comprehensive guide provides a step-by-step approach to repairing your concrete steps, walking you through every stage of the process, from assessment and preparation to final finishing. Whether you're dealing with minor cracks, significant chips, or extensive damage, we'll equip you with the knowledge and techniques necessary to achieve a durable and visually appealing repair. Let's get started!
Preparation and Safety Guidelines
- Cold chisel
- Hammer
- Hammer drill
- Tapcon screws
- Hammer drill or impact driver
- Shop vac
- Paintbrush
- Quikrete quick-setting cement
- Plywood form
- Pam cooking spray
- Cinder blocks
- Respirator
- Margin trowel
- Steel trowel
- 24-inch level
- Edging tool
- Moist sponge
- Always wear safety glasses and a dust mask to protect your eyes and lungs from dust and debris.
- Use appropriate work gloves to protect your hands from chemicals and rough surfaces. Concrete and its mixing components can cause skin irritation.
- Ensure adequate ventilation when mixing and applying concrete. The fumes can be harmful if inhaled in poorly ventilated spaces.
Step-by-Step Instructions
Preparation
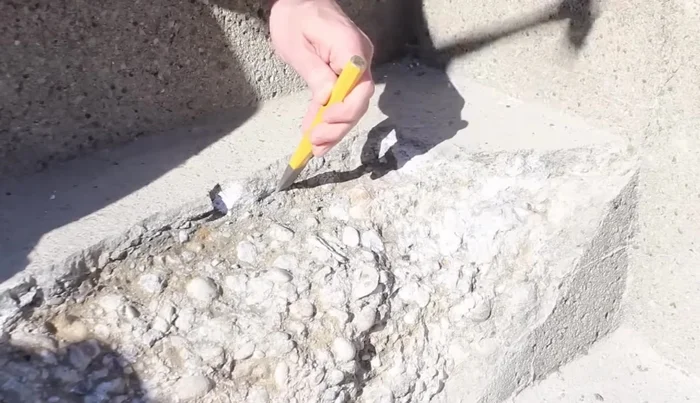
- Undercut all edges using a cold chisel and a hammer to help the new concrete bond properly.
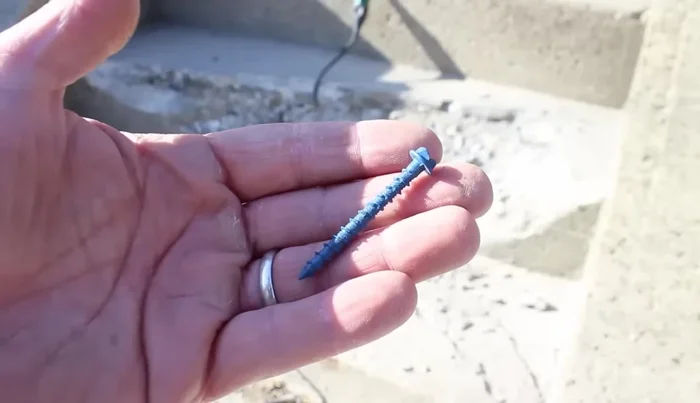
- Drill holes strategically into the old concrete using a hammer drill and tapcon drill bit. Install tapcon screws about 1/4 to 1/2 inch below the surface of the new concrete.
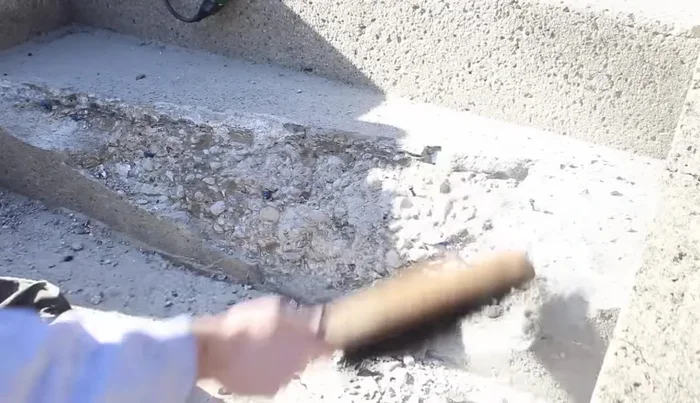
- Thoroughly dust off the step using a shop vac to ensure proper bonding.

Preparation Apply Adhesive
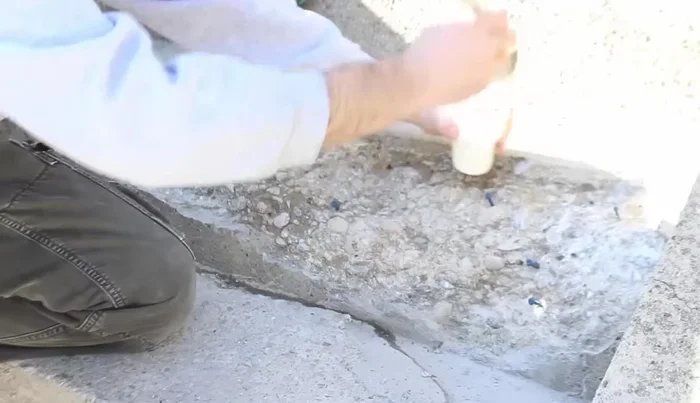
- Apply concrete bonding adhesive liberally to the step using a paintbrush.
- Wait 2-3 hours for the adhesive to dry.
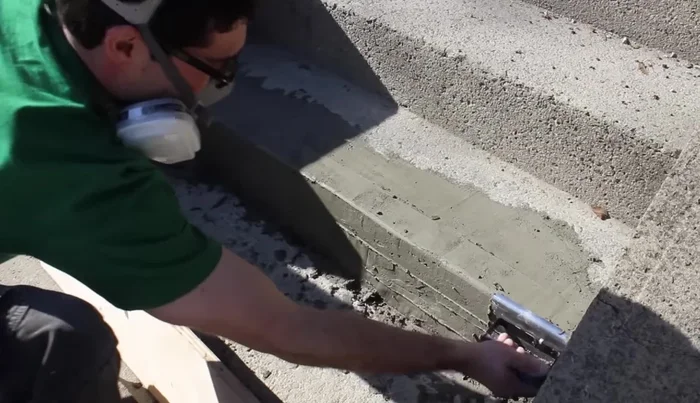
Apply Adhesive Form Creation and Placement
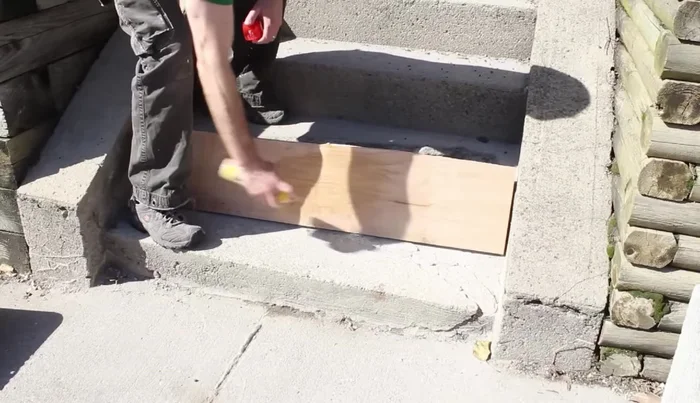
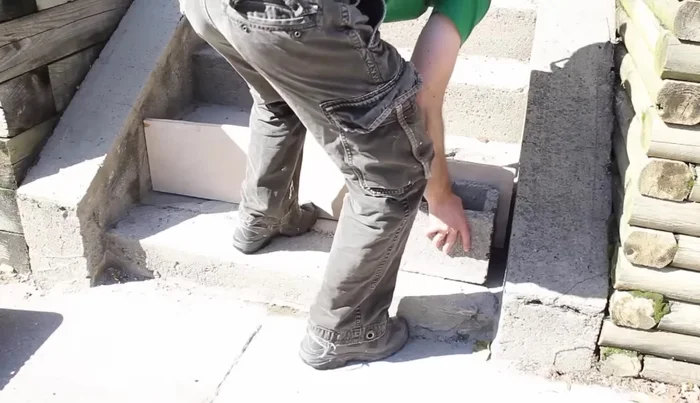
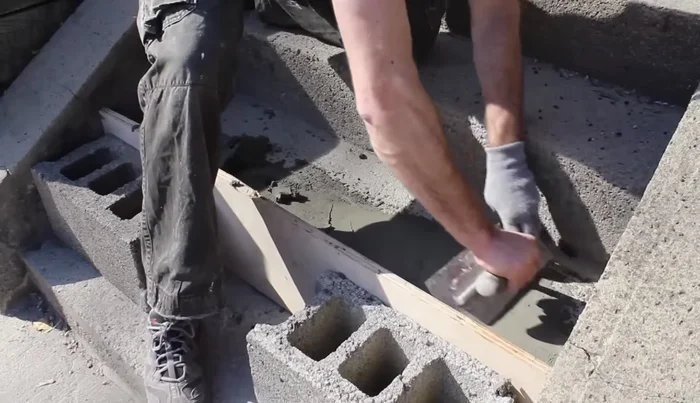
- Spray Pam cooking spray onto the plywood form to prevent cement sticking.
- Place the form flush against the old step, securing it with cinder blocks to ensure it’s plumb.
Form Creation and Placement Pour and Level Concrete
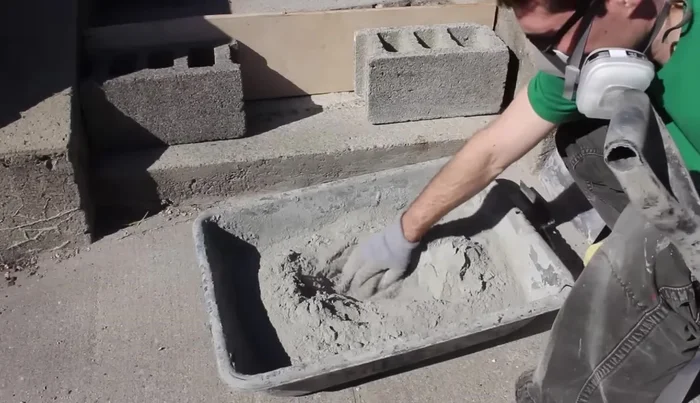
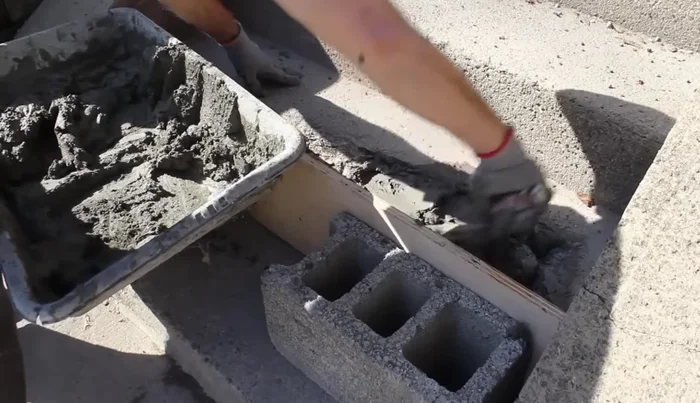
- Mix quick-setting cement with water according to package directions to a smooth, heavy consistency.
- Fill the form with the cement mixture, pushing it down firmly to ensure good contact with the old step.
- Use a steel trowel to smooth the edges between the new and old cement, checking for levelness with a 24-inch level. Fill low spots and scrape off high spots.
Pour and Level Concrete Form Removal and Finishing
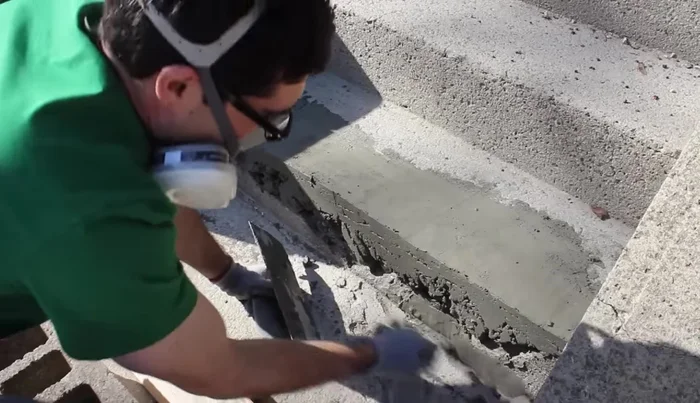
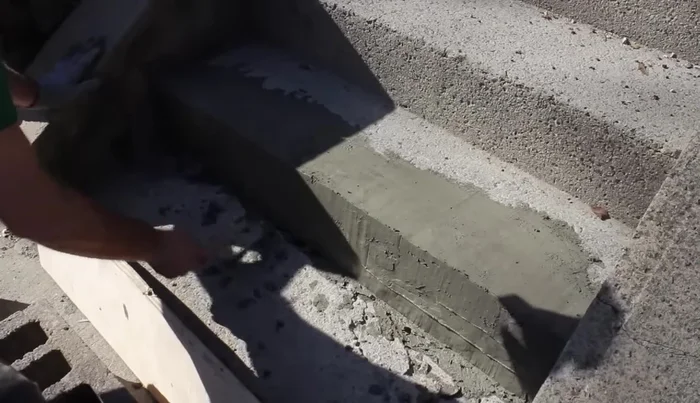
- Remove the form and fill any voids with additional cement, smoothing with a steel trowel and checking for plumbness with a level.
- Scrape off any excess cement from the old step.
- Round the edges of the new step using an edging tool.
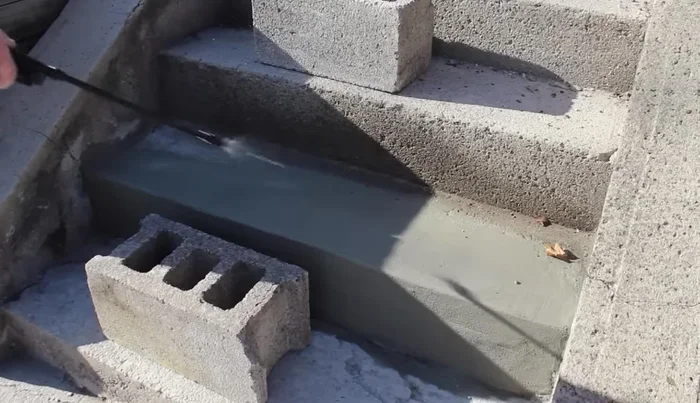
Form Removal and Finishing Curing and Sealing
- Smooth the surface with a moist sponge.
- Keep the new cement moist for at least 48 hours, covering it with plastic if necessary.
- Seal the cement once it has fully cured.
Curing and Sealing


Read more: Reinforce Wobbly Deck Railings: The Lag Bolt Method
Tips
- Use a respirator when handling cement.
- Work quickly, especially when using quick-setting cement.