Your deck – once a vibrant outdoor haven – has succumbed to the relentless forces of nature. The once-smooth wood is now weathered, cracked, and perhaps even showing signs of rot. A neglected deck can quickly become a safety hazard and detract significantly from your home's curb appeal. But don't despair! Reviving your worn-out deck is entirely achievable, even if your DIY skills are less than expert. With a little elbow grease and the right approach, you can transform your dilapidated deck back into a stunning outdoor space perfect for relaxation and entertaining.
This guide offers a comprehensive, step-by-step approach to deck restoration, covering everything from thorough cleaning and repair to staining and sealing, ensuring your deck is ready for years of enjoyment. Let's get started on revitalizing your outdoor oasis, transforming that tired space into a beautiful and functional extension of your home.
Preparation and Safety Guidelines
- Hammer
- Drift pin
- Power washer
- Garden hose
- 15° nozzle
- Deck cleaner and brightener
- Sprayer
- Synthetic bristle brush
- Orbital sander
- 80 grit sandpaper
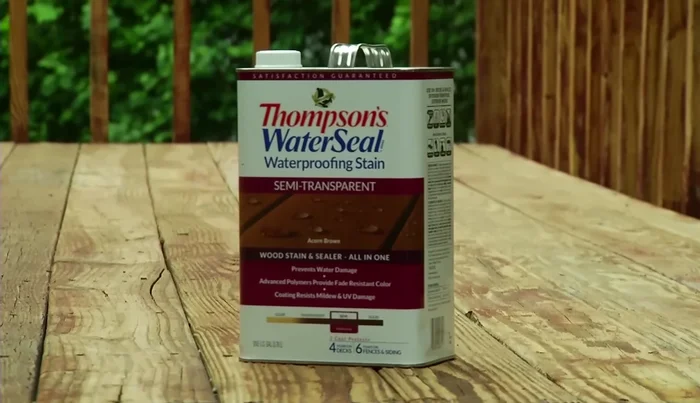
- Thompson's Water Seal waterproofing stain
- Deck staining pad
- Small brush
- Always wear appropriate safety gear, including safety glasses, gloves, and sturdy footwear. Working with power tools and cleaning solutions requires protection.
- Before starting any work, ensure the deck is structurally sound. Check for loose boards, rot, and any signs of pest infestation. Repair or replace damaged components before proceeding with restoration.
- Be mindful of weather conditions. Avoid working in rain or extreme heat. Allow ample drying time between cleaning and staining/sealing.
Step-by-Step Instructions
Prepare the Deck Surface
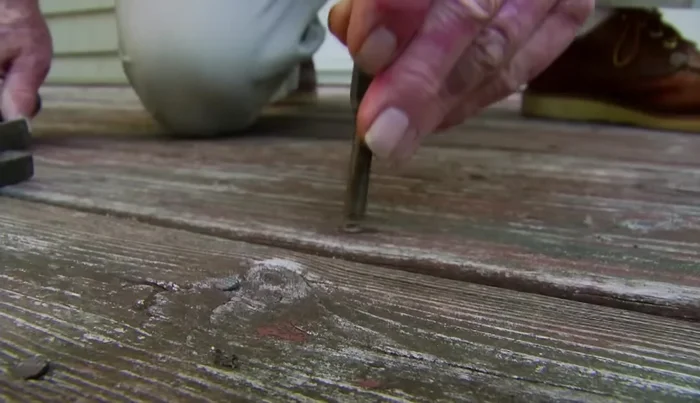
- Reset protruding nails flush with the surface using a hammer and drift pin to avoid denting the wood.

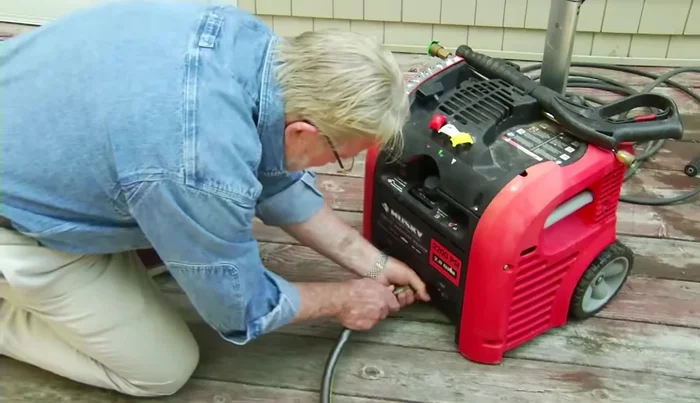
Prepare the Deck Surface Power Wash the Deck
- Clean the deck using a power washer with a 15° nozzle, keeping the wand moving and 6-8 inches from the surface.
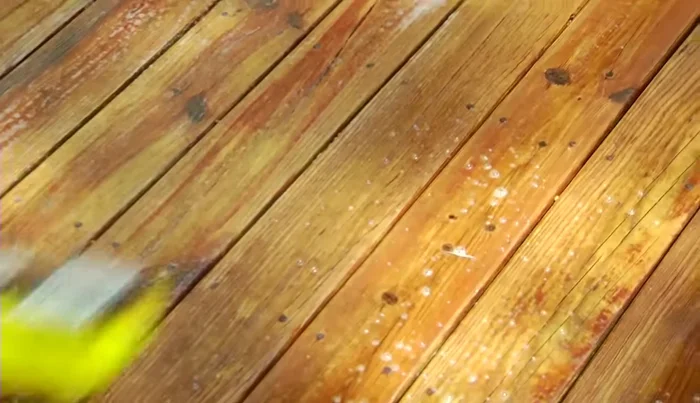
Power Wash the Deck Clean and Brighten the Wood
- Apply a deck cleaner and brightener to remove residue and lighten dark spots. Pre-wet surrounding grass and shrubs to dilute runoff.
- Scrub the cleaner into the wood with a synthetic bristle brush, let it sit for 10-15 minutes, and then rinse thoroughly.
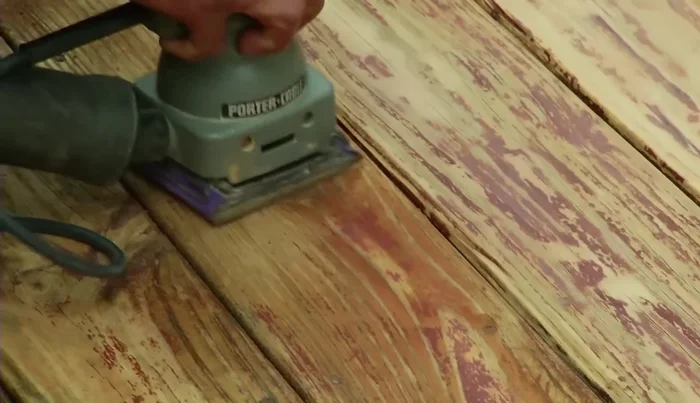
Clean and Brighten the Wood Sand (Optional)
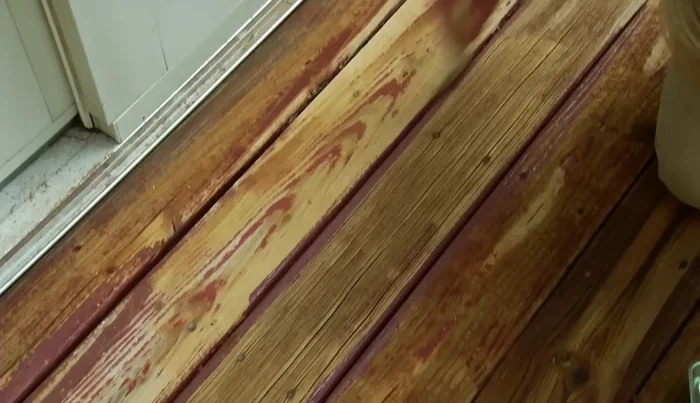
- Remove stubborn stain spots with an orbital sander and 80 grit sandpaper. Sand handrails for smoothness.
Sand (Optional) Apply Waterproofing Stain
- Apply Thompson's Water Seal waterproofing stain using a deck staining pad, working the stain into the wood evenly, following the grain.
- Use a narrow brush to coat the sides of the deck boards. For railings and vertical surfaces, apply sealer from bottom to top.
Apply Waterproofing Stain
Read more: Reinforce Wobbly Deck Railings: The Lag Bolt Method
Tips
- Keep the power washer wand moving at all times and hold it at least 6 to 8 inches from the surface to avoid damaging the wood.
- Pre-wet the deck surface on warm days to prevent the cleaner from drying too quickly.
- Apply the stain and sealer to three or four boards at a time, always moving the pad in the direction of the grain. Re-wet the pad frequently for even distribution.
- This sealer can be applied to damp wood, allowing cleaning and coating to be done on the same day.