Transform your living space with the charm and elegance of beadboard – without the hefty price tag of professional installation! A DIY beadboard accent wall is a surprisingly achievable project that delivers a remarkable impact, instantly elevating the aesthetic of any room. Whether you're aiming for a classic coastal cottage vibe, a sophisticated farmhouse feel, or simply want to add visual texture and interest to a bland wall, this project is perfect for homeowners of all skill levels. Beadboard's clean lines and subtle detailing create a timeless look that complements a variety of interior design styles.
Forget expensive renovations and lengthy waits; creating a stunning beadboard accent wall is easier and faster than you might think. This guide provides a straightforward, step-by-step approach, empowering you to tackle this project with confidence and achieve professional-looking results in a weekend. Let’s dive into the process and discover how you can effortlessly revamp your home with this beautiful and budget-friendly upgrade.
Preparation and Safety Guidelines
- 3/4" x 4' x 8' beadboard panels
- 2 eight-foot chair rail trim pieces
- 2 eight-foot 1x4 primed boards
- Liquid nails
- Brad nailer
- 1 1/2" brad nails
- 1" brad nails
- Utility knife
- Hammer
- Pry bar
- Multi-tool
- Circular saw
- Jigsaw
- Wood filler
- Caulk
- Paint
- Straight edge
- Clamps
- Always wear safety glasses to protect your eyes from flying debris during cutting and installation.
- Use appropriate safety equipment like work gloves to prevent cuts and splinters while handling the beadboard panels and tools.
- Ensure proper ventilation when using adhesives or paints, following the manufacturer's instructions carefully to avoid inhaling harmful fumes.
Step-by-Step Instructions
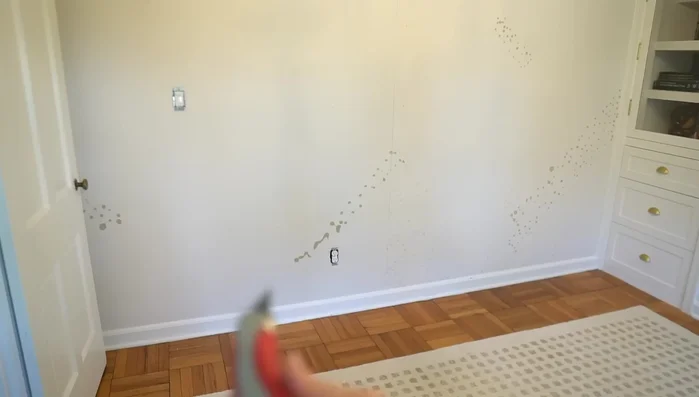
Prepare the Wall
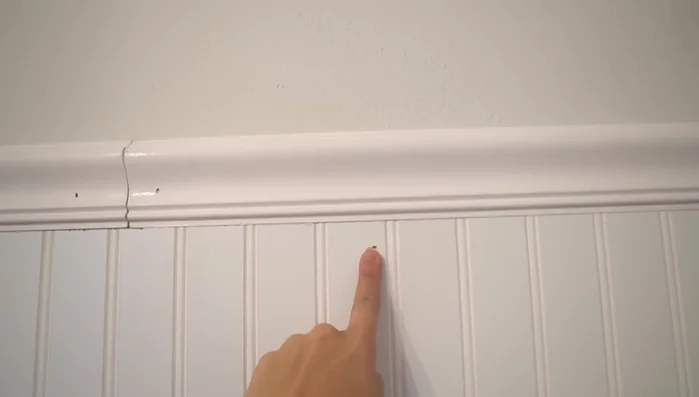
- Remove existing base trim (if necessary). If the trim profile is thin, replace it with 1x4 boards for a better base for the beadboard.

Prepare the Wall Install Base Trim
- Install new base trim using a brad nailer and 1 1/2" brad nails, ensuring it's level.
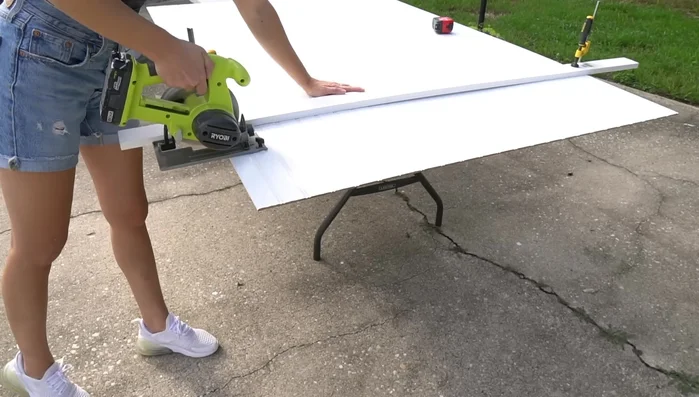
Cut Beadboard
- Cut beadboard panels to length (5 feet in this example).
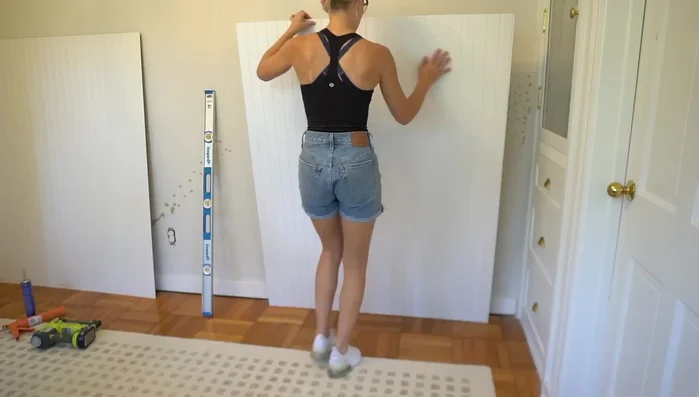
Cut Beadboard Install Beadboard
- Apply liquid nails to the back of the first beadboard panel and attach it to the wall, ensuring it's level. Secure with 1" brad nails while the adhesive sets.
- Repeat step 4 for subsequent beadboard panels, ensuring the seams align for a seamless look. If necessary, notch out for outlets before installation.
Install Beadboard Install Top Trim
- Install chair rail trim at the top of the beadboard using 1 1/2" brad nails.
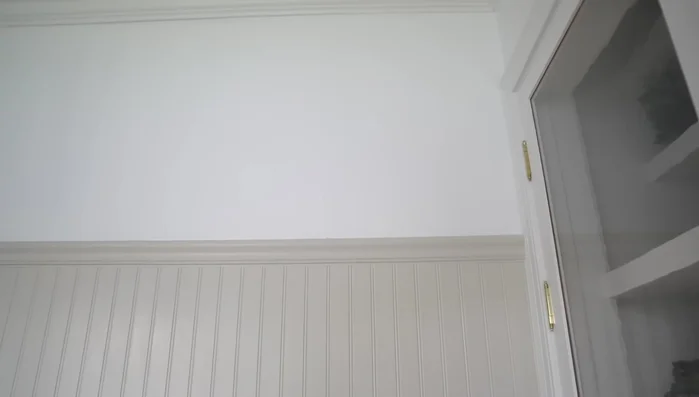
Finish and Paint
- Fill nail holes with wood filler and caulk seams for a clean finish.
- Paint the beadboard accent wall.
Finish and Paint
Read more: Ultimate Guide to Harmonious Bedroom Furniture Arrangement
Tips
- Use a straight edge and clamps when cutting beadboard panels for accurate cuts.
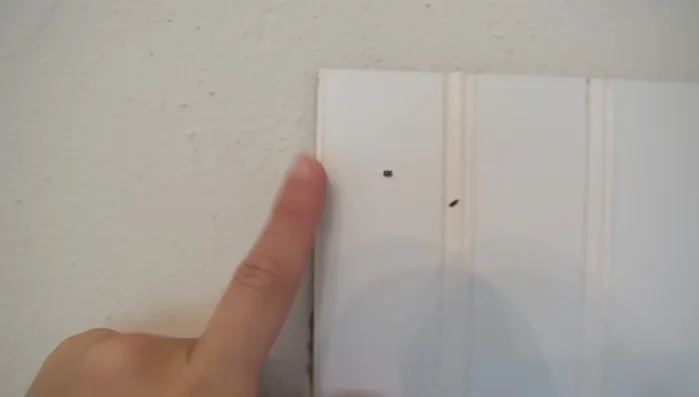
- Match up the ends of the beadboard panels to create a seamless look.
- Use a workbench when cutting out for outlets to avoid damage to the wall.
- Press down firmly on the beadboard to remove any gaps when installing it.