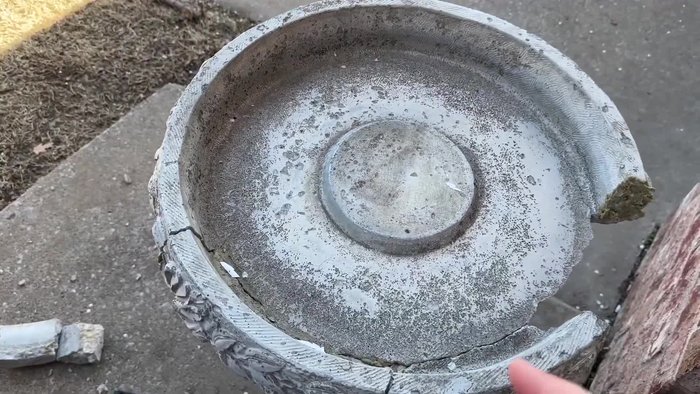
That chipped bird bath, a cherished gift or a family heirloom, doesn't have to end up in the trash. A cracked or damaged bird bath, brimming with sentimental value, can often be resurrected with a little DIY know-how and the right materials. This isn't about a perfect restoration; it's about breathing new life into a beloved garden feature and ensuring feathered friends continue to enjoy its refreshing waters. We're talking quick, effective repairs that won't require advanced skills or expensive tools. The key is to combine the strength of quick-setting cement with the flexible sealing power of Flex Seal for a lasting, durable mend.
This article provides a straightforward, step-by-step guide demonstrating how to effectively repair your sentimental bird bath using these readily available products. Whether it's a small crack or a more substantial chip, we'll walk you through the process, ensuring your bird bath is back in service, providing a welcome oasis for local birds in no time.
Preparation and Safety Guidelines
- Parchment paper
- Duct tape
- Quick-setting cement
- Flex Seal
- Always wear safety glasses and gloves when working with quick-setting cement and Flex Seal. These products can irritate skin and eyes.
- Work in a well-ventilated area. Cement dust and Flex Seal fumes can be harmful if inhaled.
- Ensure the bird bath is thoroughly cleaned and dry before applying any repair materials. This will promote better adhesion and a stronger repair.
Step-by-Step Instructions
Assessment and Preparation
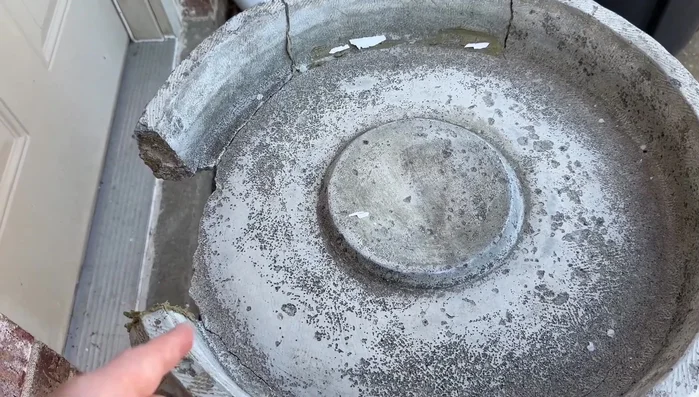
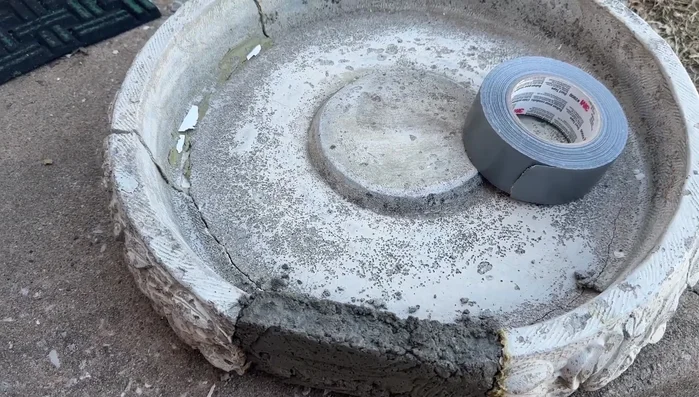
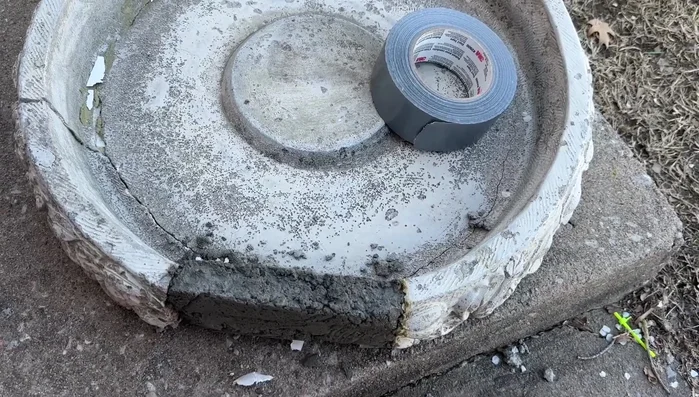
- Assess the damage and gather materials.

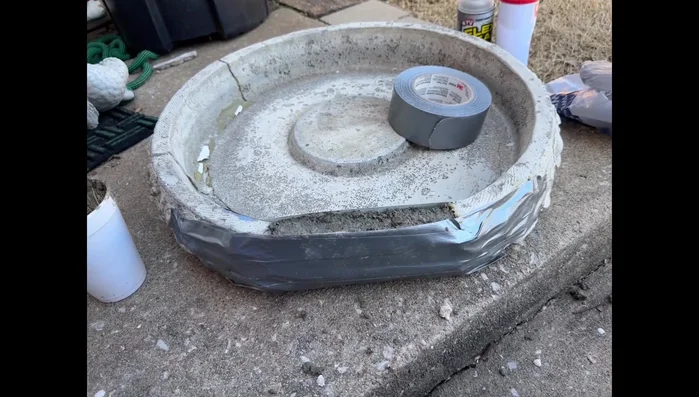
Assessment and Preparation Mold Creation
- Create a mold using duct tape and parchment paper to form a temporary wall and floor for the cement.
Mold Creation Cement Pouring
- Mix a less watery, clay-like consistency quick-setting cement and pour it into the mold, ensuring it sits against the ground for stability.
Cement Pouring Setting Time
- Allow the cement to set for 1-2 hours.
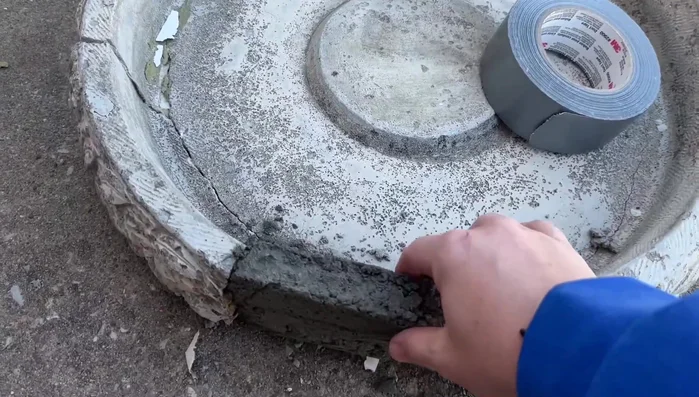
Setting Time Mold Removal
- Remove the duct tape and parchment paper.
Mold Removal Sealing and Finishing
- Clean the inside of the repaired area and apply Flex Seal to seal any cracks or imperfections.
- Mix a small amount of additional cement and fill in any remaining cracks for extra reinforcement.
Sealing and Finishing

Read more: Reinforce Wobbly Deck Railings: The Lag Bolt Method
Tips
- Use parchment paper to prevent the cement from sticking to the mold.
- A less watery cement consistency will create a stronger and more stable repair.
- Use duct tape underneath the repair to ensure stability while the cement sets.
- Quick-setting cement allows for a faster repair time.