Transforming your living space doesn't require a hefty budget or extensive DIY skills. Adding a touch of greenery is a simple and effective way to brighten any room, and creating your own planters is surprisingly easy and affordable. This guide focuses on budget-friendly DIY planter projects, perfect for beginners and seasoned crafters alike, showing you how to upcycle everyday items into beautiful and functional containers for your beloved plants. Forget expensive store-bought options; we'll explore creative and inexpensive ways to add a burst of life and personality to your home décor.
From repurposing old cans and jars to creatively using unexpected materials, we'll demonstrate how simple it is to craft charming planters that perfectly complement your style. Get ready to unleash your inner artist and discover the joy of creating unique home décor. Ready to get started? Let's dive into the step-by-step instructions for our easy DIY planter projects!
Preparation and Safety Guidelines
- Materials not explicitly listed, but inferred to include: Potting soil, a planter pot (possibly recycled), plant
- Always use waterproof sealant on any wood or porous materials to prevent rot and protect your plants from harmful chemicals leaching from untreated wood.
- Ensure adequate drainage holes are present to prevent waterlogging, which can kill plants. Check for proper drainage after planting.
- Be mindful of the weight of the planter, especially when filled with soil and plants, to avoid placing it on unstable surfaces.
Step-by-Step Instructions
Introduction
- Introduction and welcome to the channel.

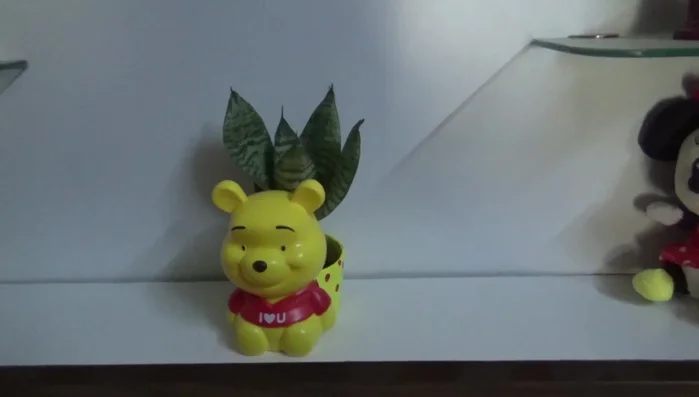
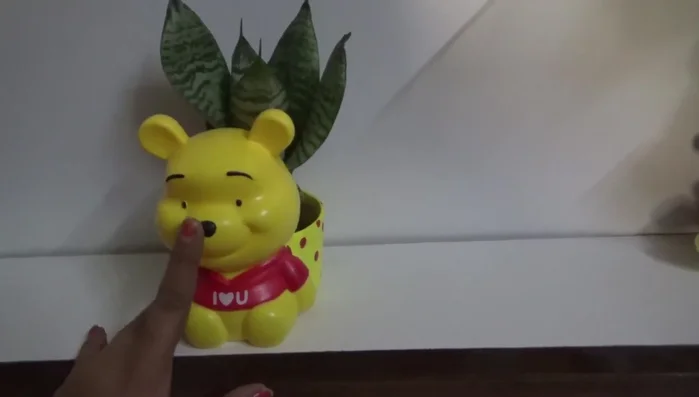
Introduction Planter Preparation
- Preparing the planter (filling with soil etc.).
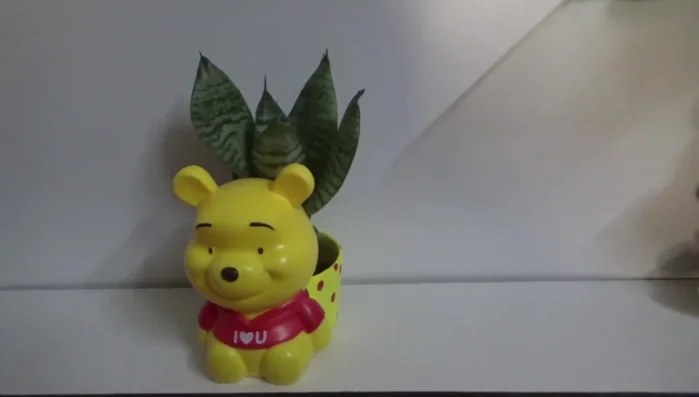
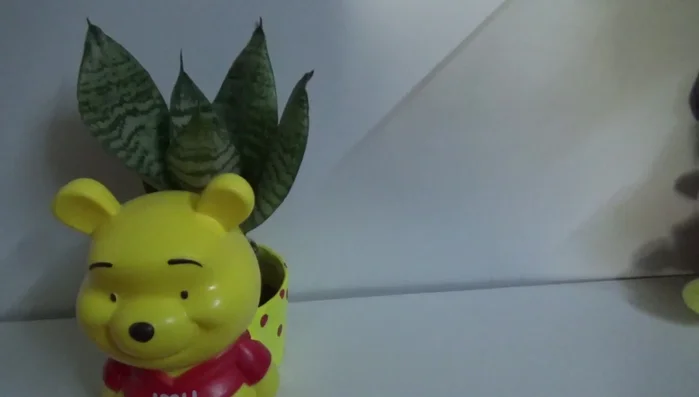
Planter Preparation Planting
- Planting the chosen plant (possibly a succulent or small plant).
- Adding the plant to the planter.
Planting Decoration
- Decorating the planter (optional steps seem to be mentioned).
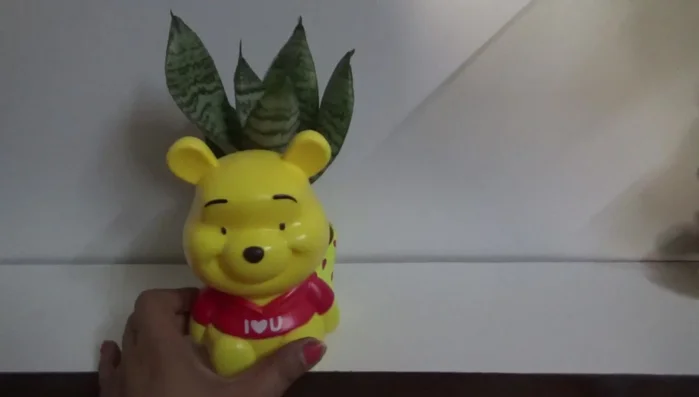
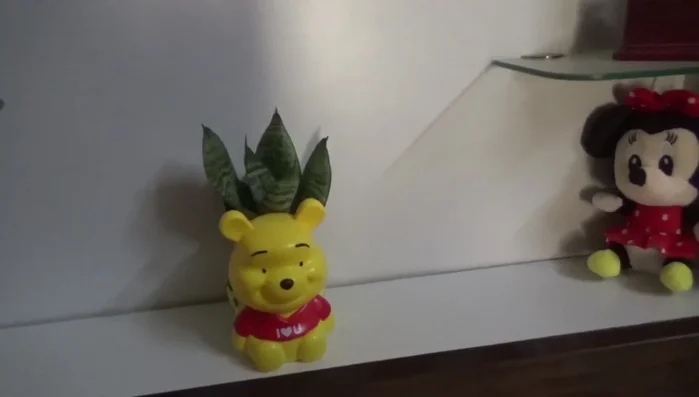
Decoration Finalizing and Display
- Final touches and placement of the planter.
Finalizing and Display Conclusion
- Summary and call to action (like, subscribe etc.).
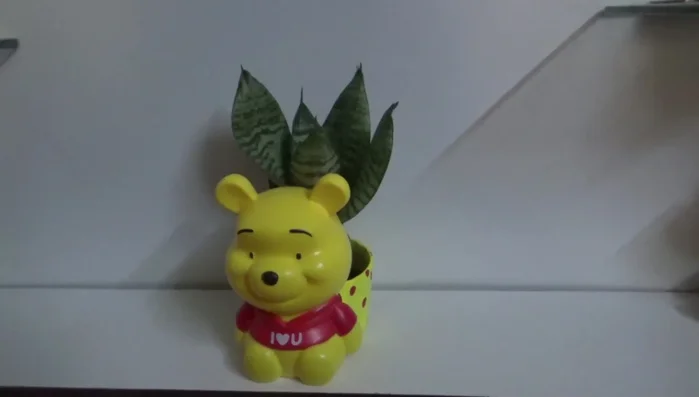
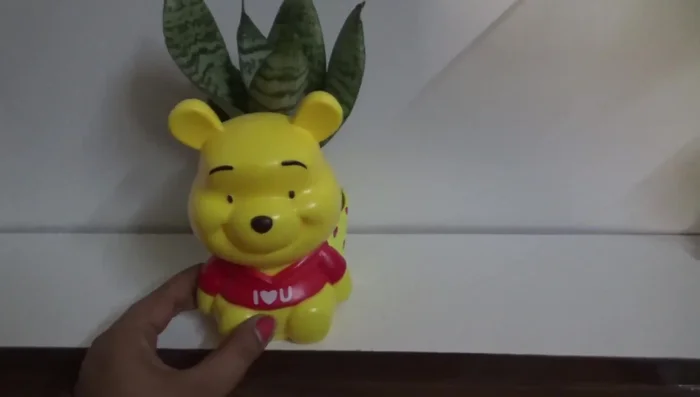
Conclusion Showcase Design
- Showcasing the simple planter design.
Showcase Design
Read more: DIY Blender from a Broken Beyblade Launcher!
Tips
- N/A