Transform your living space with a touch of glamour and sustainability using this incredible DIY project! We'll show you how to create a stunning mirrored wall decor piece entirely from repurposed cardboard, proving that breathtaking design doesn't have to break the bank or the planet. This surprisingly simple project is perfect for adding a chic, modern element to any room, from bedrooms and living rooms to hallways and even bathrooms – the reflective surfaces will dramatically increase the perceived space and light. Forget expensive store-bought décor; with a little creativity and some readily available materials, you can achieve a truly unique and sophisticated look.
This upcycled masterpiece is far more accessible than you might think; the only tools needed are readily available in most households. Get ready to unleash your inner artist and upcycle your way to a dazzling wall feature! Ready to get started? Let's dive into the step-by-step guide to crafting your own mesmerizing mirrored cardboard wall art.
Preparation and Safety Guidelines
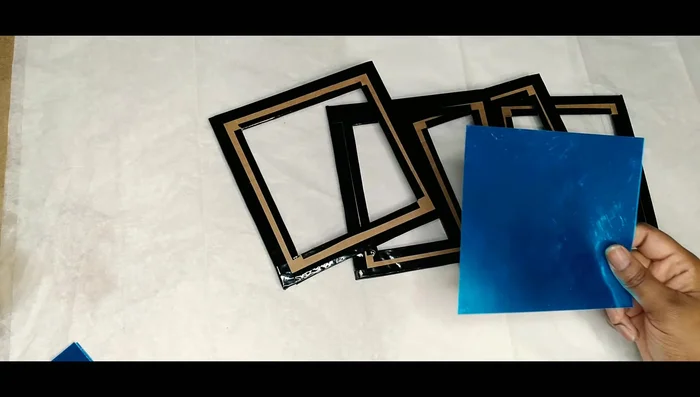
- Cardboard boxes
- Glossy vinyl (self-adhesive)
- Scissors
- Mirror adhesive sheets
- Popsicle sticks
- Hot glue gun
- Pencil
- Hanging mechanism (wire, thumbtacks)
- Always use safety glasses when cutting and handling the cardboard and mirror pieces. Sharp edges and flying debris can cause serious eye injuries.
- Ensure the mirror pieces are securely attached to the cardboard. Loose or poorly adhered mirrors can easily break and cause cuts.
- Avoid using excessive force when handling the finished project. The cardboard is not as strong as other materials, and applying too much pressure may damage the structure and cause the mirror to break.
Step-by-Step Instructions
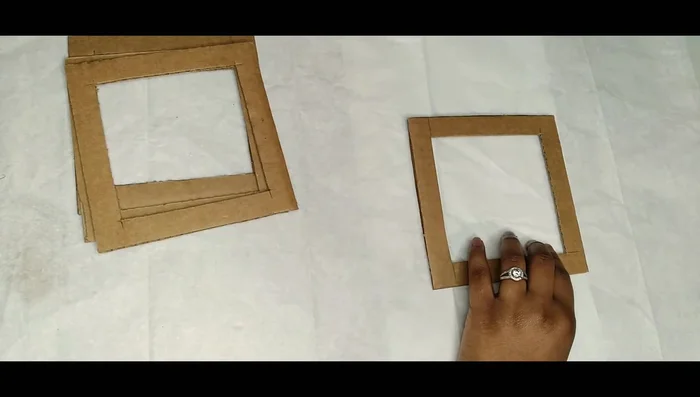
Prepare Cardboard Squares
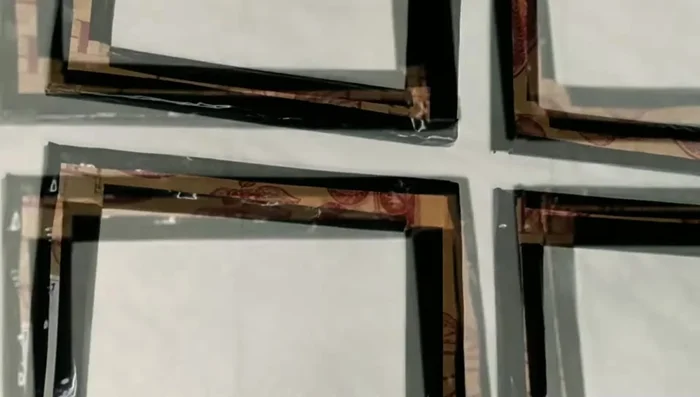
- Cut cardboard into 6x6 squares.

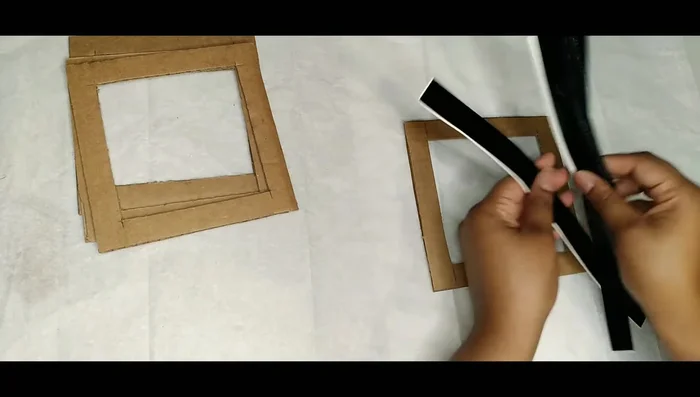
Prepare Cardboard Squares Prepare Vinyl Strips
- Cut self-adhesive vinyl into 1-inch strips.
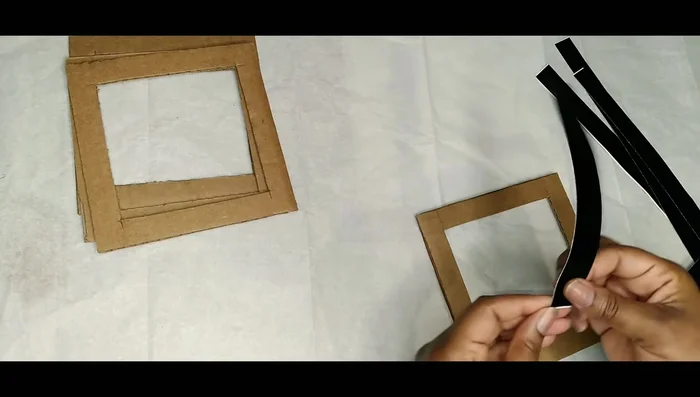
Prepare Vinyl Strips Cover Cardboard with Vinyl
- Measure and adhere vinyl strips to all four outer edges of each cardboard square, neatly cutting and folding for a clean finish.
- Repeat step 3 for the inner edges of each square.
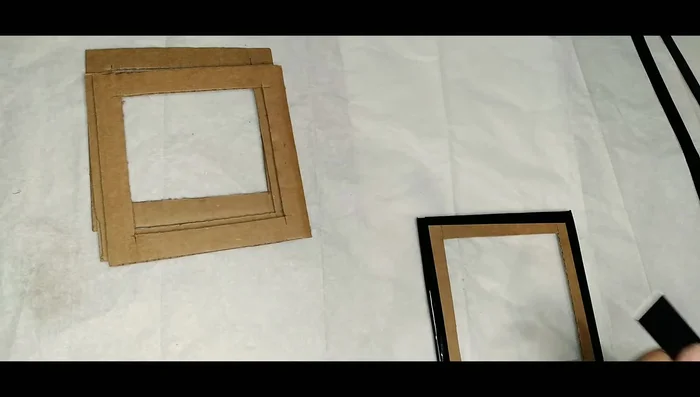
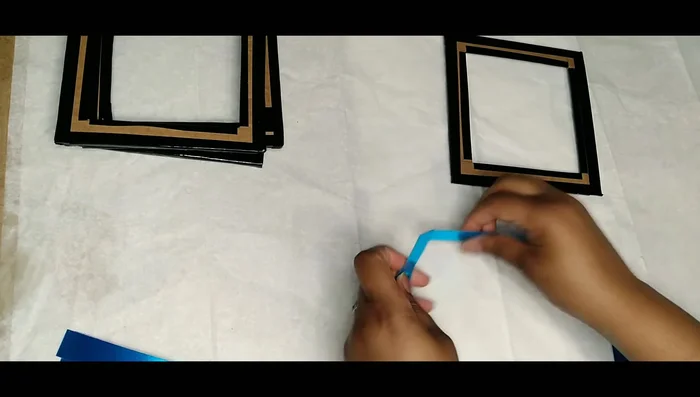
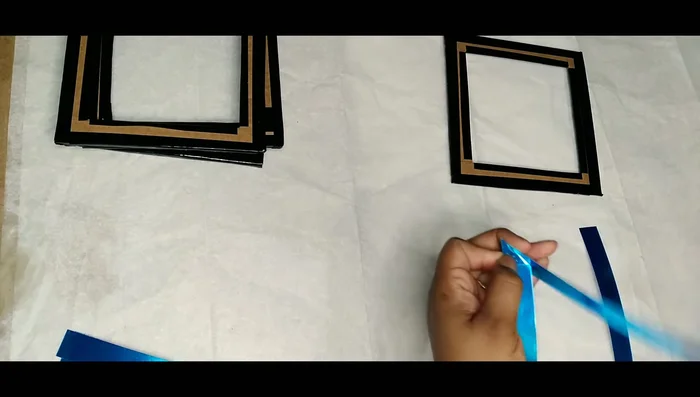
Cover Cardboard with Vinyl Prepare Mirror Strips
- Cut mirror adhesive sheets into strips.
- To create 45-degree angled corners on the mirror strips, butt two ends together and cut down the middle with scissors.
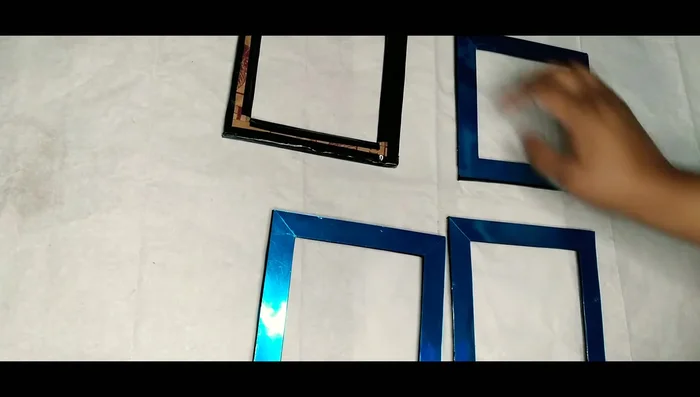
Prepare Mirror Strips Apply Mirror to Cardboard
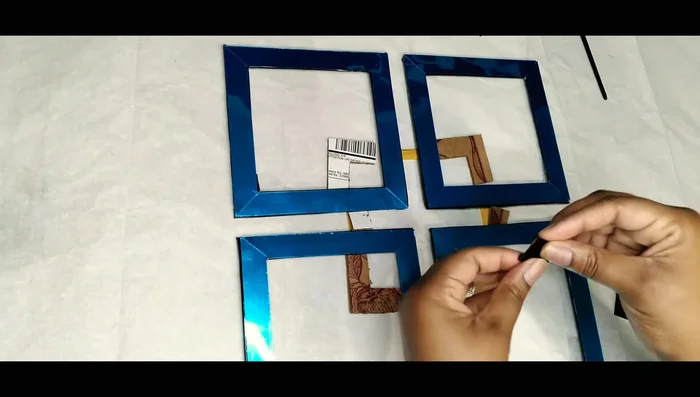
- Adhere the mirror strips to the cardboard squares, ensuring a neat fit.
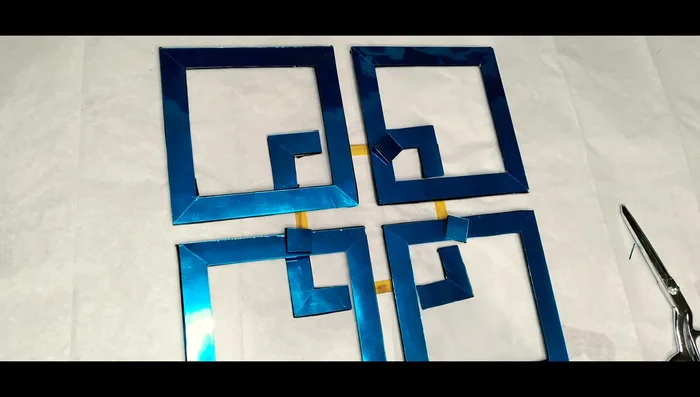
Apply Mirror to Cardboard Plan Layout
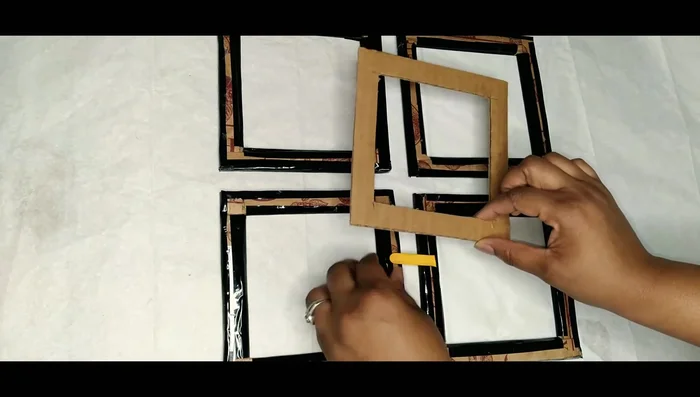
- Arrange the four prepared squares to determine the desired layout.
Plan Layout Prepare Connecting Pieces
- Cut popsicle sticks to appropriate lengths.
Prepare Connecting Pieces Attach Main Squares
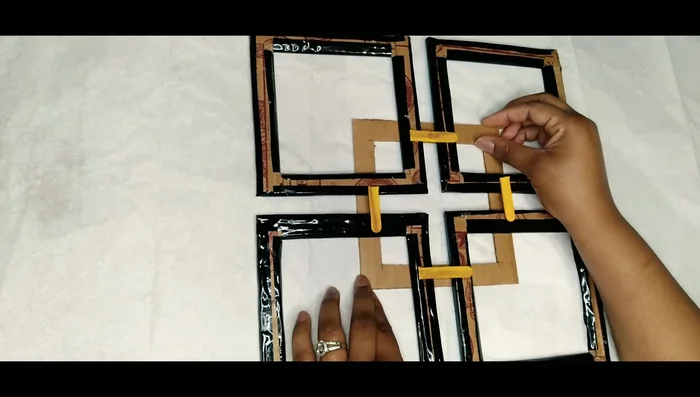
- Use hot glue to attach the popsicle sticks between the squares, ensuring proper alignment and holding until the glue sets.
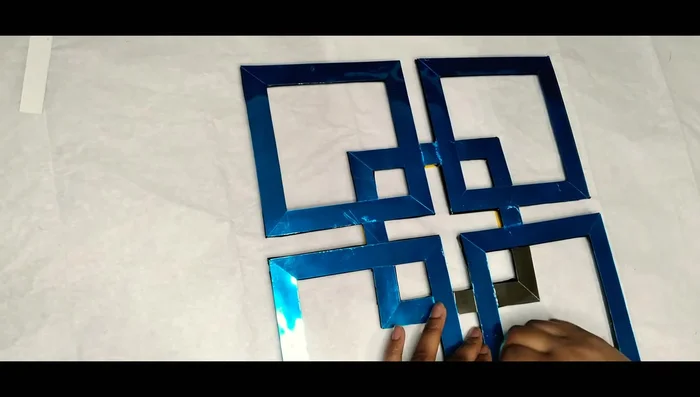
Attach Main Squares Prepare and Attach Center Square
- Flip the structure over, mark where the center square should go, and cut out the necessary spaces.
- Cover the cut-out pieces with adhesive vinyl, repeating steps 3 and 7 for the mirror sheets.
- Glue the remaining pieces to the main structure, ensuring proper alignment and secure bonding.
Prepare and Attach Center Square Finishing Touches
- Remove protective films and add hanging mechanism.
Finishing Touches
Read more: DIY King-Size Tufted Headboard: Budget-Friendly Guide
Tips
- Use self-adhesive materials to simplify the process.
- For a neater finish, cut and fold the vinyl strips rather than simply painting.
- Work quickly with hot glue to allow for adjustments before it sets.
- Pre-plan your layout to avoid mistakes during the gluing process.