Cracked sidewalks are an eyesore and a potential tripping hazard, but before you call an expensive contractor, consider the possibility of DIY repair! Many minor sidewalk imperfections can be easily fixed with readily available materials and a little elbow grease. A damaged sidewalk doesn't have to mean a significant financial outlay; with the right approach, you can restore its integrity and aesthetic appeal for a fraction of the professional cost. This project is surprisingly manageable for even novice DIYers, offering a satisfying sense of accomplishment and significant cost savings.
This guide offers a comprehensive, step-by-step approach to repairing your concrete sidewalk, from identifying the damage and selecting the correct materials to successfully completing the patch and ensuring a durable, long-lasting fix. Let's get started with a detailed breakdown of the process, covering everything from preparation and mixing to finishing and curing.
Preparation and Safety Guidelines
- EDG or spade
- Large Spike
- Sledgehammer
- Hand tools
- Rotary hammer drill with 1/2 in masonry drill bit
- Number four rebar
- Wire ties
- Wheelbarrow
- Shovel
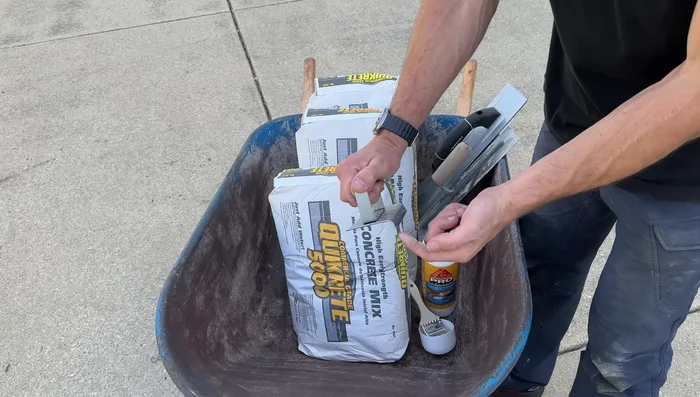
- Magnesium float
- Edger
- 2x4
- Hoe
- Concrete adhesive
- Brush
- Sponge
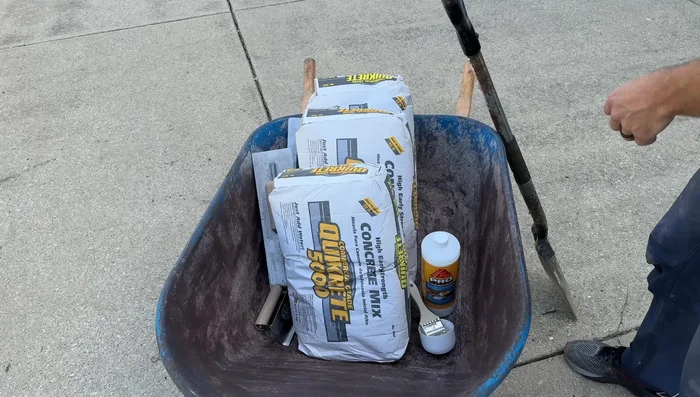
- Quick-crete 5000 PSI concrete
- Water
- Always wear safety glasses and a dust mask to protect your eyes and lungs from flying debris and cement dust.
- Use appropriate personal protective equipment (PPE), including work gloves and sturdy footwear, to prevent injuries from sharp objects and chemicals.
- Before starting any work, check for underground utilities (gas, water, electric lines) to prevent accidental damage or injury. Call your local utility company to have them mark the location of underground lines.
Step-by-Step Instructions
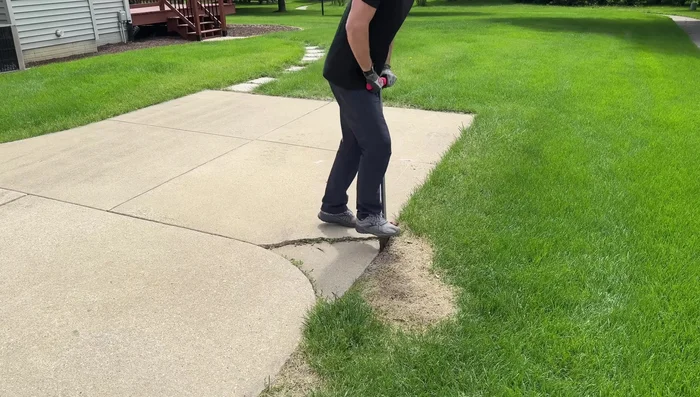
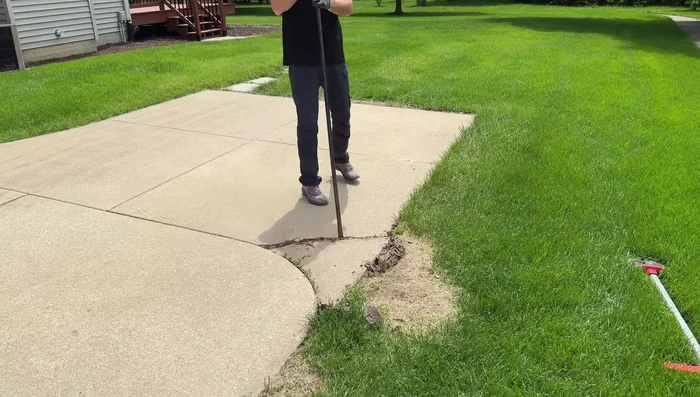
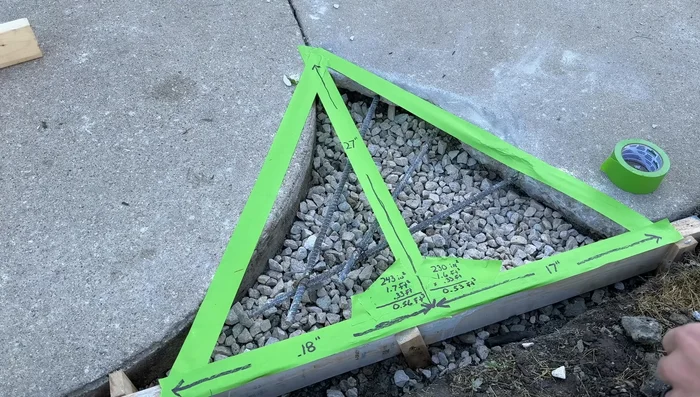
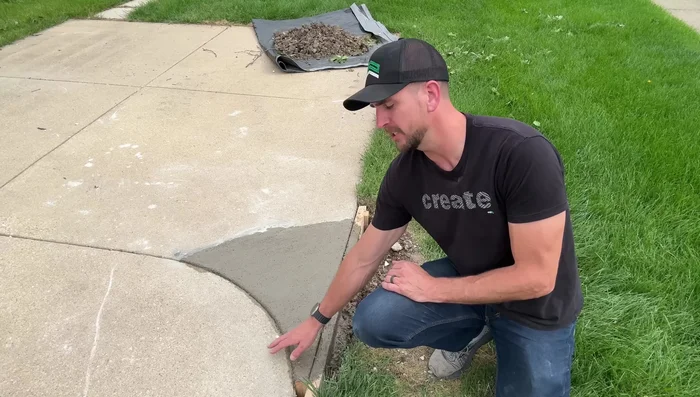
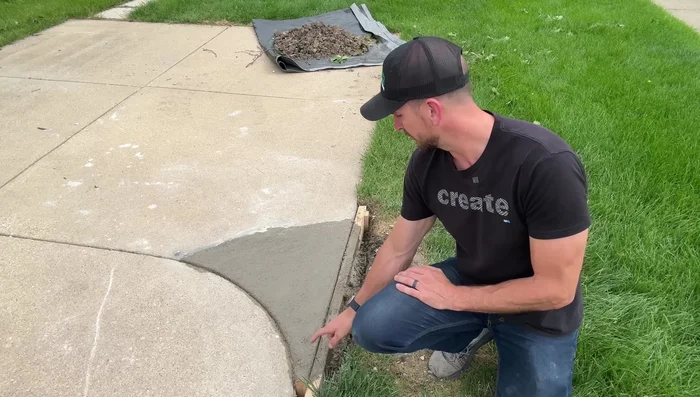
Prepare the Damaged Area
- Loosen the compacted ground around the broken chunk using an EDG or spade.
- Use a large spike to work up one end of the broken chunk and flip it out of the way.
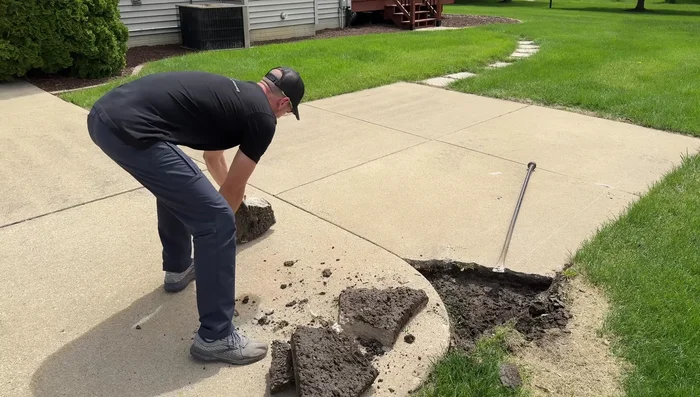
- Break up the remaining chunk into smaller, manageable pieces using a sledgehammer.

Prepare the Damaged Area Prepare the Base
- Prepare the base by removing compacted clay and adding gravel.
- Add aggregate base material and compact it down.
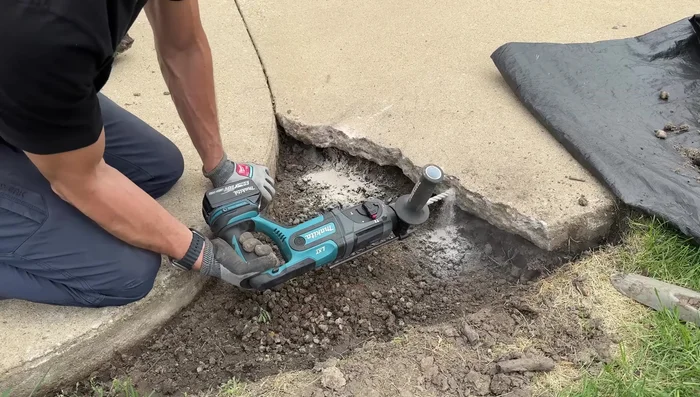
Prepare the Base Reinforce and Prepare for Patch
- Drill holes into the existing concrete and insert rebar to tie the new patch to the existing slab.
- Wire brush the existing concrete to improve adhesion.
- Apply concrete adhesive to the existing concrete where the new patch will bond.
Reinforce and Prepare for Patch Mix and Pour Concrete
- Mix the quick-setting concrete according to package directions (using a wet mix).
- Pour and place the concrete, using a shovel and ensuring it’s level with the surrounding concrete.
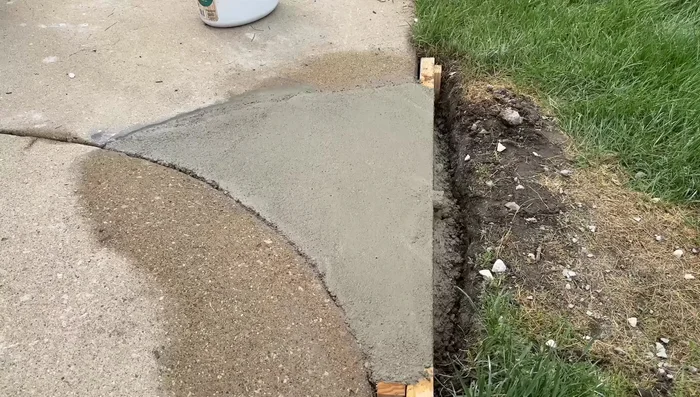
Mix and Pour Concrete Finish the Concrete
- Use a magnesium float and a 2x4 to smooth and level the concrete.
- Use an edger to create clean edges and a radius at the form and between the new and old concrete.
- Let the concrete sit for 30-45 minutes, or longer, allowing the moisture to come to the surface.
- Use a sponge to remove excess moisture from the surface for a rough finish.
Finish the Concrete Cleanup and Curing
- Remove forms after 24 hours. Backfill with dirt.
- Cure the concrete properly by misting it with water daily for the first 5-7 days to prevent cracking and ensure proper strength development.
Cleanup and Curing


Read more: Reinforce Wobbly Deck Railings: The Lag Bolt Method
Tips
- Always add a buffer to your concrete calculations to avoid running short of material.
- Use a wet mix for easier workability and finishing.
- Create an expansion joint between the new concrete and the existing concrete with a curve to allow for movement and prevent cracking.
- Proper curing is critical for achieving the concrete’s full strength and preventing shrinkage cracks. Keep the concrete moist by misting it daily for the first 5-7 days.