Tired of plain, boring aprons? Do you dream of personalized kitchenware that reflects your unique style? Then get ready to unleash your creativity with this DIY custom apron tutorial! We'll guide you through the exciting process of transforming a simple apron into a personalized statement piece using heat press vinyl. This is the perfect project for crafters of all skill levels, allowing you to add fun designs, motivational quotes, or even your family's names, resulting in a truly one-of-a-kind apron that you’ll be proud to wear.
Forget expensive, mass-produced aprons; creating your own is surprisingly easy and incredibly rewarding. With just a few simple supplies and a little patience, you can achieve professional-looking results. This tutorial provides a detailed, step-by-step guide, ensuring you'll confidently create your custom apron masterpiece from start to finish. Let's dive into the exciting process and learn how to perfectly apply your heat press vinyl design.
Preparation and Safety Guidelines
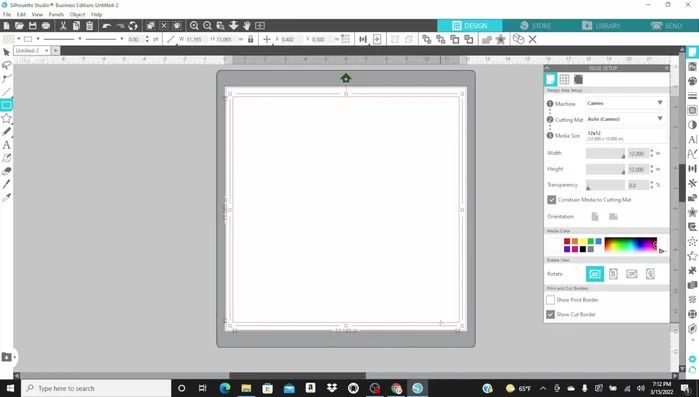
- Silhouette Cameo
- Heat Press Machine
- Gold Metal Vinyl
- Apron
- Computer with Design Software
- Always pre-test your heat press settings on a scrap piece of fabric identical to your apron material to avoid damaging your final product. Heat press temperatures and times vary depending on the fabric and vinyl type.
- Ensure your work surface is heat-resistant and stable. Never leave a hot heat press unattended.
- Use proper ventilation. Heat press vinyl can release fumes, especially when first applied. Work in a well-ventilated area or wear a respirator.
Step-by-Step Instructions
Design Creation
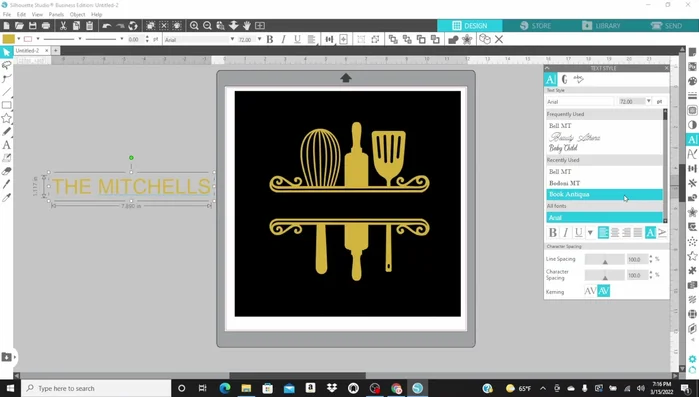
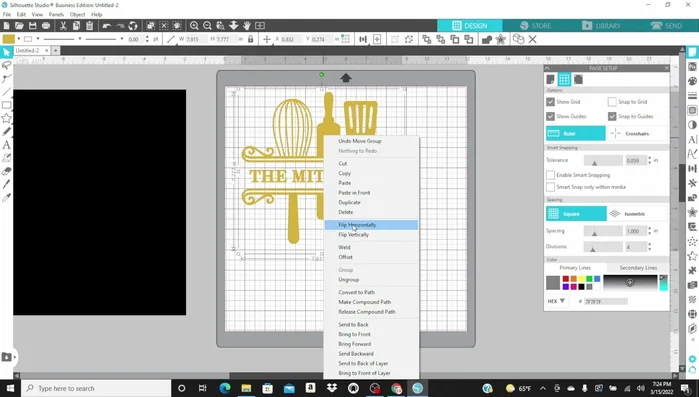
- Design the apron in design software. Create a square representing the apron's background (black in this example).
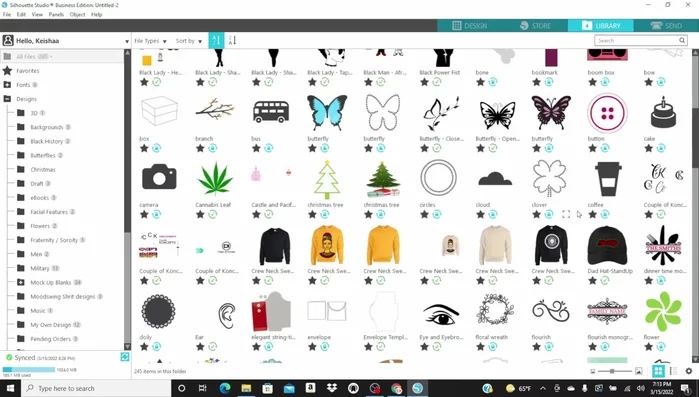
- Import a design from the library and customize it. Adjust the color and remove any unwanted borders.
- Ungroup the design to adjust spacing and add custom text (name, in this case). Adjust the spacing using the arrow keys.
- Customize font, size, and style. Use the offset feature to thicken the letters for a better look.

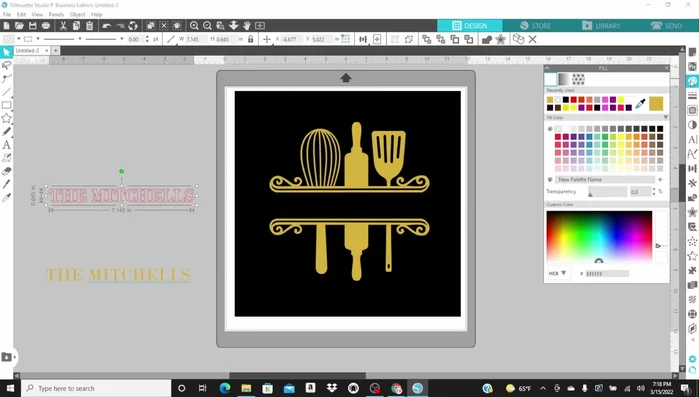
Design Creation - Group the design elements together, fill with the desired color (gold), and remove any outline.
Design Creation Silhouette Cameo Preparation
- Center the design and prepare the image for cutting on the Silhouette Cameo. Remove the background layer (optional).
- Flip the design horizontally and position it on the screen, mirroring its placement on the cutting mat.
Silhouette Cameo Preparation Cutting and Weeding
- Cut the design using the Silhouette Cameo machine.
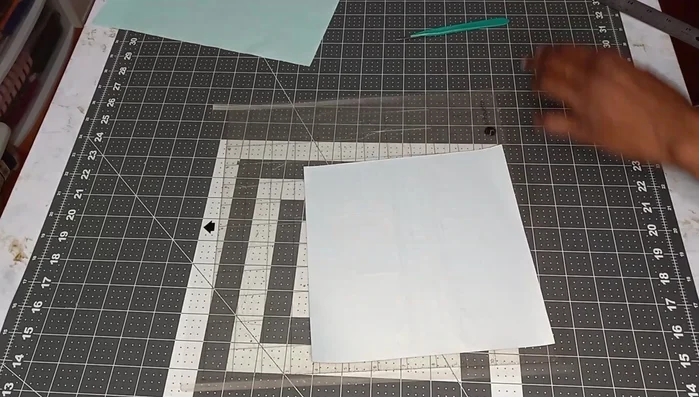
- Weed out the excess vinyl from the cut design. Keep the design on the cutting mat for stability during weeding.
Cutting and Weeding Heat Pressing
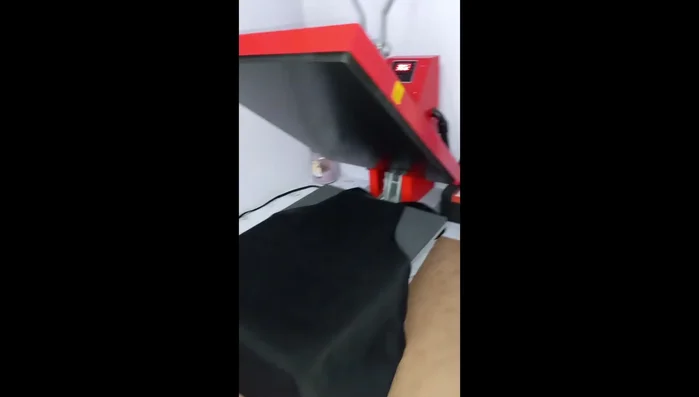
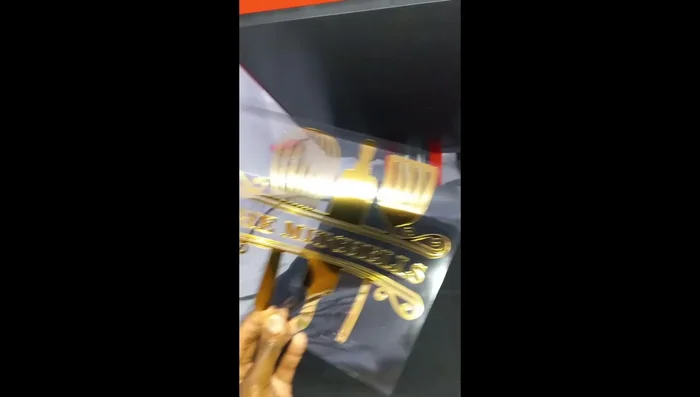
- Place the weeded vinyl design onto the apron.
- Heat press the design onto the apron at 302 degrees for 30 seconds (adjust as needed).
Heat Pressing


Read more: DIY Pantry Door Spice Rack: Organize Your Spices in Minutes!
Tips
- Use high-quality vinyl for a professional look and easy weeding.
- Ensure proper heat press settings for the specific vinyl used.