Give your kitchen a charming farmhouse makeover with this easy DIY project! Transforming an old cabinet door into a functional and stylish chalkboard organizer is surprisingly simple and incredibly rewarding. This upcycled masterpiece will not only add rustic elegance to your space but also provide a practical solution for keeping your kitchen essentials organized and within easy reach. Say goodbye to cluttered countertops and hello to a beautifully organized, personalized command center. Imagine the satisfaction of creating something beautiful from something discarded, breathing new life into a forgotten piece of furniture.
This upcycled cabinet door chalkboard organizer is perfect for those who love a touch of rustic charm and appreciate the value of repurposing. Whether you're a seasoned DIY enthusiast or a beginner, this project is achievable and fun. Ready to get started? Let's dive into the step-by-step instructions and create your own farmhouse-style chalkboard organizer.
Preparation and Safety Guidelines
- Cabinet door
- Paint (chalk paint and other colors)
- Paintbrushes
- Brackets (Dollar Tree)
- Gel glue (Dollar Tree)
- Basket
- Spray paint
- Drill
- Drill bits
- Chalk
- Paper towel/Eraser
- Always use appropriate safety glasses when sawing, sanding, or using power tools to avoid eye injury from flying debris.
- Ensure adequate ventilation when working with paints and primers, as fumes can be harmful. Wear a respirator mask if necessary.
- If using old cabinet doors, check for any loose hardware or sharp edges before beginning the project to prevent cuts and injuries.
Step-by-Step Instructions
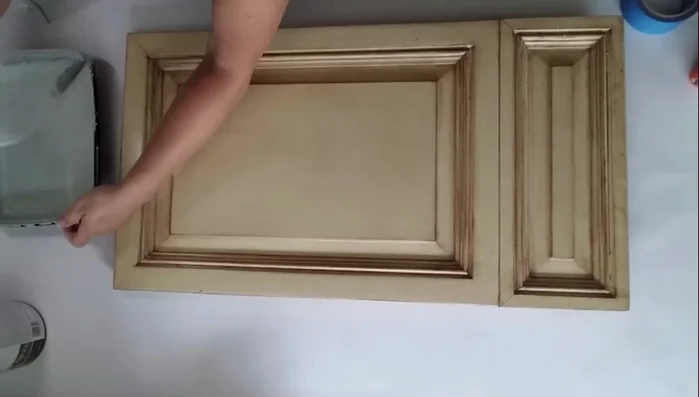
Prepare the Cabinet Door
- Clean the cabinet door thoroughly.
- Apply one coat of paint to the entire cabinet door. Allow for some distressing by not perfectly covering the surface.
- Let the paint dry completely, ideally in the sun.

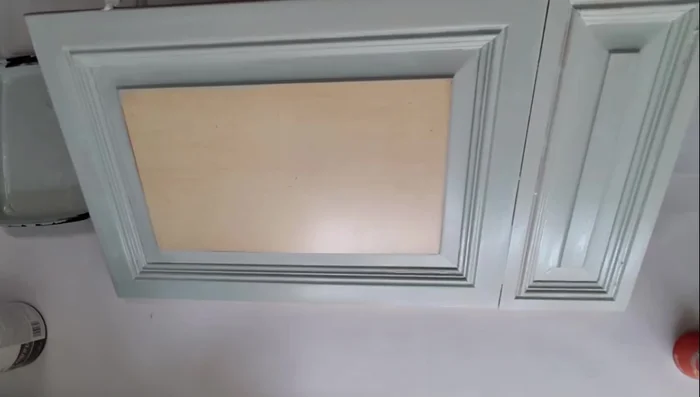
Prepare the Cabinet Door Apply Chalk Paint
- Apply two coats of chalk paint, allowing each coat to dry completely.
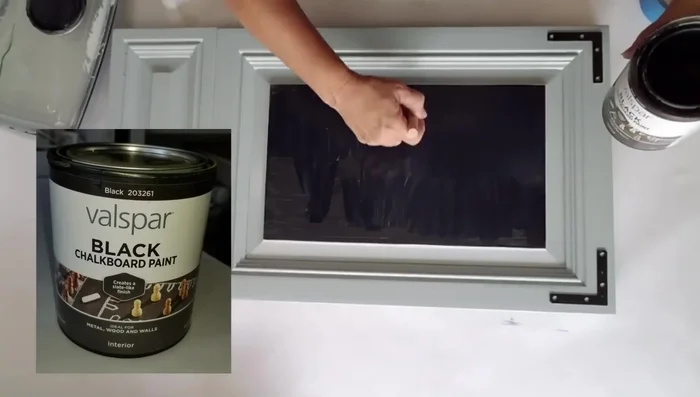
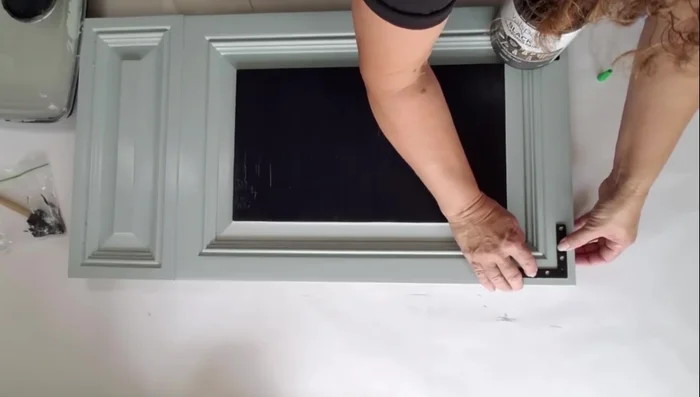
Apply Chalk Paint Attach Brackets and Basket
- Paint the brackets black and attach them to the cabinet door using gel glue.
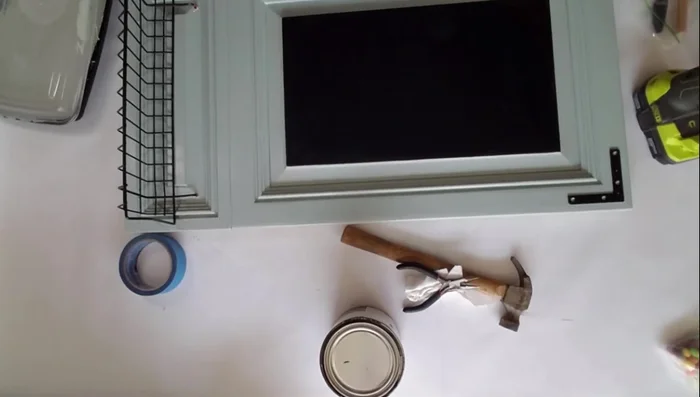
- Spray paint the basket (if needed).
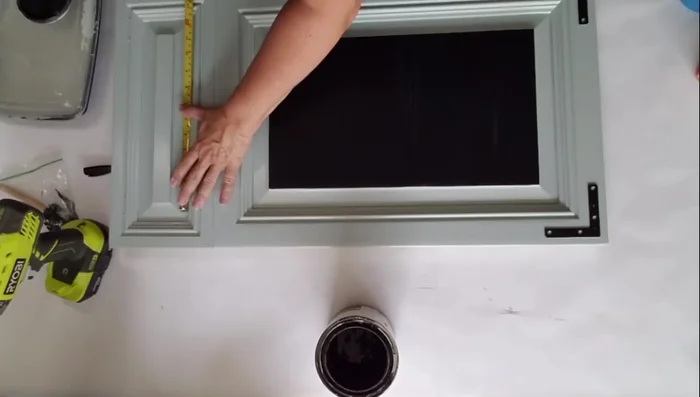
- Drill holes in the cabinet door for the basket hooks.
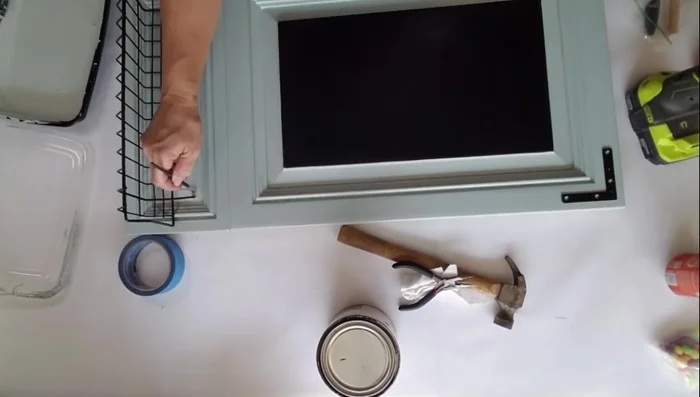
- Bend the basket hooks straight and insert them through the holes.
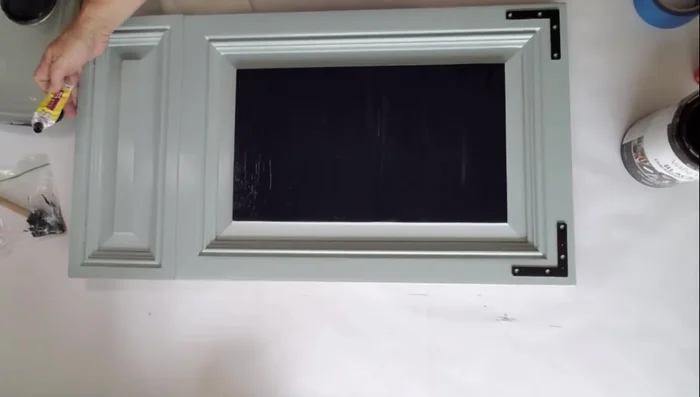
Attach Brackets and Basket - Touch up any paint that was removed during drilling.
Attach Brackets and Basket Prepare the Chalkboard
- Cover the entire surface with chalk, then buff it in with a paper towel or eraser to cure the board.
Prepare the Chalkboard


Read more: DIY Upcycled Bed Frame: A Step-by-Step Guide
Tips
- Use chalk paint for a quick-drying finish.
- Source discarded cabinet doors from home improvement stores or cabinet makers for a cost-effective project.
- Curing the chalkboard surface with chalk prevents ghosting and ensures smooth writing.