A weathered fence, once a sturdy sentinel of your property, can start to show its age. Sagging pickets, loose boards, and damaged sections detract from curb appeal and compromise the fence's structural integrity. But before you despair and reach for the phone to call a costly contractor, consider the power of DIY repair! Many common fence picket problems are surprisingly easy to fix with basic tools and readily available materials, saving you both time and money. A little elbow grease can go a long way in restoring your fence to its former glory, enhancing your property's value and your sense of accomplishment.
This quick and easy guide will equip you with the knowledge and confidence to tackle those nagging fence picket repairs yourself. From identifying the damage to selecting the right materials and executing the fix, we'll walk you through each step of the process, ensuring a professional-looking result. Let's get started with a step-by-step guide to revitalizing your fence!
Preparation and Safety Guidelines
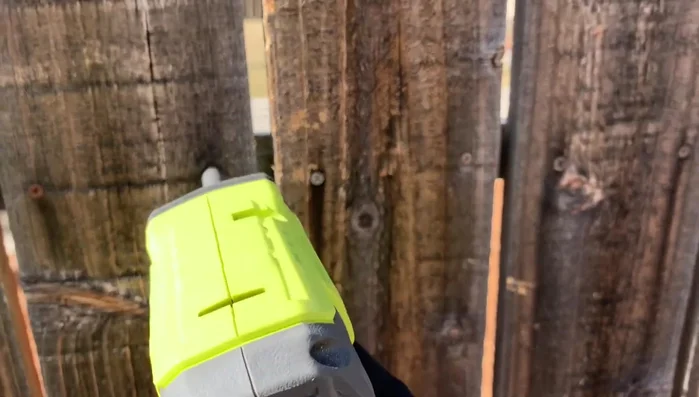
- Ryobi Drill (or Screwdriver)
- Chop Saw (or any saw)
- New Pickets
- Screws
- Always wear safety glasses to protect your eyes from flying debris.
- Use work gloves to prevent splinters and blisters.
- If using power tools, ensure they are properly maintained and you understand how to operate them safely. Disconnect power before making any adjustments or repairs.
Step-by-Step Instructions
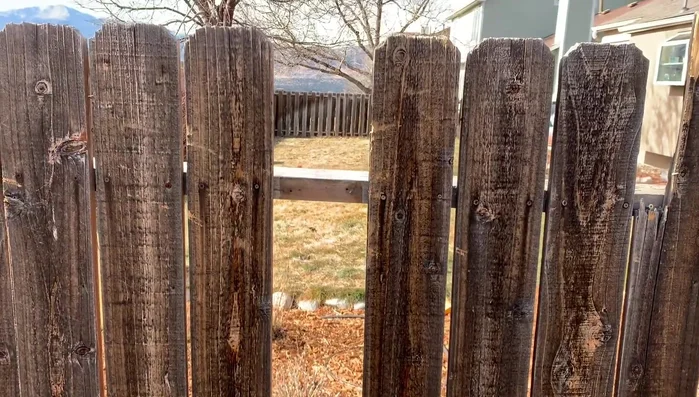
Remove Damaged Picket
- Remove the damaged picket.

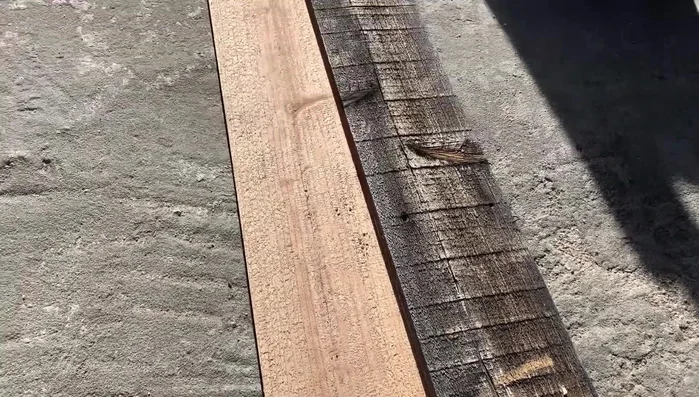
Remove Damaged Picket Measure and Cut New Picket
- Measure the old picket to determine the length for the new one.
- Cut the new picket to the measured length using a chop saw.
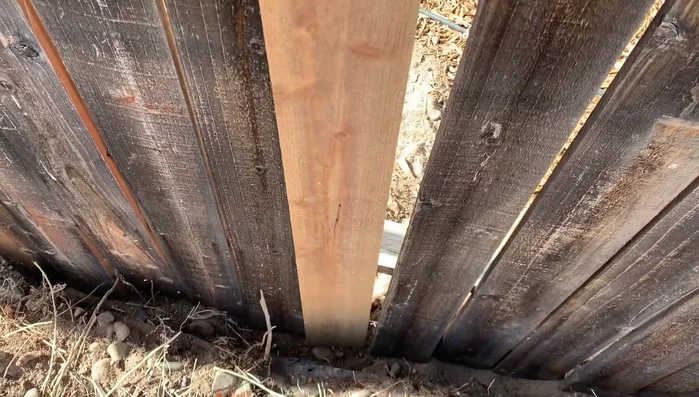
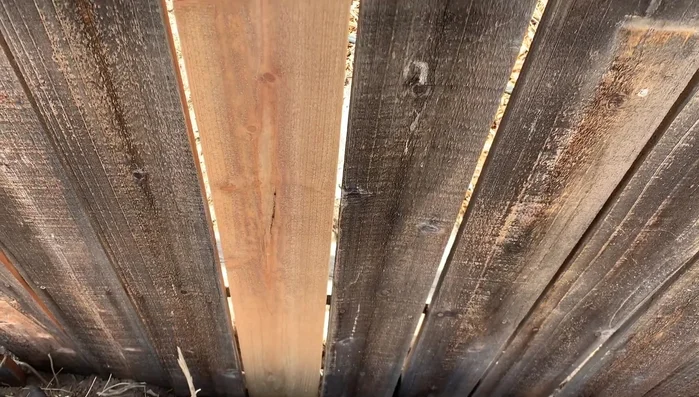
Measure and Cut New Picket Position New Picket
- Position the new picket, ensuring it's level and aligned with the existing pickets.
Position New Picket Pre-drill (Optional)
- Pre-drill pilot holes (optional but recommended) to make screwing easier.
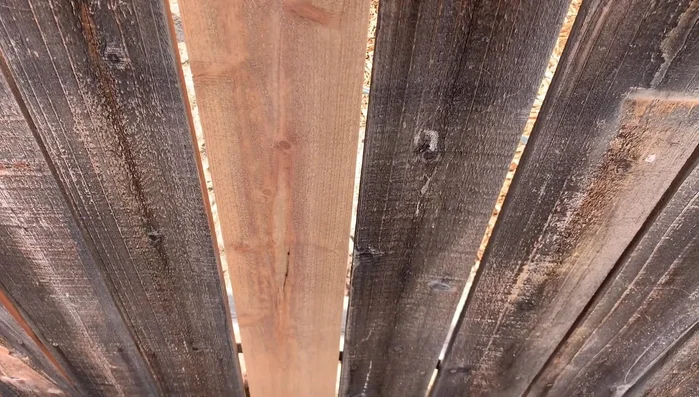
Pre-drill (Optional) Secure New Picket
- Secure the new picket using screws into the supporting 2x4s.
Secure New Picket
Read more: Reinforce Wobbly Deck Railings: The Lag Bolt Method
Tips
- Using an impact driver makes removing and installing screws much faster.
- Reusable screws can save you time and money, if in good condition.
- Using the old picket as a template ensures accurate length for the new one.
- Pre-drilling pilot holes makes screwing in much easier, especially when working alone.