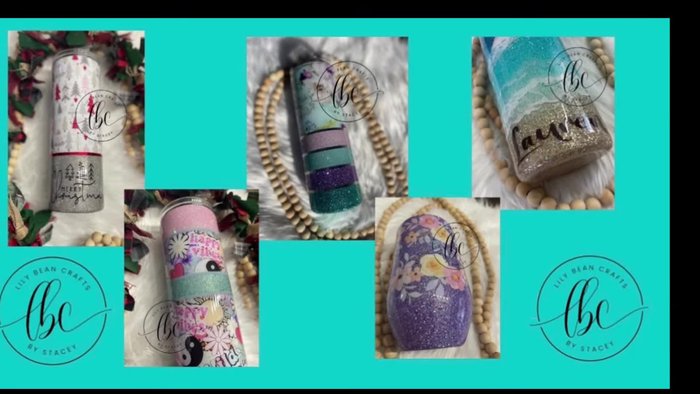
Mason jars: ubiquitous, versatile, and undeniably charming. Their simple elegance lends itself to countless upcycling projects, and today we're exploring one of the most practical and aesthetically pleasing: transforming them into stylish soap dispensers for your kitchen or bathroom. Forget clunky, plastic bottles; elevate your hand-washing experience with a rustic, handcrafted touch that perfectly complements any décor. These DIY dispensers not only offer a sustainable alternative to mass-produced options but also provide a fantastic opportunity to unleash your creativity.
This guide will walk you through two distinct and stunning designs, each showcasing the transformative power of a little ingenuity and readily available materials. From choosing the perfect jar to achieving a professional finish, we'll cover everything you need to know, ensuring a seamless and enjoyable crafting experience. Prepare to be amazed as you discover how easily you can create beautiful, functional soap dispensers, and get ready to follow our step-by-step instructions!
Preparation and Safety Guidelines
- 16 oz smooth mason jar
- 220 grit sandpaper
- Dawn dish soap
- football foam inserts
- painter's tape
- glue
- spray paint (Skinny Dip from Color Shot, white matte)
- glitter glue
- paint brushes (dollar store)
- chunky mix (Farmers Market from Chase Ray Creations)
- fine glitter mix (Glisten from Chase Ray Creations)
- parchment paper
- epoxy (Flynn Sister's fastest epoxy)
- UV DTF (Gracefully Created)
- matte spray sealant (Color Shot)
- Always use food-safe mason jars and avoid using jars that have previously contained hazardous materials.
- Ensure the pump you choose is compatible with the viscosity of your soap. Thick liquids may require a different pump than thin liquids.
- Thoroughly clean and dry the jar before assembling to prevent mold or bacterial growth.
Step-by-Step Instructions
Prepare the Jar
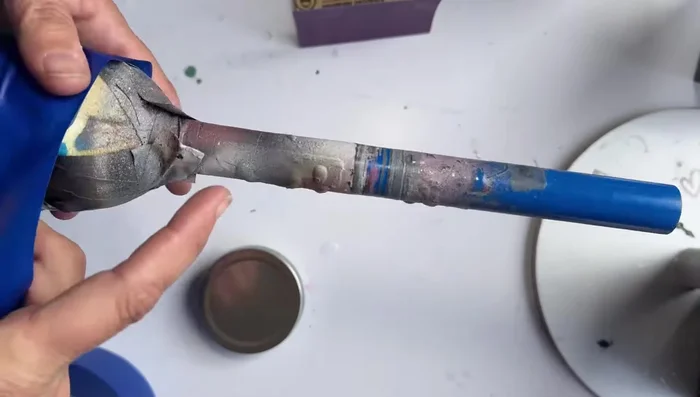
- Sand it down with 220 grit sandpaper, clean it with Dawn dish soap.
Prepare and Paint the Insert
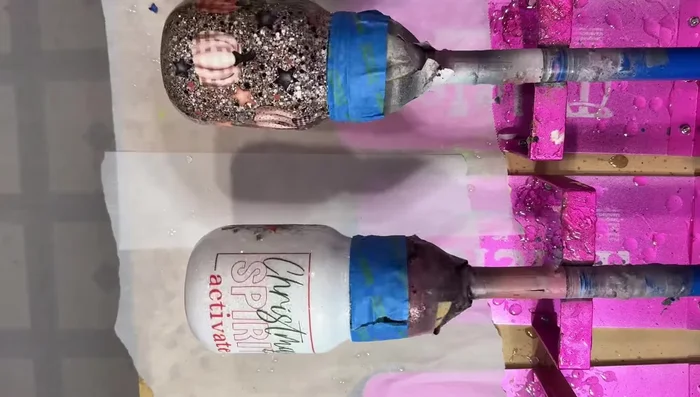
- Glue a painter's tape-covered football foam insert onto the jar and spray paint it (Skinny Dip or white matte).

Prepare and Paint the Insert Apply Glitter and Mix
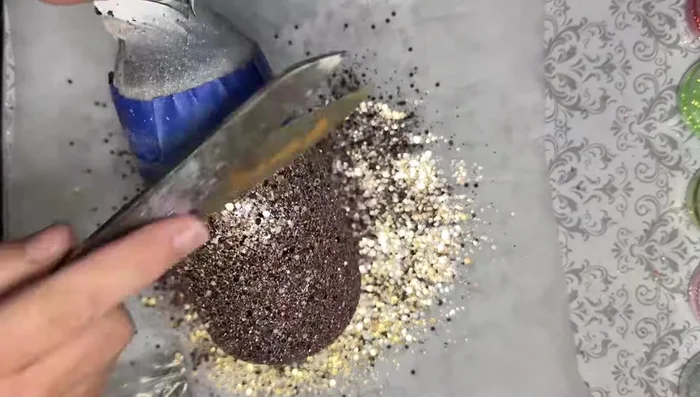
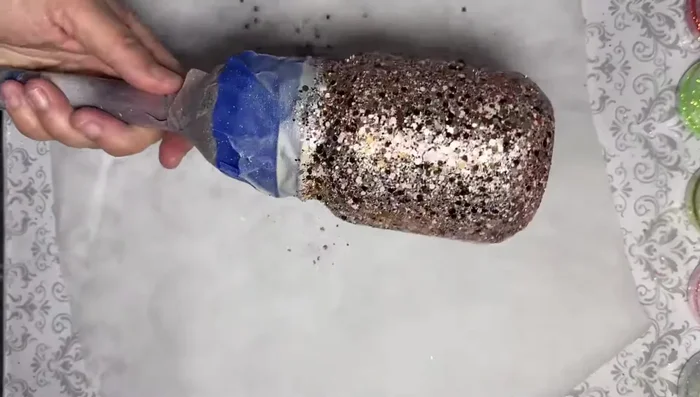
- Fully coat the jar with glitter glue, ensuring straight lines. Then, cover it with the chunky mix (Farmers Market) or fine glitter mix (Glisten).
Apply Glitter and Mix Flatten the Mixture
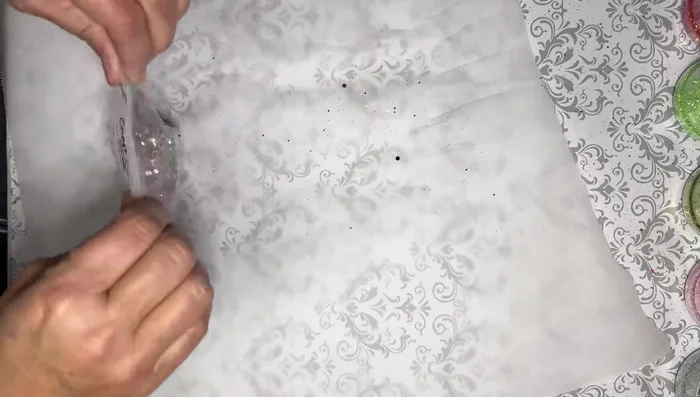
- Gently pat down the chunky/fine glitter mix with parchment paper to flatten the bits.
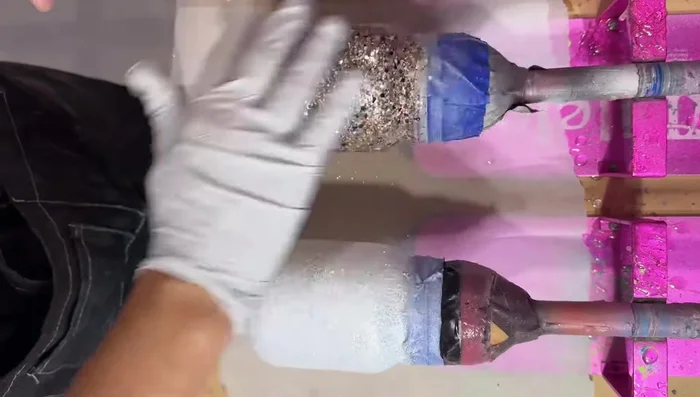
Flatten the Mixture First Dry
- Allow the jar to dry completely for 4 hours.
First Dry Second Glitter Glue Coat
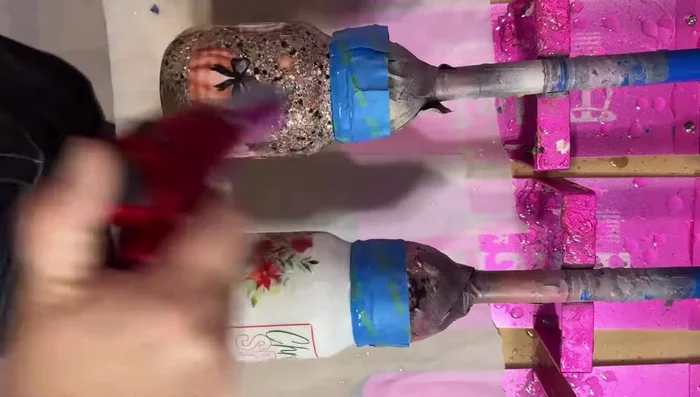
- Apply another coat of glitter glue to seal and push down the glitter.
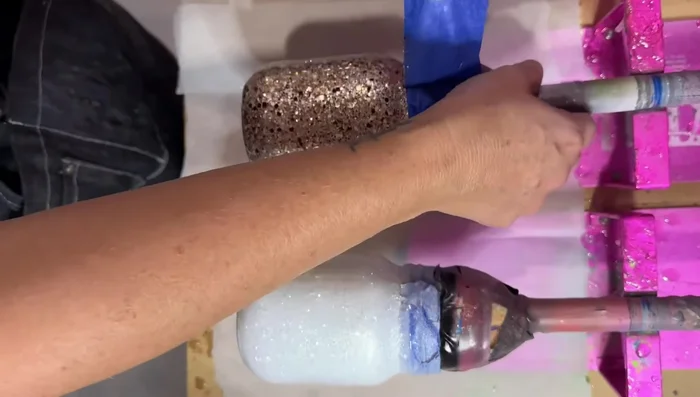
Second Glitter Glue Coat Apply Epoxy Coats
- Apply 15ml of epoxy, pop bubbles, and let it spin for 2 hours. Then, apply another 10ml of epoxy and let it dry completely.
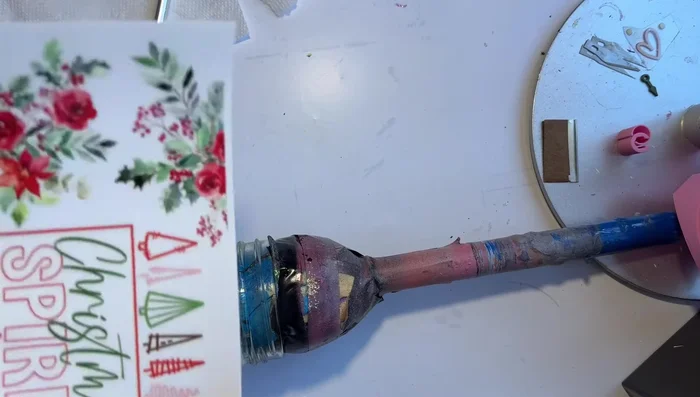
Apply Epoxy Coats Remove Tape
- Carefully remove the painter's tape before it dries and sticks permanently.
Remove Tape Apply UV DTF Design
- Cut and apply the UV DTF design carefully, ensuring it's placed precisely where desired. Remove the carrier sheet gently.
Apply UV DTF Design Final Epoxy Coats
- Apply two more coats of epoxy (10ml each), popping bubbles, sanding between coats, and allowing for sufficient drying time.
Final Epoxy Coats Assemble the Dispenser
- Screw the dispenser top onto the mason jar. For foaming dispensers, ensure the cap and stick are securely fastened.
Assemble the Dispenser
Read more: DIY Oak Bath Caddy: Simple & Elegant Build Guide
Tips
- For beginners, start with a white decal instead of UV DTF to practice decal application.
- Popping bubbles in epoxy is crucial for a smooth finish.
- Removing painter's tape before it dries prevents it from sticking permanently to the tumbler.
- Use Flynn Sister's Artist Cure Resin for an amazing shine.