Indulge in luxurious bath time rituals with a handcrafted oak bath caddy – a project that’s simpler to build than you might think! Transform ordinary bath time into a spa-like experience with this elegant and functional addition. Forget flimsy, unstable trays; this sturdy oak caddy provides ample space for your favorite books, candles, a glass of wine, and anything else that contributes to the perfect soak. The rich tones and natural beauty of the oak will complement any bathroom décor, adding a touch of rustic charm or sophisticated minimalism, depending on your style.
This DIY project offers a satisfying blend of simplicity and elegance, requiring only basic woodworking skills and readily available materials. From sourcing your timber to the final sanding, we'll guide you through each step of the process with clear instructions and helpful tips. Ready to create your own personalized spa sanctuary? Let's dive into the step-by-step guide below!
Preparation and Safety Guidelines
- Hand plane
- Mechanical planer
- Router
- Router template (or Forstner bit and plywood/MDF)
- Bandsaw (or Hand saw/Router)
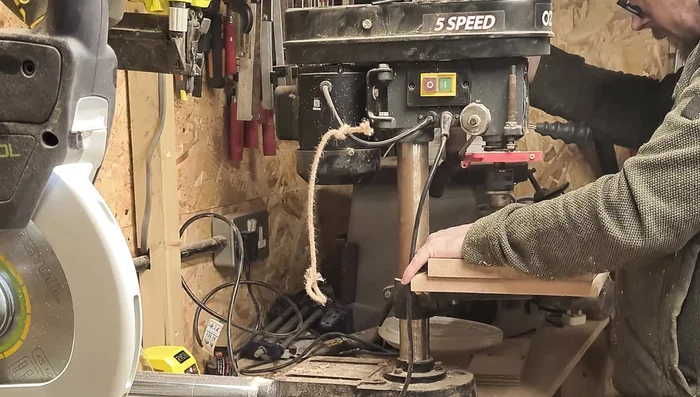
- Drill
- Forstner bits (various sizes)
- Sandpaper (180 grit, 320 grit)
- Danish Oil
- Always use appropriate safety glasses and a dust mask when cutting and sanding wood. Oak dust is fine and can irritate your eyes and lungs.
- Ensure all screws and nails are securely fastened to prevent the caddy from collapsing while holding liquids or heavy items in the bath. Test the stability before use.
- Avoid using excessive amounts of oil or varnish and allow ample drying time before using the caddy in the bath to prevent slipping and water damage.
Step-by-Step Instructions
Wood Preparation
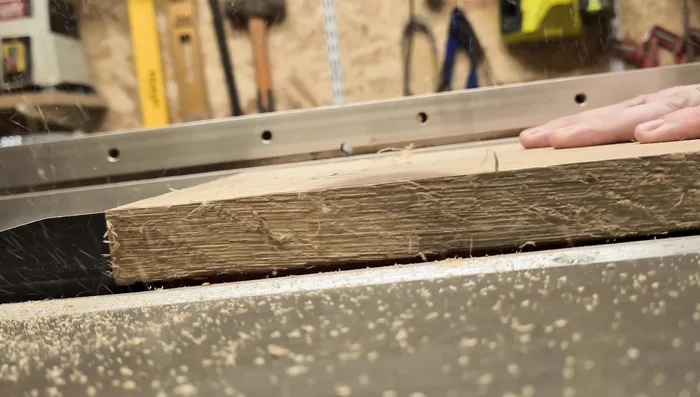
- Plane both sides of the oak board. The presenter initially used a mechanical planer for efficiency, followed by a hand plane for a smooth finish.

Wood Preparation Marking and Initial Cutting
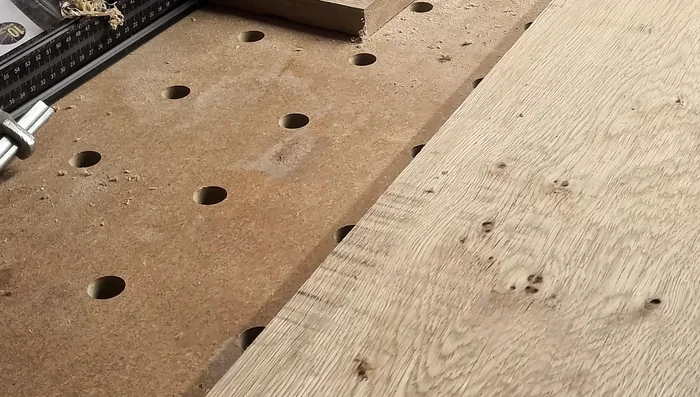
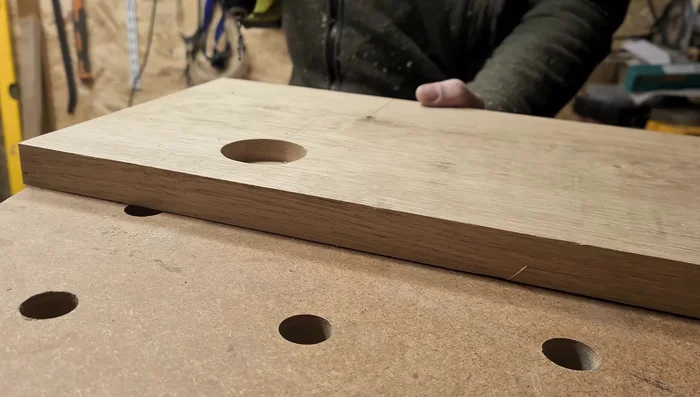
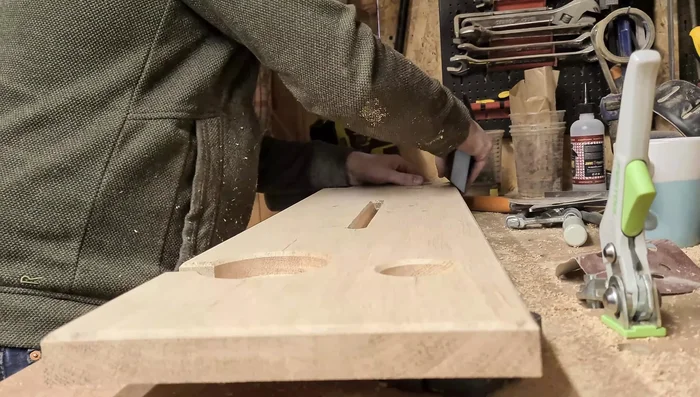
- Use a template (created via laser cutter or hand-drawn) and router with a top-bearing pattern bit for precise cuts of the candle holders, drink holder, and device slot.
- Drill a center hole for stability, then use the router or bandsaw for larger cuts.
Marking and Initial Cutting Slot Cutting
- Use a bandsaw (or hand saw/router) to cut a straight slot for the device.
Slot Cutting Edge Finishing
- Create chamfers or round-overs. Make sure holes and slots are deep enough to accommodate the bit and bearing.
Edge Finishing Sanding
- Sand with 180 grit sandpaper, focusing on any burn marks from the router. Pay extra attention to the chamfered edges.
Sanding Finishing and Oiling
- Apply four coats of Danish oil, wiping off excess between coats. Consider raising the grain with water before oiling for a longer-lasting smooth finish.
Finishing and Oiling

Read more: DIY Mason Jar Soap Dispensers: A Step-by-Step Guide with Two Stunning Designs
Tips
- Use a mechanical planer for initial planing for speed and efficiency, then use a hand plane for a finer finish.
- A router template greatly improves the accuracy and consistency of the holes and slots; if you lack a laser cutter, use a hand-drawn template or make one from scrap wood and a Forstner bit.
- Ensure adequate depth for holes and slots when using a router to chamfer or round over edges.
- Consider raising the grain with water before applying Danish oil for a longer-lasting smooth finish.