Dreaming of a nautical-themed room but worried about the cost? Forget expensive interior designers and overpriced décor! Transforming your space into a charming seaside haven is entirely possible, even on a shoestring budget. This guide will show you how to achieve a captivating nautical look without emptying your wallet, using clever DIY techniques and readily available materials. You'll be surprised at the impact simple, affordable changes can have on the overall aesthetic.
From repurposing old items to creating stunning DIY decorations, we'll explore a range of creative and cost-effective solutions. Get ready to unleash your inner sailor and dive into a world of budget-friendly transformations. Let's embark on this nautical adventure together, and for a step-by-step walkthrough of this exciting project, continue reading below!
Preparation and Safety Guidelines
- Cricut Maker
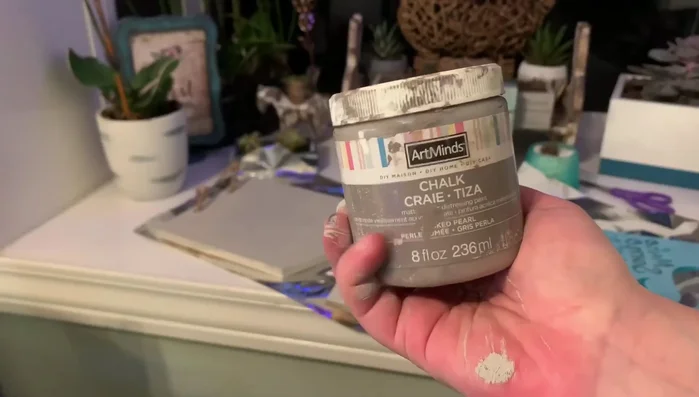
- Chalk Paint
- Spray Paint
- Hot Glue Gun
- E6000 Glue
- Ruler
- Pencil
- Sand
- Seashells
- Vintage Teal Chalk Paint
- Navy Blue Spray Paint
- Smoked Pearl Chalk Paint
- Always prioritize safety when working with DIY projects. Use appropriate safety gear (e.g., gloves, eye protection) when handling paints, tools, or sharp objects.
- Ensure proper ventilation when using paints and other potentially harmful chemicals. Open windows and/or use a respirator if necessary.
- If unsure about any DIY step, consult a professional or watch instructional videos thoroughly before proceeding. Safety should always come first.
Step-by-Step Instructions
Preparing Nautical Elements
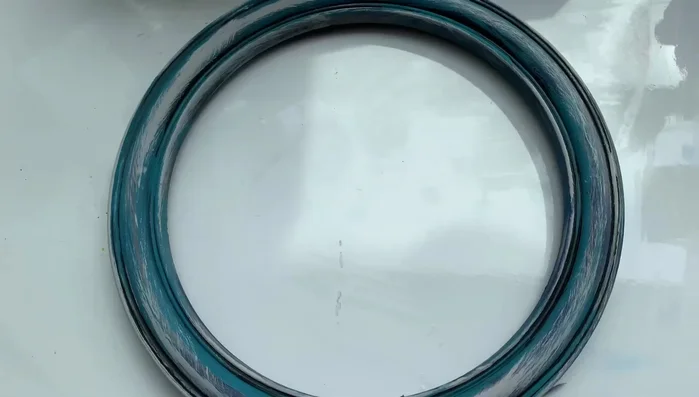
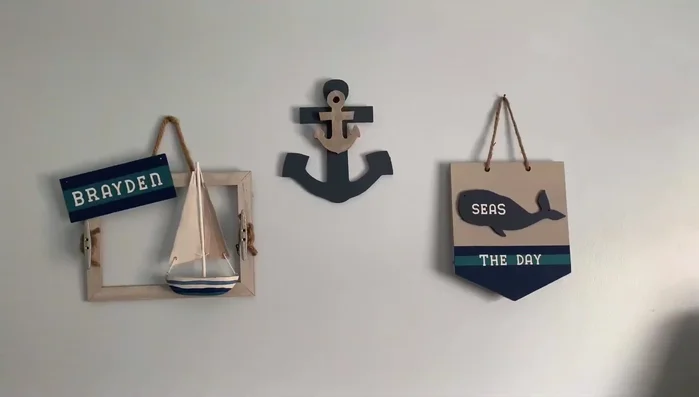
- Transforming a Dollar Tree mirror into a nautical wall accent using chalk paint.
- Painting mermaid frames from recent hauls with smoked pearl chalk paint.
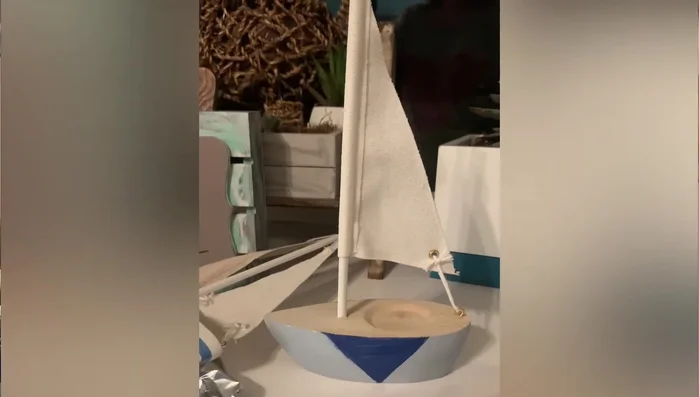
- Upcycling Target dollar spot boats with vintage teal chalk paint.

Preparing Nautical Elements Painting and Decorating the Wall
- Adding stripes and triangles using vintage teal chalk paint to a Dollar Tree basket.
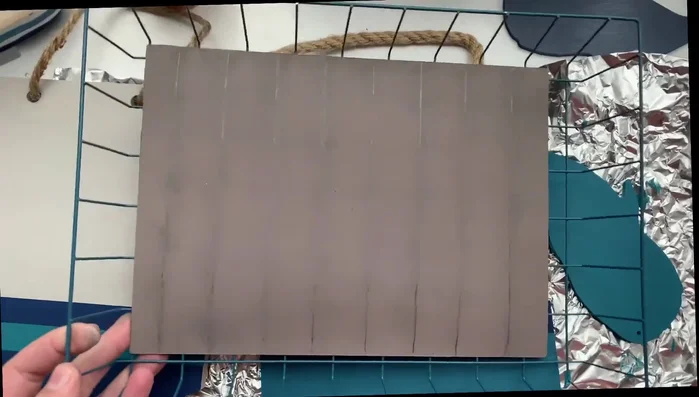
- Creating a rustic look on a Target dollar spot wooden board using a ruler, pencil, and finger to rough up the paint.
Painting and Decorating the Wall Adding Wall Accents
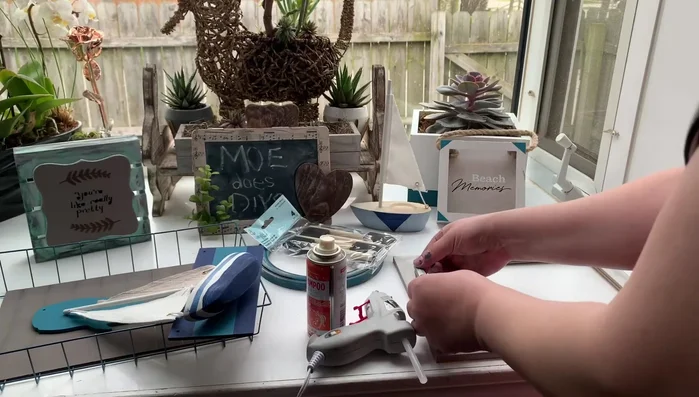
- Attaching anchor hooks from Target dollar spot using hot glue and E6000 glue.
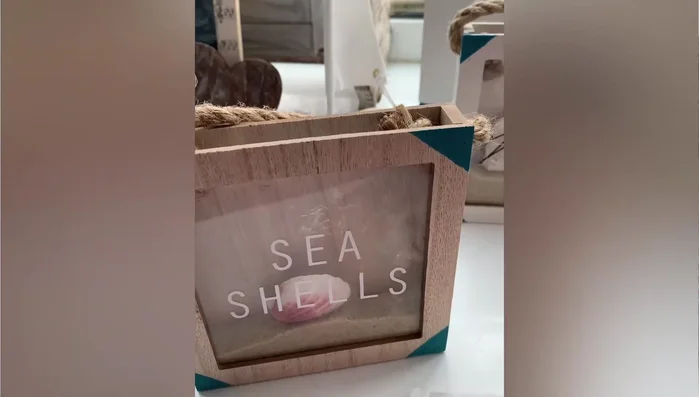
- Adding seashells and sand to Target dollar spot containers.
Adding Wall Accents Cricut Maker Projects
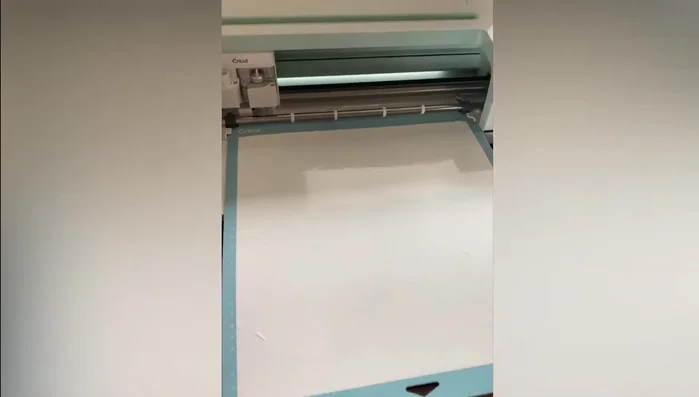
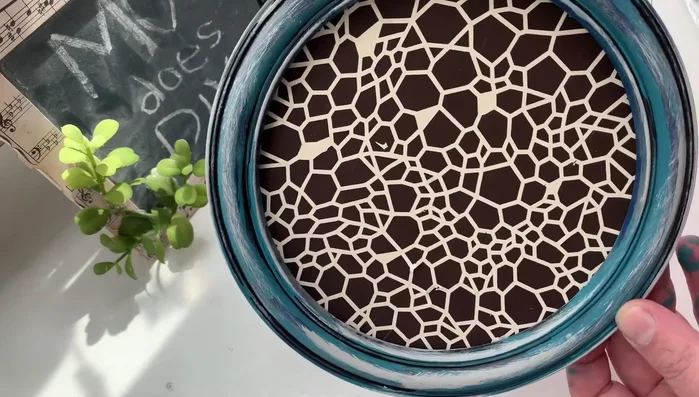
- Creating personalized stencils using a Cricut Maker and applying them to various surfaces.
- Making a simple circle insert from Dollar Tree cardboard to use with Cricut Maker stencils.
Cricut Maker Projects Finishing Touches
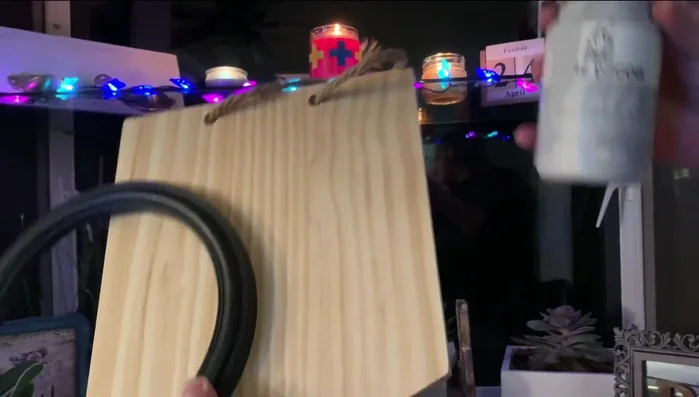
- Adding Dollar Tree nautical rope twine to create a hanger for a DIY decor piece.
Finishing Touches Additional Decor Pieces
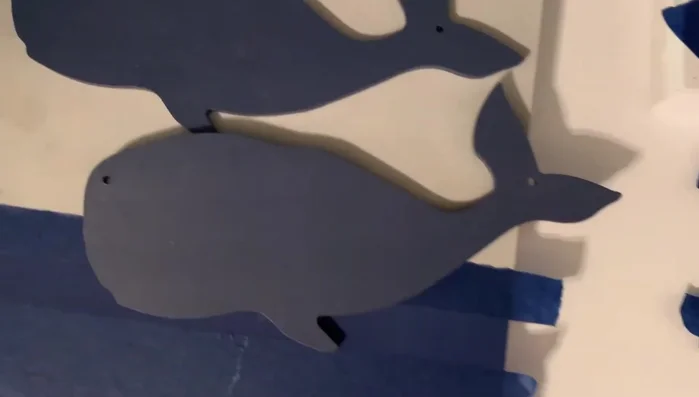
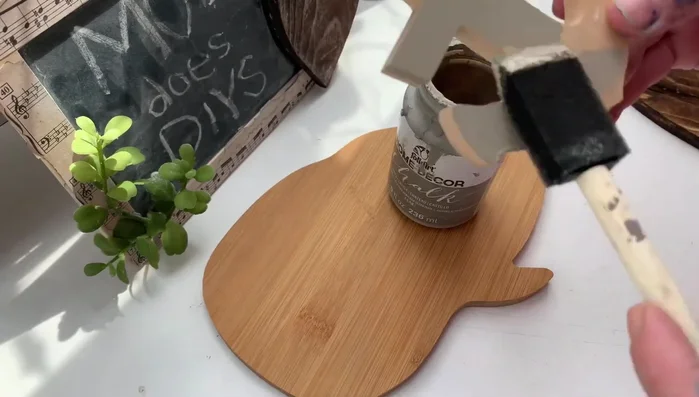
- Repurposing a Target dollar spot cutting board as a whale-shaped decor piece and adding chalk details.
- Creating a fishnet decor piece using Dollar Tree seashells and hot glue.
Additional Decor Pieces
Read more: Build a Giant Toy Box: DIY Playroom Organization
Tips
- Combine hot glue and E6000 glue for stronger adhesion.
- Don't worry about perfection when cutting cardboard for Cricut Maker stencils; you'll cover it with paint.