Tired of the same old, boring room dividers? Ready to inject some personality and sustainability into your home decor? Then look no further! This DIY project transforms discarded plastic bottles into a stunning, upcycled room divider that's both beautiful and eco-friendly. Forget expensive and mass-produced options; this project empowers you to create a unique piece that reflects your style while contributing to a greener planet. We'll be utilizing readily available materials and simple techniques to achieve a remarkable result that will impress your guests and leave you feeling immensely satisfied.
This project is surprisingly easy, even for beginners, and requires minimal tools. By cleverly repurposing plastic bottles, you'll not only be adding a striking focal point to your home but also drastically reducing plastic waste. Ready to get started on creating your own eco-chic room divider? Let's dive into the step-by-step guide that will transform those unwanted plastic bottles into a masterpiece!
Preparation and Safety Guidelines
- Craft knife
- Acrylic paint
- Cosmetic sponge
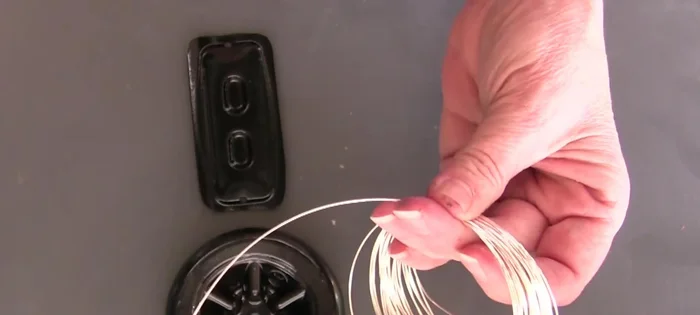
- 22 gauge wire
- Needle nose pliers
- Paper punch (optional)
- Drill (optional)
- Beads
- Optional embellishments (mirrors, marbles, etc.)
- Always use clean, dry plastic bottles. Residue from previous contents can be harmful.
- Sharp objects will be used during the cutting process. Wear protective gloves and eyewear.
- Ensure adequate ventilation when working with paints or adhesives, as fumes can be harmful.
Step-by-Step Instructions
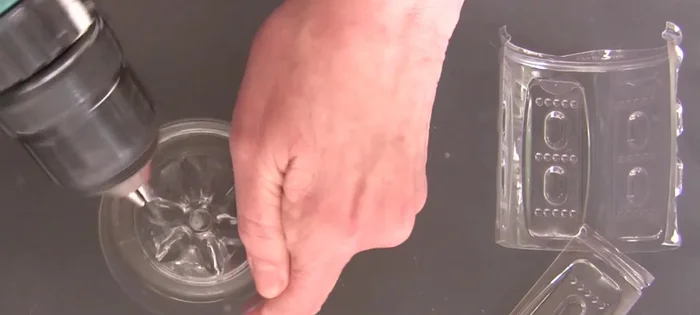
Prepare the Plastic Bottles
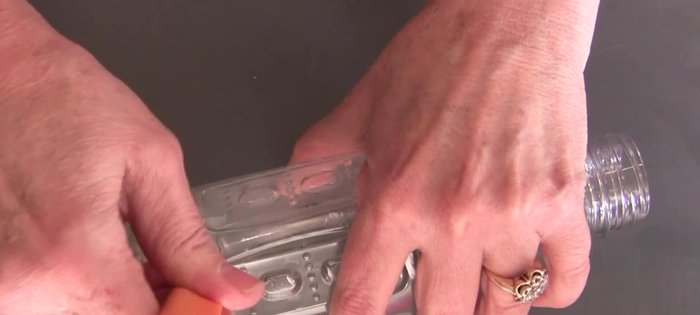
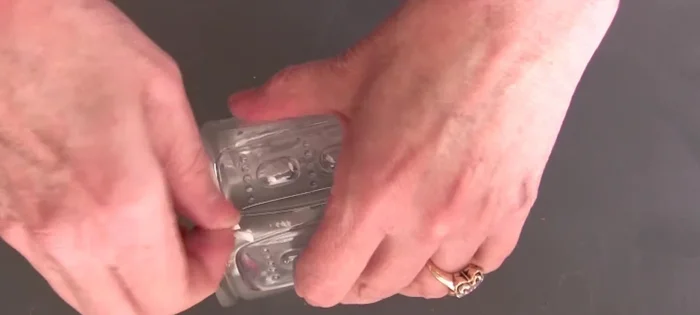
- Cut off the bottom of the plastic drink bottle using a craft knife, just above the embossed area.
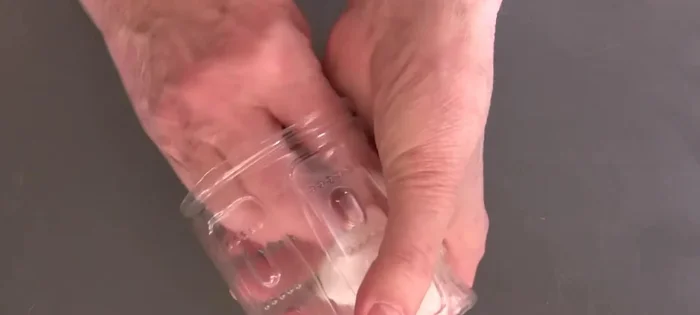
- Remove any remaining labels using a label remover.
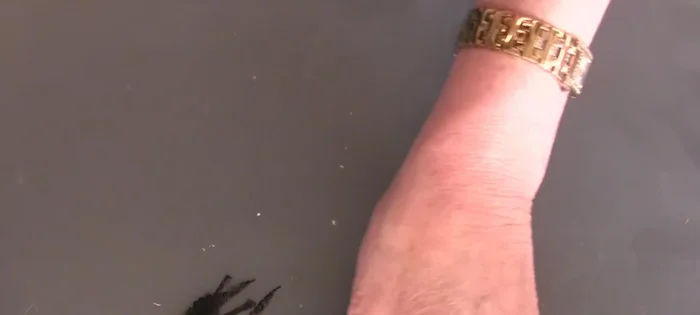
- Clean the plastic pieces thoroughly.

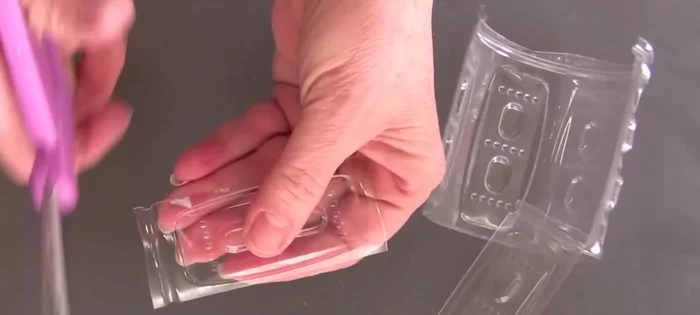
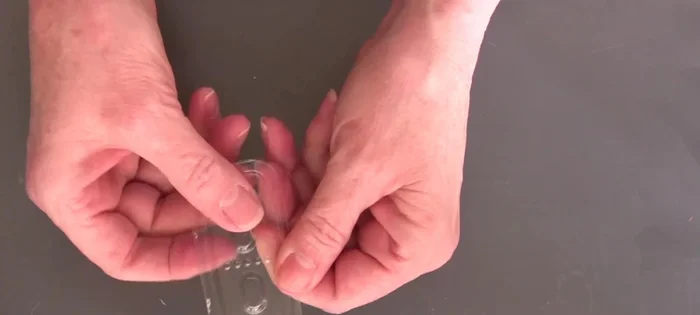
Prepare the Plastic Bottles Cut and Shape the Pieces
- Cut the plastic bottle into desired shapes and sizes for your room divider. Round the edges for a finished look.
Cut and Shape the Pieces Prepare for Assembly
- Drill holes or punch holes in the sides of each piece. (Drill for larger pieces, punch for smaller ones).
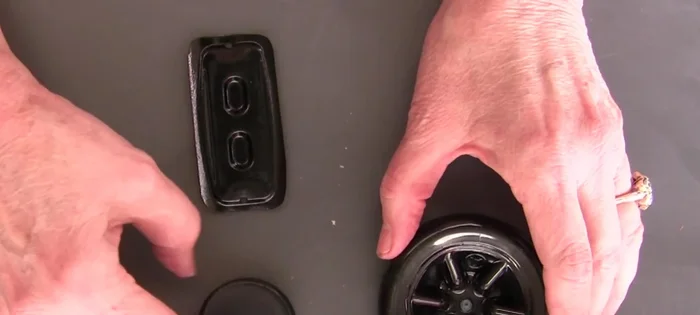
Prepare for Assembly Paint the Pieces
- Paint the inside of each piece with acrylic paint using a cosmetic sponge. Apply multiple coats for better coverage.
- Let the paint dry completely.
Paint the Pieces Plan the Design
- Decide the arrangement of your pieces.
Plan the Design Assemble the Room Divider
- Wire the pieces together using 22 gauge wire. Create spirals or other designs as desired. Add beads or other embellishments to the wire.
Assemble the Room Divider Add Finishing Touches
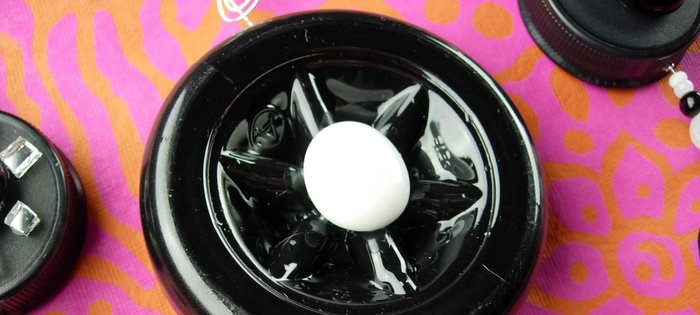
- Add decorative elements to the center of the room divider, such as marbles or mirror pieces.
Add Finishing Touches
Read more: DIY Plastic Gallon Candy Basket: Upcycled & Adorable!
Tips
- Save the tops of the bottles for other craft projects.
- For added detail, paint the inside of the pieces with multiple colors before the final black coat.
- Use a variety of embellishments and wire techniques to customize your room divider.
- Consider using flat marbles and mirror pieces to add sparkle and texture.