Drywall nail pops – those annoying little bumps that mar the otherwise smooth surface of your walls – are a common homeowner headache. They're unsightly, and while seemingly minor, ignoring them can lead to larger, more frustrating problems down the road. Fortunately, fixing drywall nail pops doesn't require extensive experience or expensive tools; it's a surprisingly straightforward DIY project that can dramatically improve your home's appearance. Whether it's a single offending nail or a cluster of them, this simple repair is within everyone's reach, saving you both time and money on professional repairs.
This quick and easy guide will walk you through the process of identifying the problem, gathering the necessary materials, and effectively fixing those pesky nail pops, leaving your walls looking flawlessly smooth once again. Ready to get started and banish those unsightly bumps for good? Let's dive into the step-by-step instructions below.
Preparation and Safety Guidelines
- 10-in-1 tool
- Putty knife
- Box knife
- Drywall knife (4-inch or 6-inch)
- Lyman's pliers
- Drill (if removing screws)
- Easy Sand 5-Minute Joint Compound
- Mesh tape
- 180-grit sandpaper
- Paint (optional)
- Texture (optional)
- Always wear safety glasses to protect your eyes from flying debris when hammering or using a putty knife.
- If you are unsure about any step, or if the damage is extensive, consult a professional drywall contractor. Attempting repairs beyond your skill level could worsen the problem.
- Turn off power to any electrical outlets near the repair area before starting work to prevent electric shock.
Step-by-Step Instructions
Expose and Clean the Nail Pop
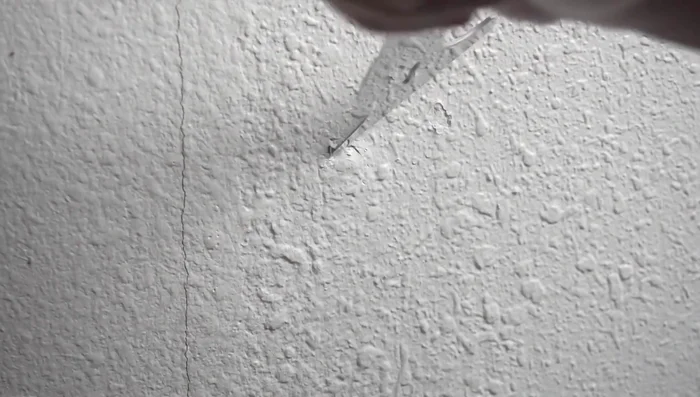
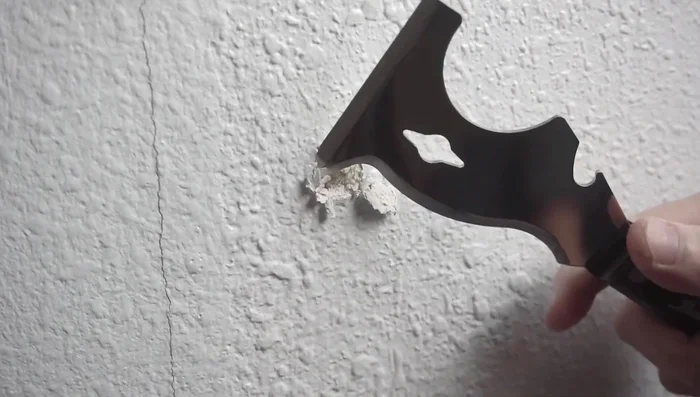
- Expose the nail pop by gently tapping around the perimeter of the bump with a 10-in-1 tool or similar instrument to loosen the damaged drywall section.
- Carefully remove the excess drywall using a knife, creating a clean, recessed area around the nail or screw.

Expose and Clean the Nail Pop Remove the Nail or Screw
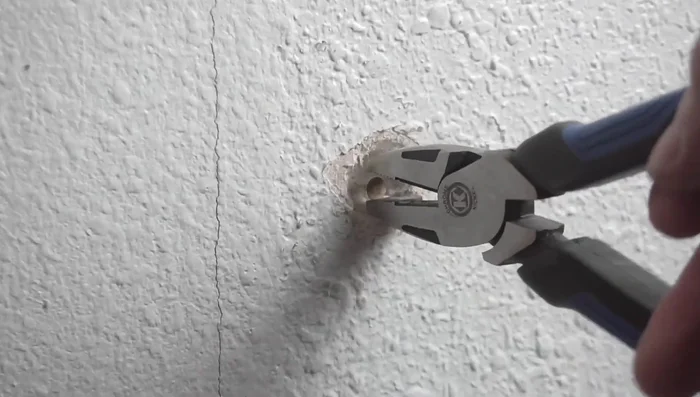
- Remove the offending nail or screw. Use pliers and leverage to remove nails; for screws, use a drill.
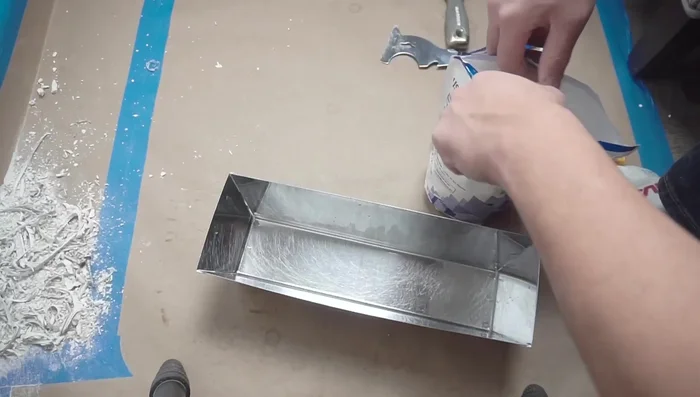
Remove the Nail or Screw Mix the Joint Compound
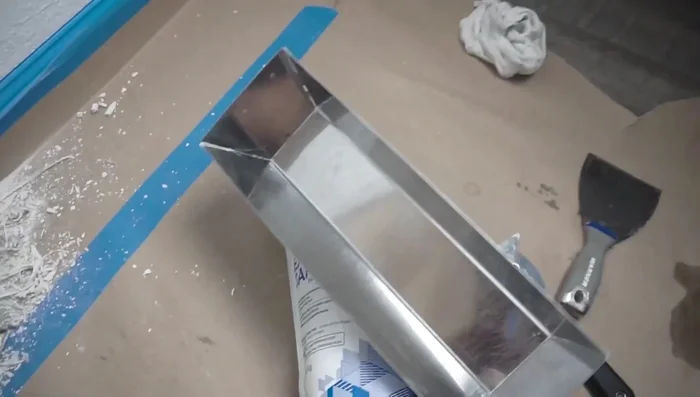
- Mix the 5-minute joint compound according to package directions. Add water first, then the powder. Work quickly as it sets fast.
Mix the Joint Compound Fill the Hole with Joint Compound
- Apply a generous amount of joint compound to fill the hole created by the removed nail or screw, ensuring it is level with the surrounding wall surface.
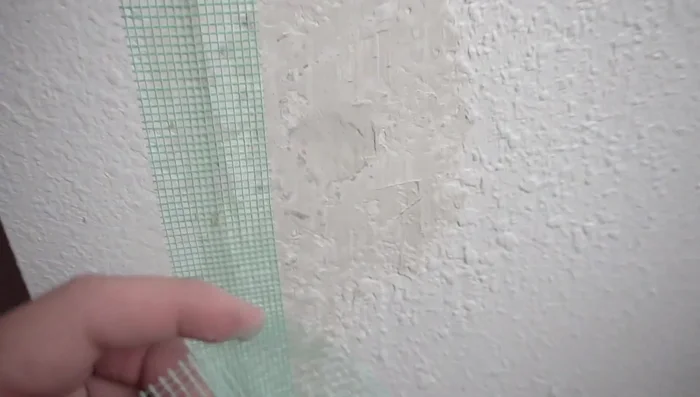
Fill the Hole with Joint Compound Reinforce with Mesh Tape
- Apply mesh tape over the filled area to reinforce the repair.
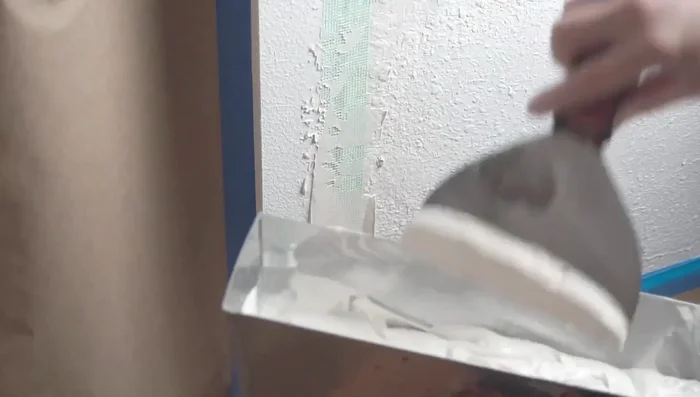
Reinforce with Mesh Tape Apply Second Coat of Joint Compound
- Apply a second coat of a slower-setting joint compound (20, 45, or 90-minute) over the mesh tape to create a smooth, even surface.
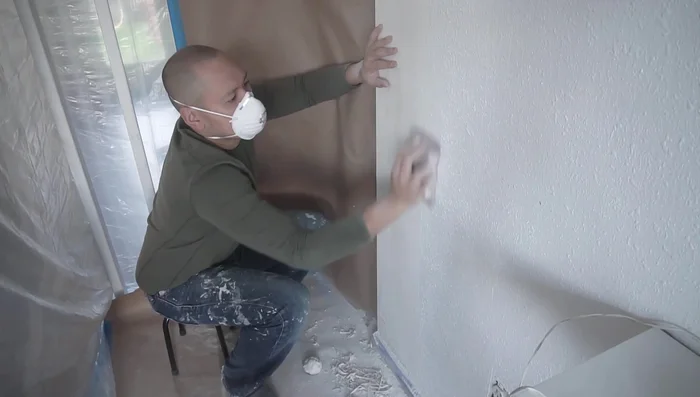
Apply Second Coat of Joint Compound Sand and Finish
- Once dry, sand the area with 180-grit sandpaper to feather the edges and create a seamless blend with the surrounding wall.
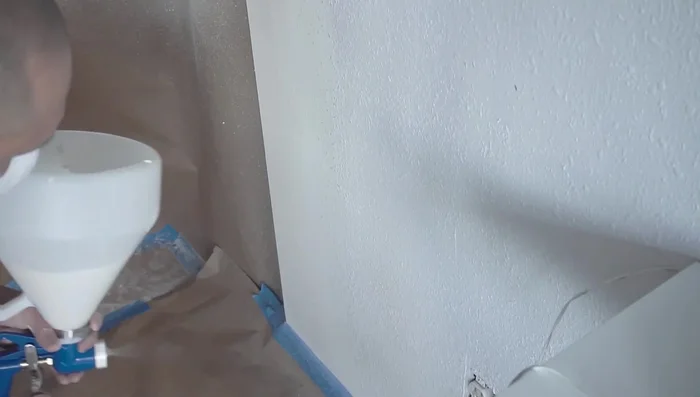
- Clean the area, and optionally apply texture and paint to match the surrounding wall.
Sand and Finish
Read more: DIY Timber Panel Installation: A Step-by-Step Guide
Tips
- Using a 5-minute setting compound allows for quick drying and a fast repair, but requires working quickly.
- For larger nail pops or cracks, use a slower setting compound and consider multiple coats for better durability.
- When using a knife to remove the damaged drywall, place the knife blade against the wall to prevent damaging the surrounding area.
- Always add water to the joint compound container *before* adding the powder.