Transforming your living space with the warmth and character of timber paneling is now easier than ever, thanks to the accessibility of DIY projects. Whether you're aiming for a rustic cabin aesthetic, a modern minimalist feel, or something entirely unique, timber paneling offers a versatile and visually stunning upgrade. This cost-effective alternative to professional installation allows you to personalize your home with minimal fuss and maximum impact, adding value and style without breaking the bank. Forget expensive renovations and embrace the rewarding experience of crafting a beautiful, personalized space.
This comprehensive guide provides a clear, step-by-step process for installing timber panels, from initial planning and material selection to the final finishing touches. Get ready to unleash your inner craftsman and follow along as we demystify the seemingly daunting task of timber panel installation, turning your DIY dreams into a beautiful reality.
Preparation and Safety Guidelines
- Measuring tape
- Pencil
- Masking tape
- Fine-tooth saw or circular saw
- Jigsaw (if needed)
- Construction adhesive
- Button head screws
- Sandpaper (120-150 grit)
- Sugar soap
- Always wear safety glasses and a dust mask to protect your eyes and lungs from wood dust and debris.
- Use appropriate lifting techniques and consider asking for help when handling heavy timber panels. Avoid back injuries.
- Ensure the wall or surface you're installing the panels on is structurally sound and properly prepared. Improper preparation can lead to panel failure.
Step-by-Step Instructions
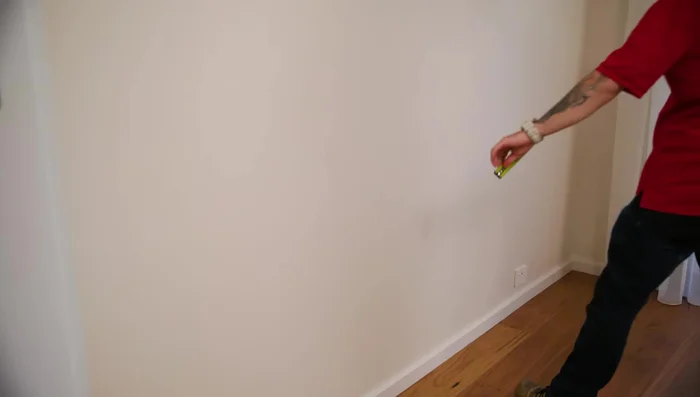
Planning and Preparation
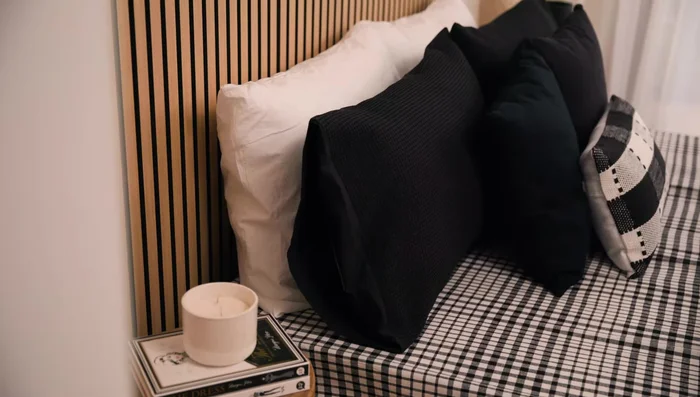
- Choose your panel color and wall finish style (full coverage, bedhead, etc.).
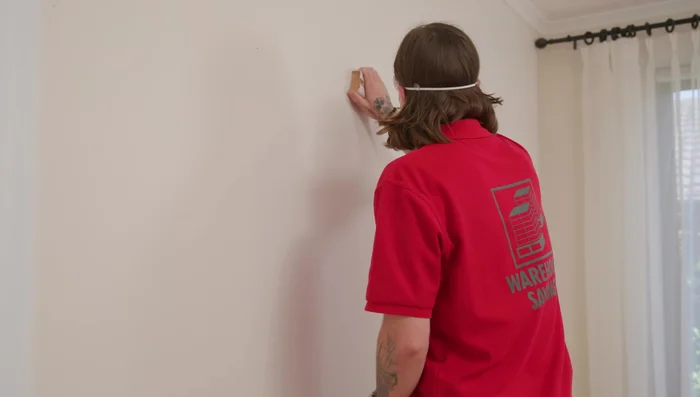
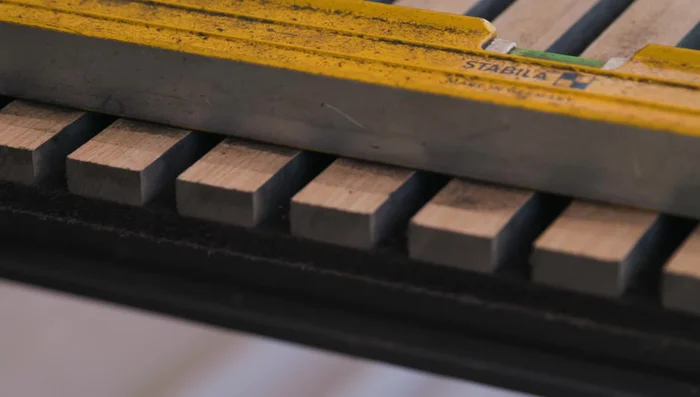
- Measure and mark the area where you want the panels to go.
- Sand back any uneven surfaces and clean with sugar soap.

Planning and Preparation Cutting the Panels
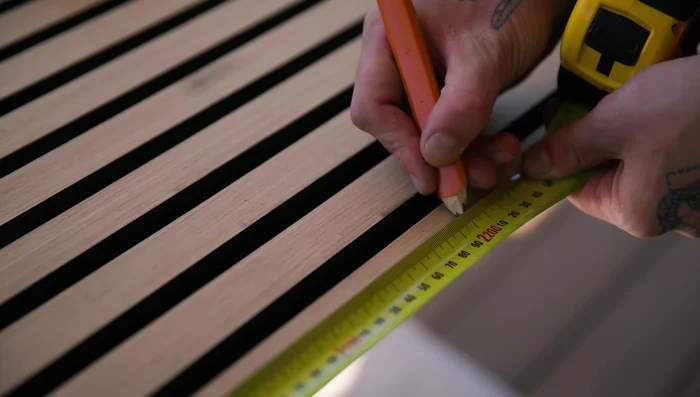
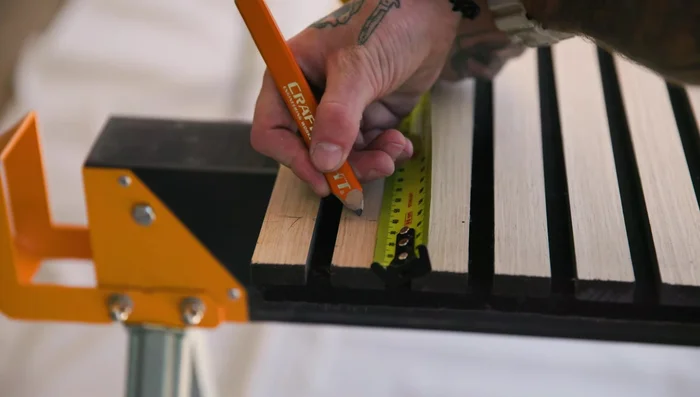
- Measure and mark cutting lines on the panels. Apply masking tape to prevent chipping.
- Cut the panels to size using a fine-tooth saw or circular saw. If using a circular saw, carefully measure the distance from the blade to the edge of the panel to ensure accurate cuts.
- Cut out any necessary power point openings.
- Remove masking tape and clean off any residue. Sand edges with 120-150 grit sandpaper for a smooth finish.
Cutting the Panels Installation
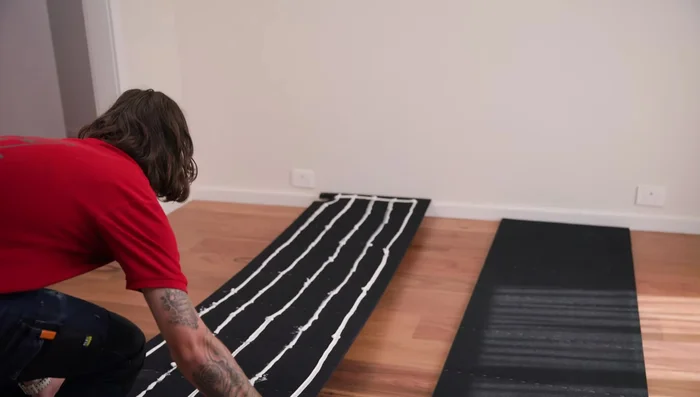
- Apply construction adhesive to the back of the panels in a back-and-forth motion.
- Secure the panels to the wall, applying pressure to ensure good adhesion.
- Screw button head screws through the felt into the wall.
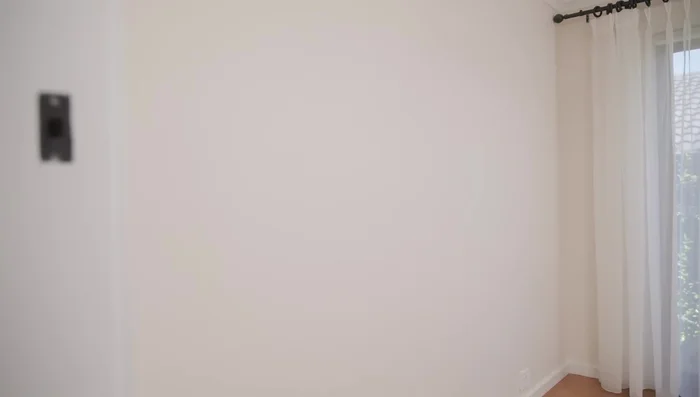
Installation Finishing Touches
- Style the room with lighting, artwork, and furniture.
Finishing Touches
Read more: Fixing Drywall Nail Pops: A Quick and Easy DIY Guide
Tips
- Measure twice, cut once!
- Use masking tape to prevent chipping when cutting.
- Apply even pressure when attaching panels to ensure good adhesion.