Bring a touch of rustic charm to your home with this easy-to-make DIY farmhouse wood bead garland! Farmhouse style is all about cozy, welcoming aesthetics, and this simple craft project is the perfect way to add that touch of warmth and texture to any room. Whether you're decorating for a special occasion, adding a seasonal touch, or simply looking for a quick and satisfying DIY project, this wood bead garland is the perfect solution. It's surprisingly affordable and requires minimal supplies, making it ideal for crafters of all skill levels.
Forget complicated patterns and frustrating techniques; this tutorial will guide you through creating a beautiful garland in just a few simple steps. From selecting your beads to finishing touches, we'll walk you through the entire process, leaving you with a stunning, handmade decoration you'll be proud to display. Let's get started and learn how to craft your own charming farmhouse wood bead garland!
Preparation and Safety Guidelines
- 20 millimeter wood beads
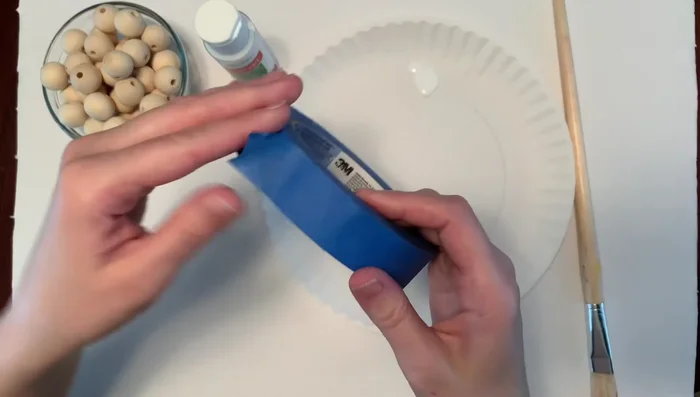
- blue painter's tape
- white acrylic paint
- twine
- scissors
- Always supervise children around small beads to prevent choking hazards.
- Use caution when working with sharp tools like scissors or wire cutters. Keep them away from children.
- Ensure adequate ventilation when using any paints, stains, or sealants to avoid inhaling harmful fumes.
Step-by-Step Instructions
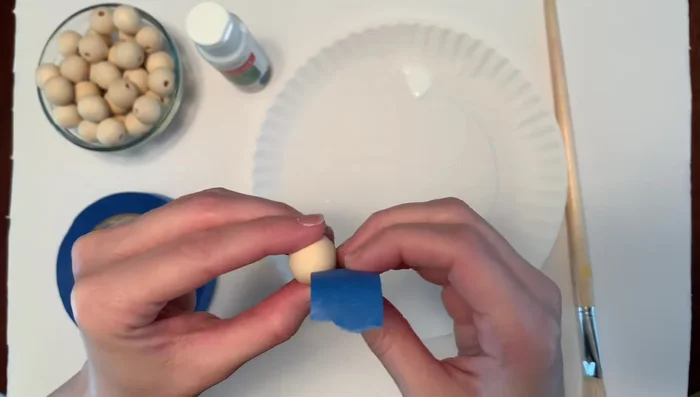
Prepare Beads
- Cover half of six beads with blue painter's tape, leaving the other half exposed for painting.

Prepare Beads Paint Beads
- Paint the exposed half of the taped beads white and let them dry for about 30 minutes.
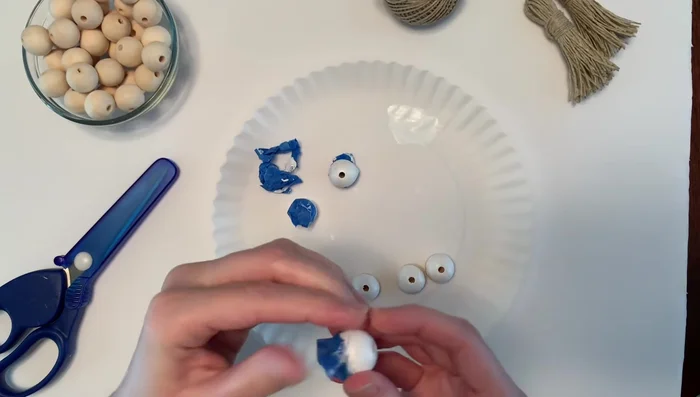
Paint Beads Remove Tape
- Carefully remove the blue painter's tape from the dried beads.
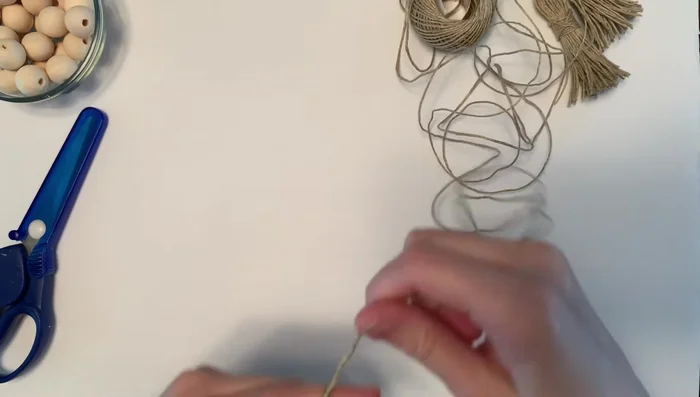
Remove Tape Make Tassels
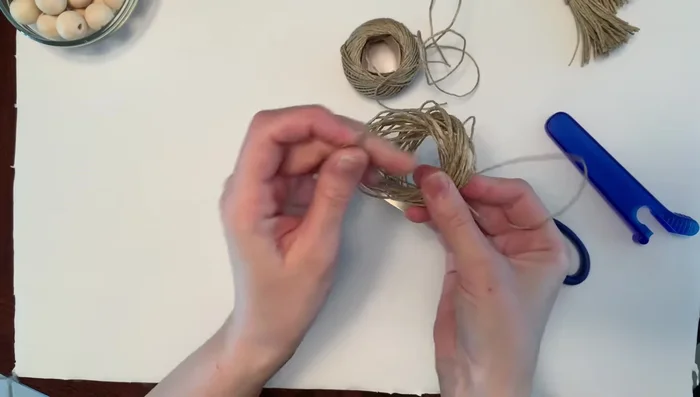
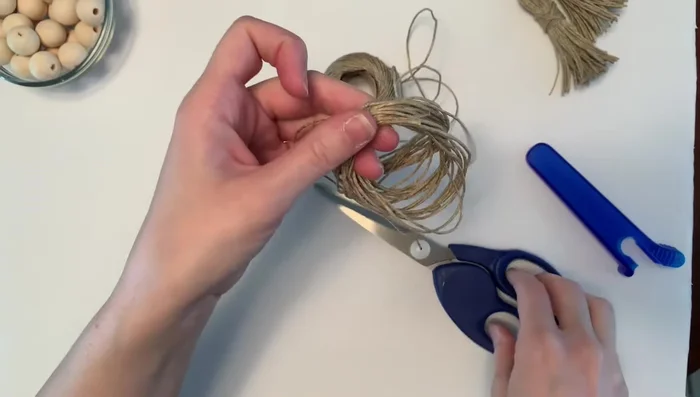
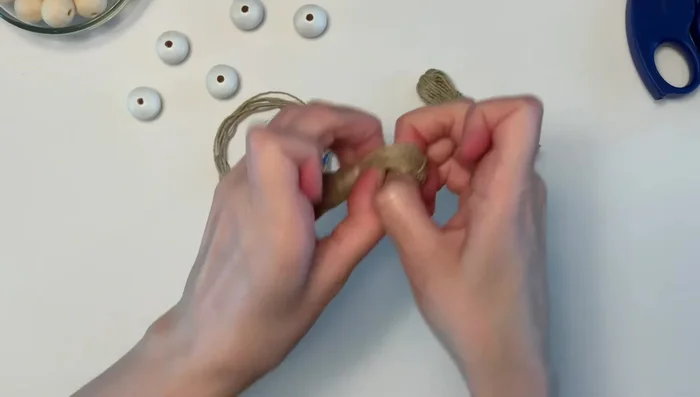
- Wrap twine around your hand 25-30 times, then cut.
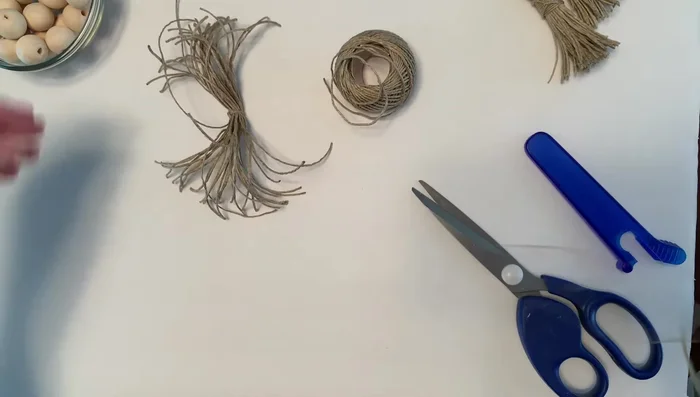
- Cut a smaller piece of twine, place it in the center of the wrapped twine, and double knot it tightly.
- Pull the rest of the string down, cut, and fold the tassel over itself to hide the knot.
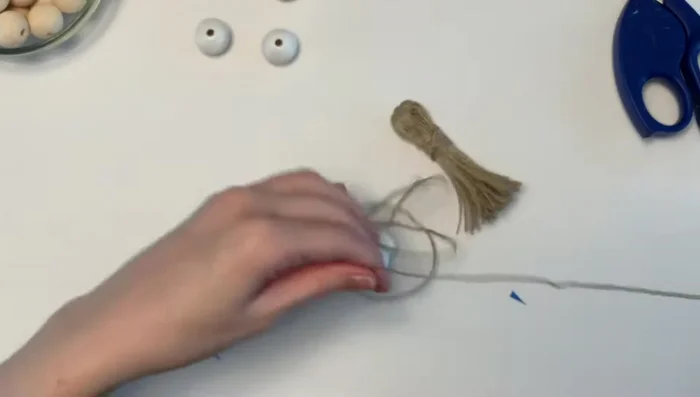
- Cut another piece of twine, wrap it tightly around the tassel head, double knot, and trim the ends.
Make Tassels - Trim the ends of the tassel to make them neat.
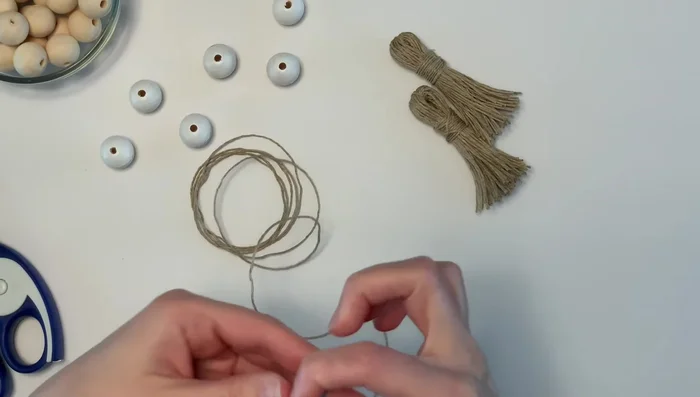
Make Tassels Prepare Twine
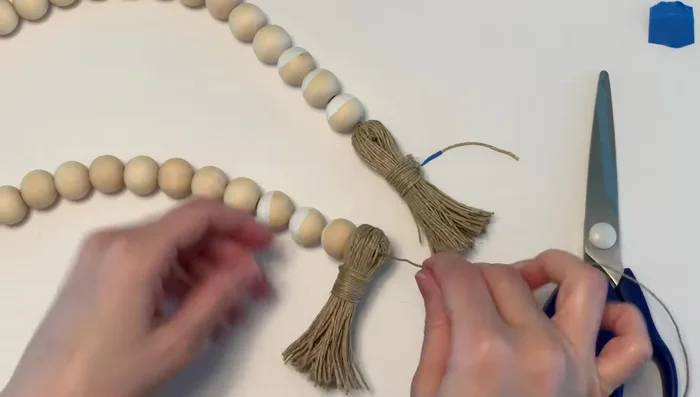
- Cut a two-foot-long piece of twine. Optionally, apply painter's tape to the end and cut it into a triangle to help with stringing.
Prepare Twine Attach First Tassel
- Insert the twine through the tassel head and double knot to secure it.
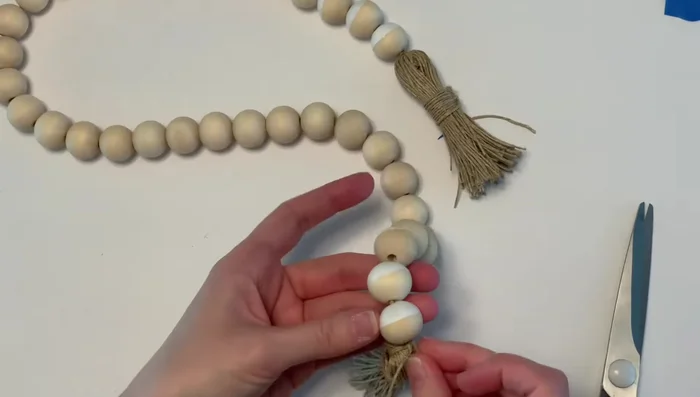
Attach First Tassel String Beads
- Add the three half-painted beads, 25-30 natural wood beads, and the remaining three half-painted beads to the twine.
String Beads Attach Second Tassel
- Attach the second tassel to the other end of the bead strand and double knot it tightly.
Attach Second Tassel Finish and Hide Twine
- Trim the extra twine, leaving about two to three inches. Tuck the remaining twine through several beads to hide it.
Finish and Hide Twine

Read more: DIY Farmhouse X-Style Coffee Table: Easy Step-by-Step Guide
Tips
- Use painter's tape to aid in bead stringing.