Frozen pipes. The dreaded homeowner's nightmare. While prevention is always the best approach, sometimes a burst pipe necessitates a more drastic solution: replacing your frost-proof faucet. This seemingly daunting task can be tackled effectively with the right knowledge and tools, making it a manageable project even for the moderately handy individual. Unlike standard faucets, frost-proof models are specifically designed to protect the valve from freezing temperatures, ensuring a reliable water supply even in harsh climates. This is crucial for outdoor fixtures like hose bibs.
This pro plumber's guide offers a detailed, step-by-step walkthrough of the entire replacement process, guiding you through each stage with clarity and precision. From shutting off the water supply to connecting the new faucet, we'll equip you with the expertise to complete this essential repair with confidence. Let's dive into the practical steps to successfully replace your frost-proof faucet.
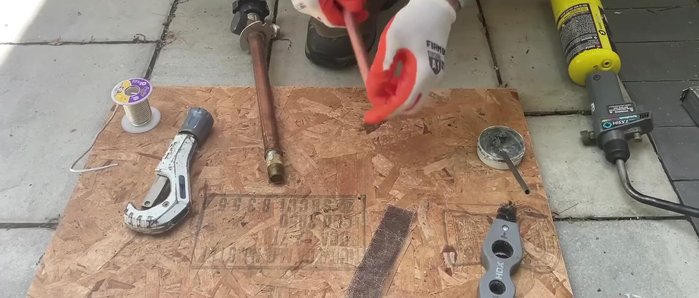
Preparation and Safety Guidelines
- Tubing cutter
- Milwaukee 18-volt multi-tool
- Bubble level
- Soldering station
- Solder
- Flux
- Half inch wire brush
- Sand cloth
- Plywood
- Heat pad
- 100 silicone
- Inch and an eighth paddle bit
- Exterior deck screws
- Always turn off the water supply to the faucet at the main shutoff valve before beginning any work. Failure to do so can lead to flooding and significant water damage.
- Wear safety glasses and gloves to protect yourself from sharp edges, debris, and potential water splashes.
- If you are unsure about any step of the process, consult a qualified plumber. Incorrect installation can lead to leaks and further damage.
Step-by-Step Instructions
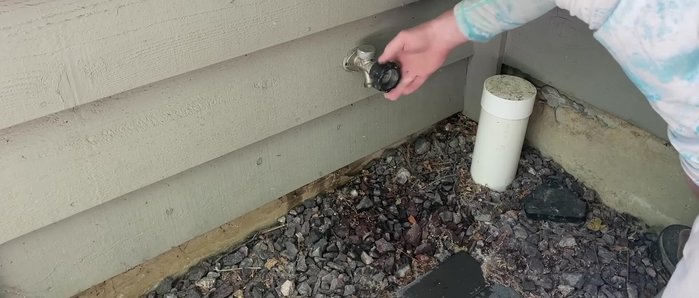
Shut Off Water & Drain
- Shut off the water supply.
- Open the faucet to drain remaining water.

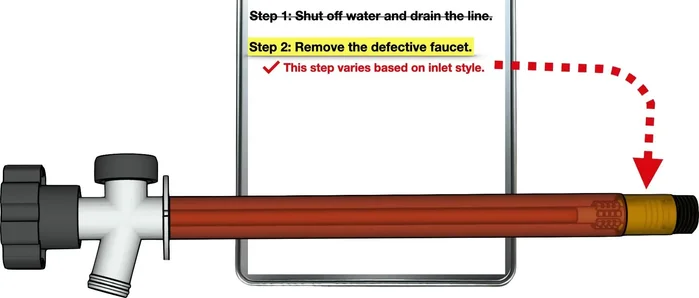
Shut Off Water & Drain Remove Old Faucet
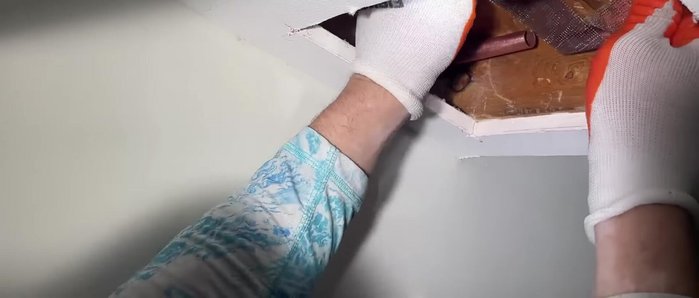
- Remove the old faucet. This may involve unscrewing it (if screwed in) or cutting the water supply line (if soldered).
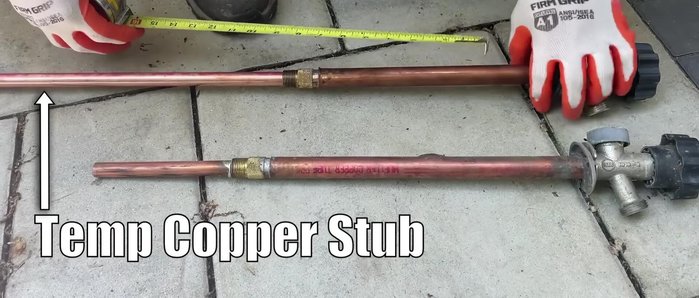
Remove Old Faucet Prepare New Pipe
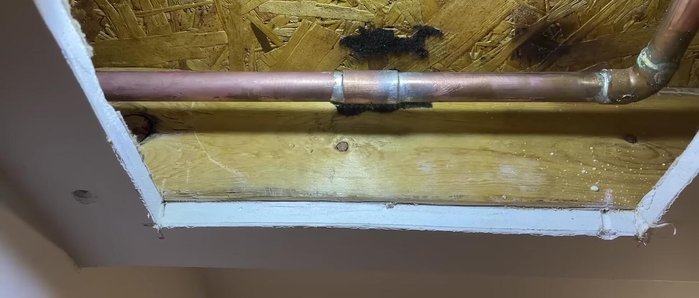
- Measure the length of the old faucet and cut a new piece of copper pipe to match.
Prepare New Pipe Prepare Faucet & Pipe
- Clean and ream the copper, apply flux.
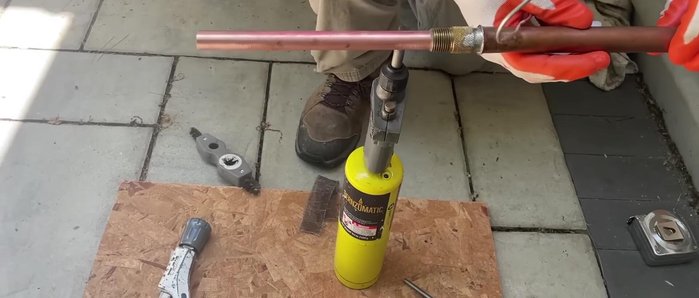
Prepare Faucet & Pipe Solder Faucet to Pipe
- Solder the new copper pipe to the new faucet. (Remember to open the faucet handle before soldering to protect the bib washer.)
Solder Faucet to Pipe Enlarge Wall Hole (if needed)
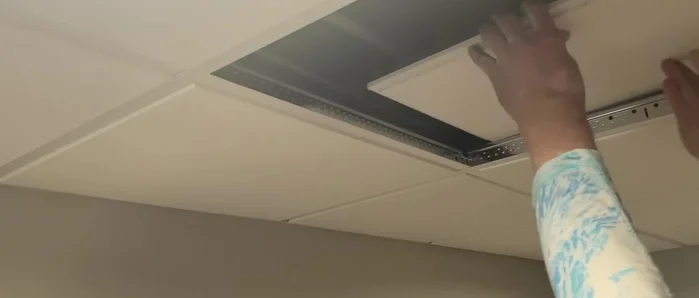
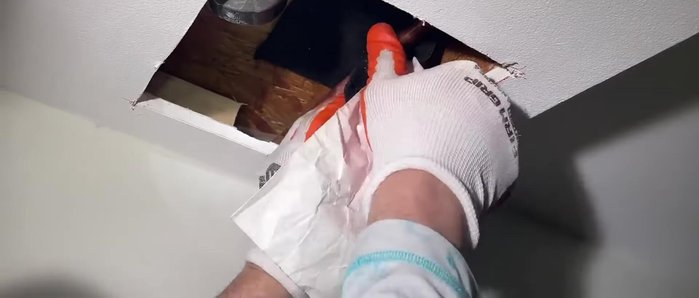
- Enlarge the hole in the wall (if necessary) to accommodate the new faucet.
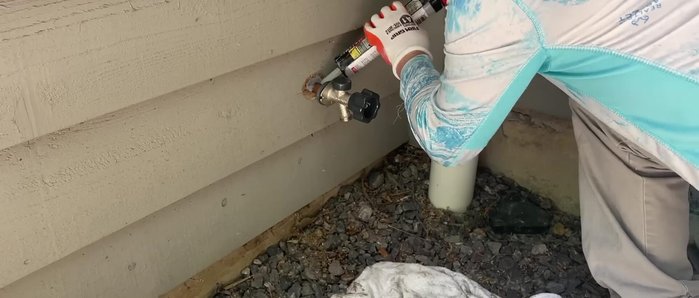
Enlarge Wall Hole (if needed) Seal Wall Hole
- Apply silicone sealant around the hole in the wall.
Seal Wall Hole Prepare Interior Pipe Fitting
- Clean, ream, and apply flux.
Prepare Interior Pipe Fitting Solder Interior Fitting
- Solder the interior pipe fitting.
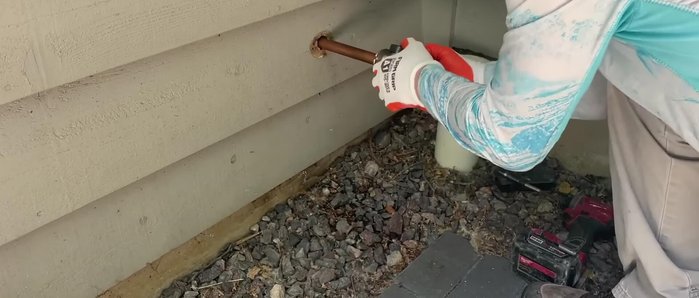
Solder Interior Fitting Install New Faucet
- Install the new faucet, attaching it to the house with screws.
Install New Faucet Test for Leaks
- Turn on the water and check for leaks.
Test for Leaks

Read more: Reinforce Wobbly Deck Railings: The Lag Bolt Method
Tips
- Disconnect your hose during winter to prevent freezing.
- All Frostproof faucets need to be sloped towards the exterior for proper draining.
- Use a bubble level to verify the slope.
- Open the faucet handle before soldering to protect the bib washer.
- Stir your flux to ensure even distribution and a stronger joint.