Is your LG refrigerator door refusing to stay closed properly? A faulty door stopper assembly is a common culprit, leading to frustrating leaks, wasted energy, and potentially spoiled food. This often-overlooked component plays a crucial role in maintaining a tight seal, ensuring your refrigerator operates efficiently and keeps your groceries fresh. A broken or worn-out stopper assembly can be easily replaced, saving you the cost of a professional repair and restoring your refrigerator's performance in a short amount of time. Fortunately, this seemingly complex repair is surprisingly straightforward.
This quick-fix guide will walk you through the simple process of replacing your LG refrigerator's door stopper assembly, step-by-step. We'll cover everything from identifying the faulty part to installing the new one, ensuring a complete and efficient repair. Whether you're a seasoned DIY enthusiast or a complete beginner, follow along as we provide clear instructions and helpful tips to get your refrigerator back in perfect working order.
Preparation and Safety Guidelines
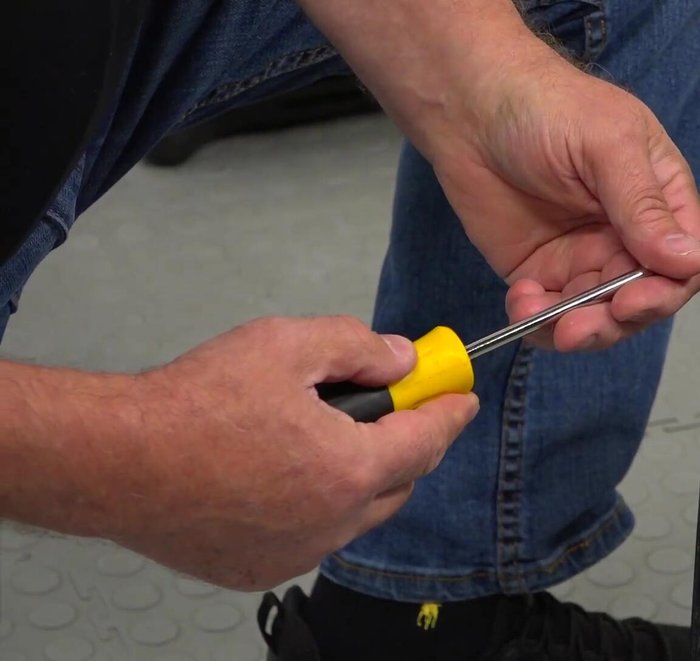
- Phillips screwdriver
- Flat blade screwdriver
- Duct tape
- Always unplug the refrigerator from the power source before starting any repair work. Failure to do so could result in electric shock.
- Be careful when handling the old and new door stopper assembly parts. Some components may be sharp or contain small parts that could be easily lost.
- Refer to your refrigerator's owner's manual for specific instructions and diagrams. Improper installation may damage the refrigerator or void the warranty.
Step-by-Step Instructions
Prepare the Refrigerator Door
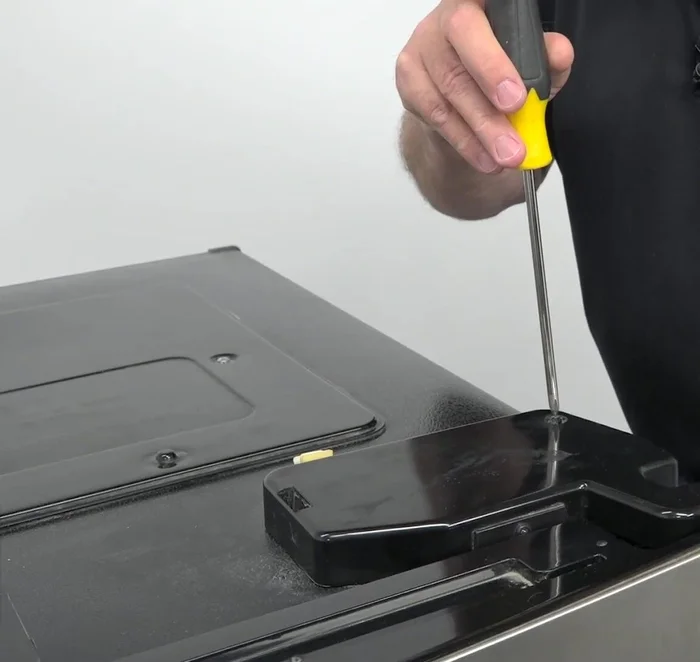
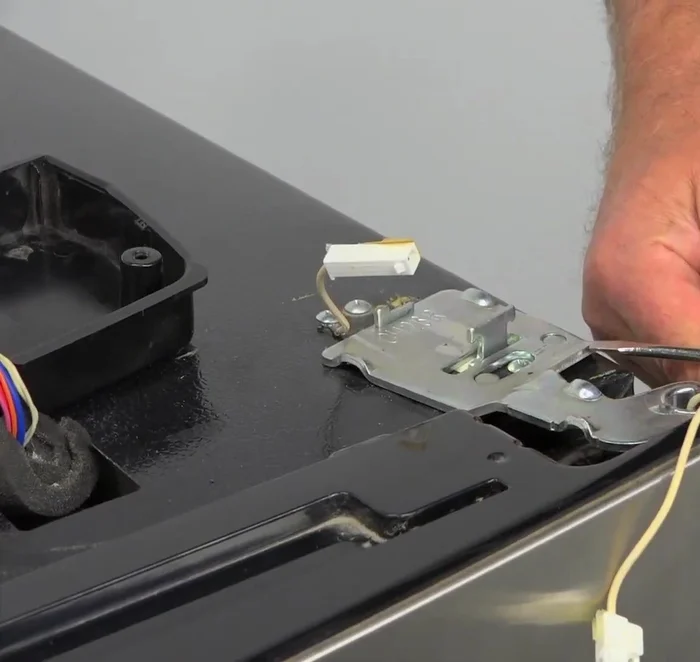
- Remove the upper hinge from the top of the refrigerator.
- Remove the cover over the hinge using a Phillips screwdriver to remove a single screw.
- Secure the refrigerator door with duct tape to prevent it from swinging while working.
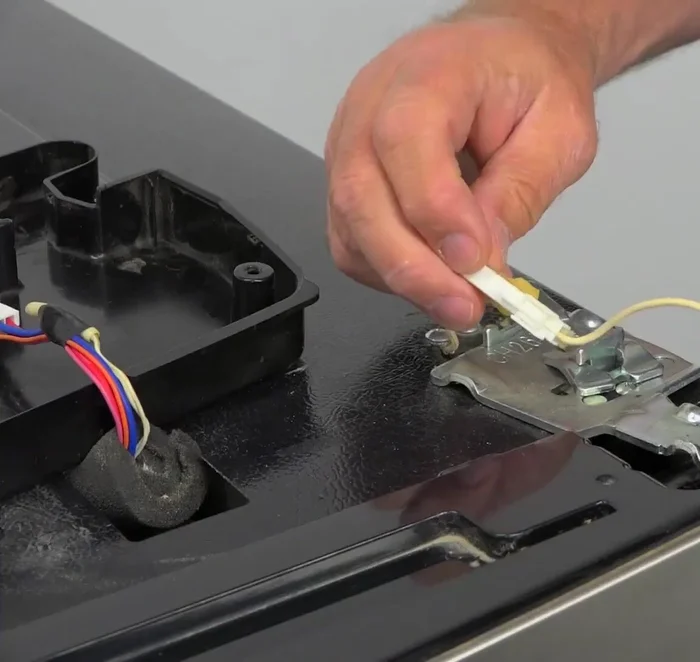
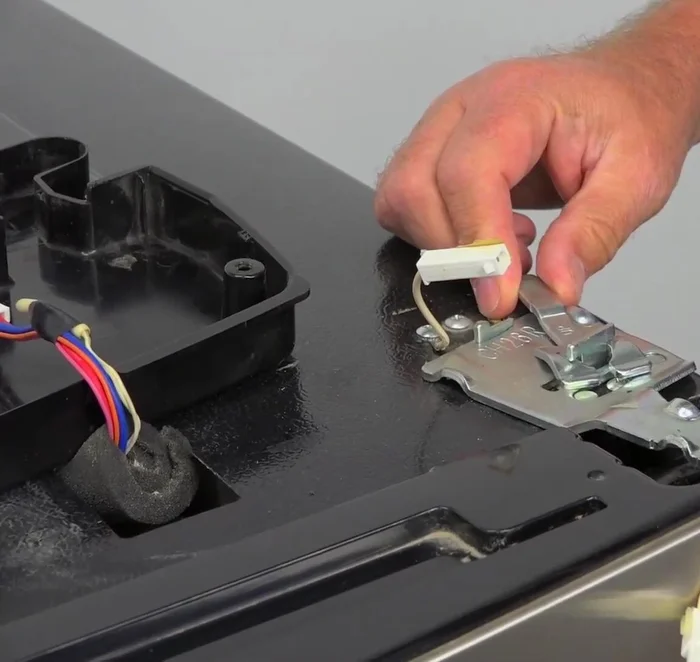
- Disconnect the electrical plug from the refrigerator door.

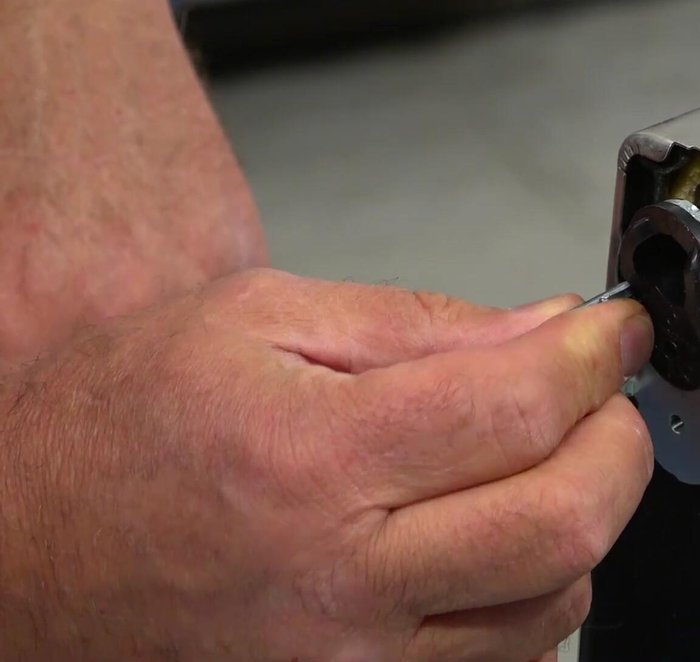
Prepare the Refrigerator Door - Turn the door lock clockwise and release it.
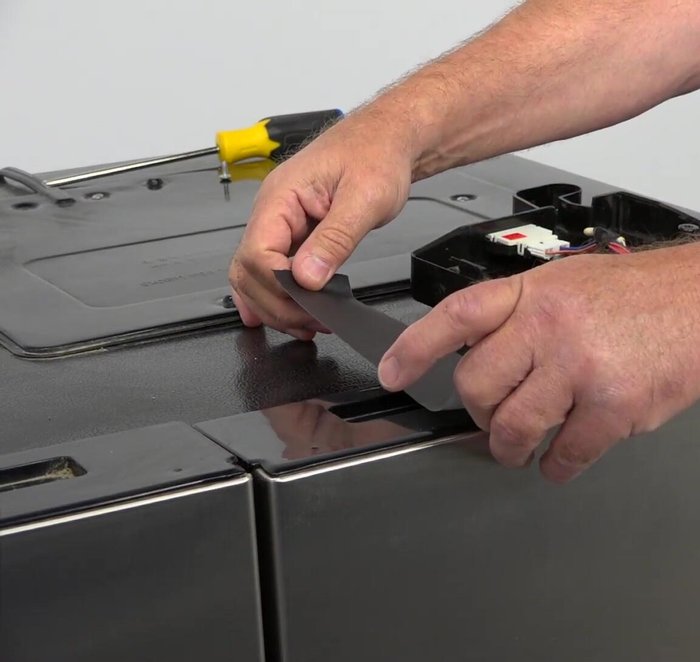
- Use a flat blade screwdriver to pry off the bottom hinge.
- Remove the duct tape from the door and carefully remove the door from the refrigerator, ensuring all shelves are emptied beforehand.
Prepare the Refrigerator Door Replace the Door Stopper Assembly
- Remove the old door stopper assembly by unscrewing the two Phillips screws holding it in place.
- Slide the new door stopper assembly into the opening, align the holes, and secure it with the Phillips screws.
Replace the Door Stopper Assembly Reassemble the Refrigerator Door
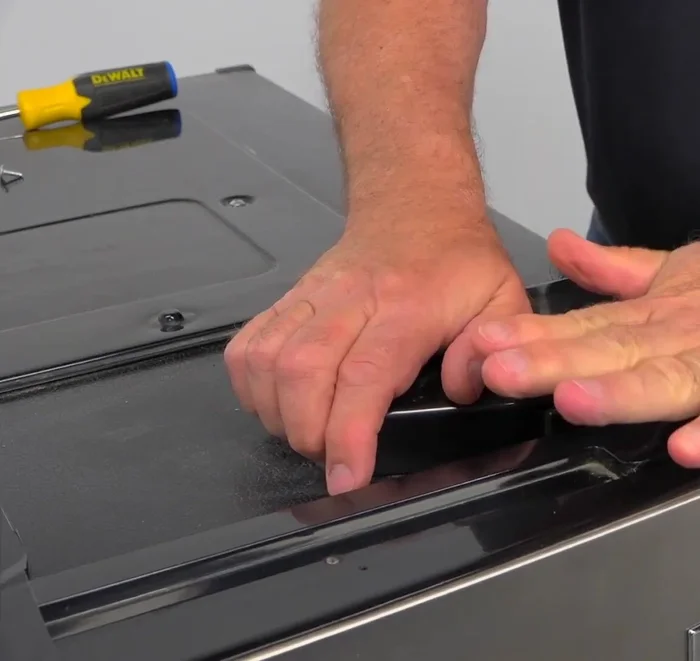
- Carefully lift the door and place it back onto the bottom hinge (it may be helpful to have someone assist).
- Replace the duct tape for added support, if needed.
- Reinstall the upper hinge and secure it.
- Install the hinge lock, plug in the door harness, and install the cover, ensuring the harness is inside the hinge.
Reassemble the Refrigerator Door - Secure the cover with the Phillips screw.
- Remove the duct tape, plug the refrigerator back in, and verify that it is cooling properly.
Reassemble the Refrigerator Door


Read more: 3M Thinsulate Window Film Installation: A Step-by-Step Guide
Tips
- Always unplug the refrigerator or turn off the circuit breaker before starting any repair.
- Empty all shelves from the refrigerator door before attempting removal.
- Having someone assist with reinstalling the door can make the process easier.