That weathered bench in your garden, bearing the silent tales of countless sunrises and shared conversations – it’s more than just furniture; it’s a piece of history. But time and the elements take their toll, leaving metal rusted and wood decaying. Is it destined for the scrap heap? Absolutely not! With a little elbow grease and the right know-how, you can breathe new life into your beloved outdoor seating. This isn't just about restoring a bench; it's about preserving memories and reclaiming a cherished piece of your landscape.
This guide will walk you through a comprehensive step-by-step process to restore your old metal and wood bench, from assessing the damage and selecting the appropriate materials, to the satisfying final coat of protection. Get ready to roll up your sleeves and rediscover the beauty hidden beneath years of wear and tear – let's get started!
Preparation and Safety Guidelines
- Bolt cutters
- Wire brush
- Paint
- Paintbrush
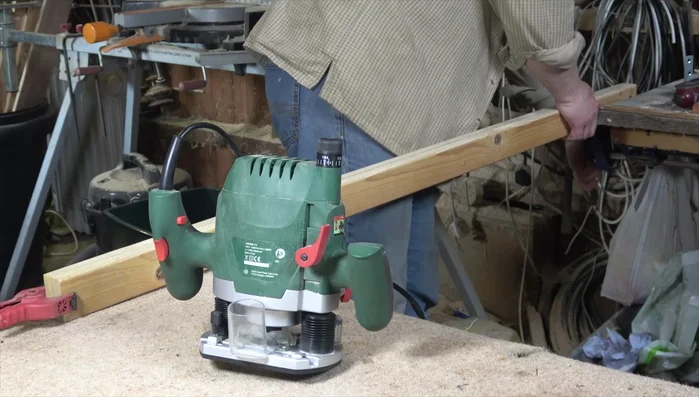
- Router
- Sandpaper (120 grit)
- Teak oil
- Clamps
- Drill
- Screws/Bolts
- Always wear appropriate safety gear, including gloves, eye protection, and a dust mask, when working with chemicals, sanding, or using power tools.
- Work in a well-ventilated area, especially when using paints, stains, or solvents. These can release harmful fumes.
- Dispose of all chemicals and sanding dust responsibly according to local regulations. Never pour chemicals down the drain.
Step-by-Step Instructions
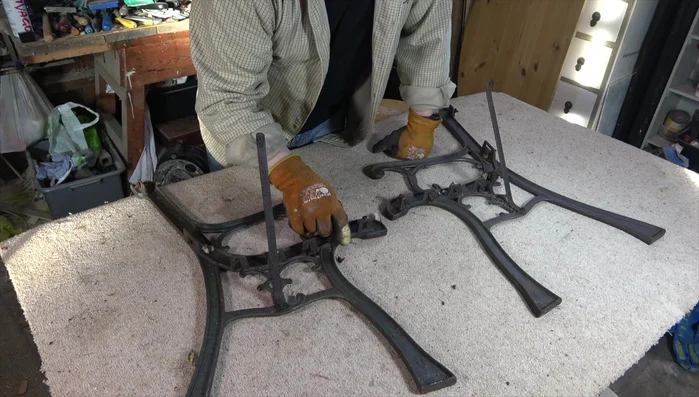
Disassembly and Metal Preparation
- Remove old wood and prepare metal ends
- Clean metal ends with a wire brush
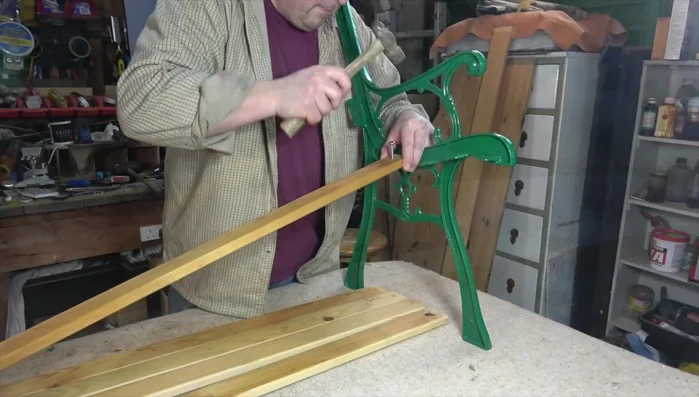
Painting Metal Ends
- Repaint the metal ends (green paint used in this example)

Painting Metal Ends Seat Preparation
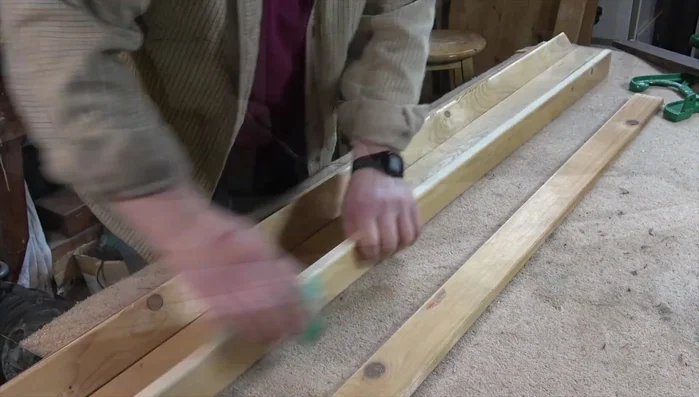
- Select and prepare new wood for the seat (cut to size)
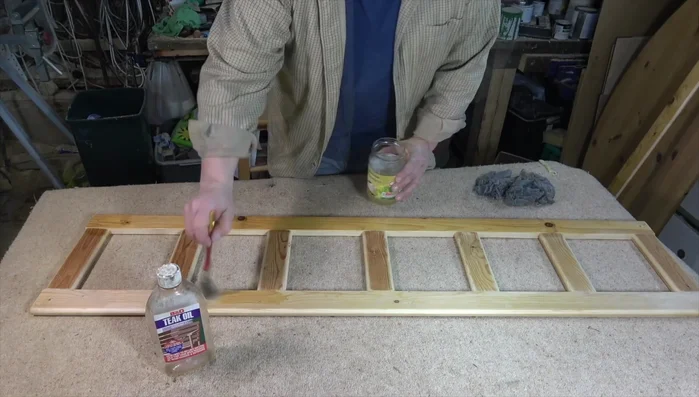
- Round off sharp edges of the new wood using a router and sand with 120 grit sandpaper
- Apply teak oil to the new wood slats for protection and color enhancement
Seat Preparation Attaching the Seat
- Attach the new seat slats to the metal ends using pre-drilled holes and bolts
Attaching the Seat Backrest Preparation
- Prepare wood for the back support (cut and assemble)
- Assemble back support pieces using glue and clamps
- Apply teak oil to the back support
Backrest Preparation Attaching the Backrest
- Attach the back support to the metal ends using bolts
Attaching the Backrest


Read more: Reinforce Wobbly Deck Railings: The Lag Bolt Method
Tips
- Use bolt cutters or a wrench to remove rusted bolts efficiently.
- Pre-drilling holes in the wood slats before attaching them makes the process easier.
- Use clamps to ensure proper alignment and drying of glue.