Cracked, uneven, or stained patio slabs can quickly transform an outdoor oasis into an eyesore. The beauty and functionality of your patio are compromised, leaving you with a space less enjoyable to use. Repairing these damaged slabs doesn't have to be a daunting task, however. With the right techniques and materials, restoring your patio to its former glory is entirely achievable, even for the DIY enthusiast. Forget expensive contractors and frustratingly incomplete repairs.
This guide will walk you through the ultimate patio slab repair process, focusing on the efficient and effective use of Self-Leveling Polymer (SPR) concrete. We'll provide a clear, step-by-step process, ensuring you achieve professional-looking results with minimal effort and maximum longevity. Get ready to learn how to transform your damaged patio into a stunning space you'll love spending time in.
Preparation and Safety Guidelines
- SDS drill with chisel action
- Spade
- Bucket
- Gauging T
- Cement finishing and flooring trowel
- Rubber mallet
- SPR (primer)
- Cement mixer
- Sledgehammer
- Steel-toe capped boots (recommended)
- Always wear appropriate safety gear, including safety glasses, gloves, and sturdy footwear, to protect yourself from flying debris and potential injuries.
- Before starting any repairs, ensure the area is clear of obstructions and that you have a stable, level working platform. Use caution when working at heights.
- Dispose of any removed materials and debris responsibly, following local regulations for construction waste.
Step-by-Step Instructions
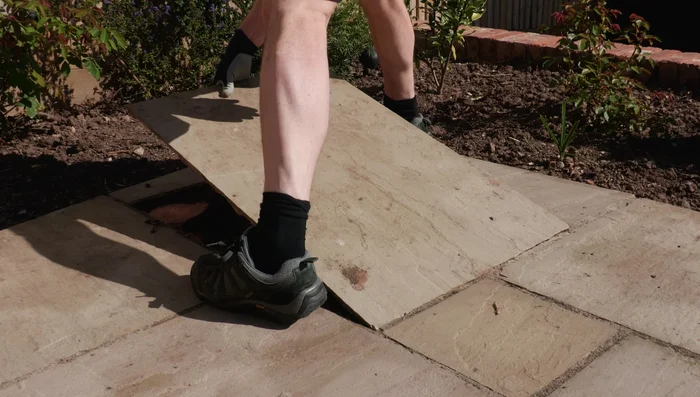
Slab Removal
- Remove damaged patio slabs using an SDS drill with chisel action.

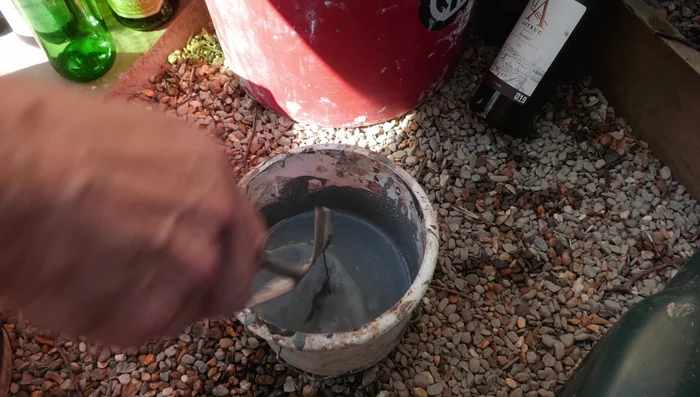
Slab Removal Prepare SPR Slurry
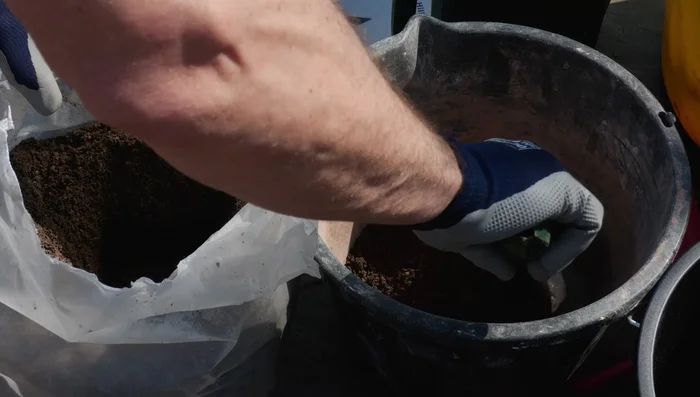
- Mix one part SPR with one part water, then add cement to a smooth cream consistency (approximately five parts cement).
Prepare SPR Slurry Prepare Bedding Mortar
- Mix cement, sharp sand, and builder's sand (refer to video for proportions). Ensure a damp, not runny, consistency.
Prepare Bedding Mortar Small Repair: Apply Slurry and Mortar
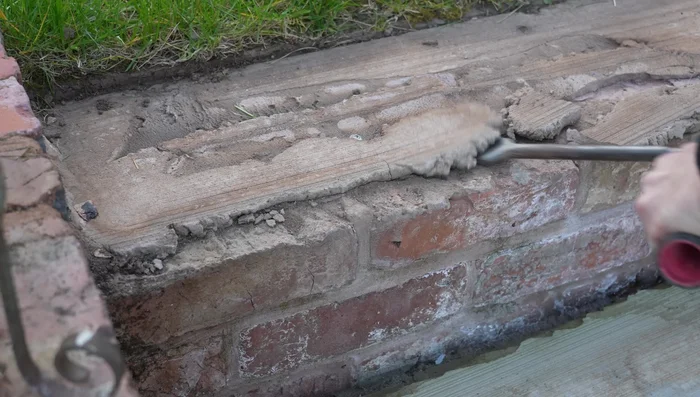
- Apply SPR slurry to the existing brickwork or patio base, ensuring the surface is dampened beforehand for better adhesion. Then apply bedding mortar.
Small Repair: Apply Slurry and Mortar Small Repair: Place Slabs and Adjust
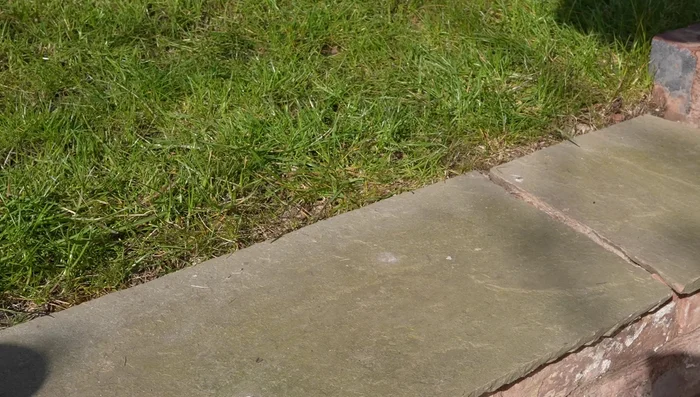
- Place sandstone slabs onto the bedding mortar, ensuring good contact. Use a rubber mallet for minor adjustments to level the slabs. Leave a small gap (around 15mm) for pointing.
Small Repair: Place Slabs and Adjust Large Repair: Excavation and Preparation
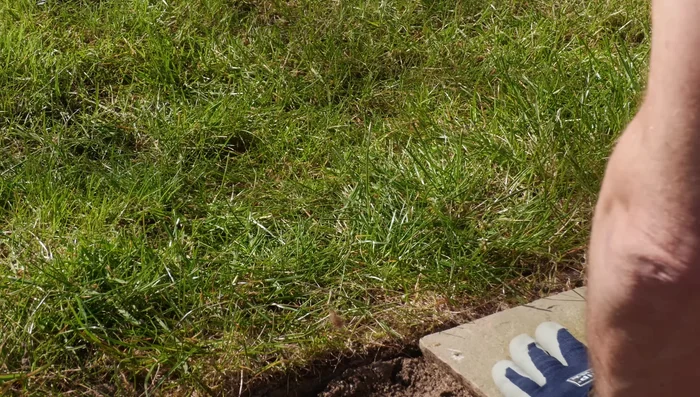
- For larger repairs (like a sunken corner), completely excavate the area, remove loose material, and tamp down any remaining bedding mortar.
Large Repair: Excavation and Preparation Large Repair: Leveling and New Mortar
- Level the sub-base. Mix and apply a fresh batch of bedding mortar using the cement mixer, making sure to add water gradually (this step highlights issues with an old, damaged cement mixer).
Large Repair: Leveling and New Mortar Large Repair: Apply Slurry, Place Slabs, and Adjust
- Repeat steps 4 and 5 for the remaining slabs.
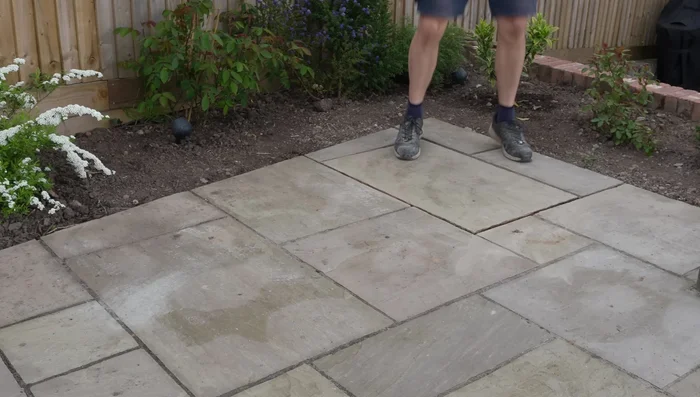
Large Repair: Apply Slurry, Place Slabs, and Adjust Final Touches
- Tidy up the edges using a gauging T.
Final Touches


Read more: Reinforce Wobbly Deck Railings: The Lag Bolt Method
Tips
- Always dampen surfaces before applying slurry and mortar for better adhesion.
- Use sharp sand for patio slabs, as it provides better drainage and a more stable base than builder's sand.
- SPR slurry is superior to PVA for outdoor applications due to its water resistance.
- Ensure a continuous bed of mortar under patio slabs, avoiding large voids to prevent settling.
- Use a cement mixer for larger projects, but be aware of potential issues with older equipment.