Is your trusty wood-handled rake looking a little worse for wear? Perhaps the handle's cracked, splintered, or simply worn down from years of dedicated service. Before you toss it aside for a brand-new one, consider this: with a little elbow grease and the right know-how, you can breathe new life into your beloved gardening tool. A well-maintained rake can last for decades, saving you money and reducing waste. This DIY Dad's Guide offers a practical and effective approach to repairing a broken wood-handled rake, ensuring it remains a steadfast companion in your garden for years to come.
This guide will walk you through a simple, step-by-step process of repairing various common rake handle issues, from minor cracks to more significant damage. Whether it's reinforcing a weakened handle, replacing a broken section, or simply tightening loose components, we'll cover it all. Let's get started, and soon you'll be raking leaves with your trusty, revived tool!
Preparation and Safety Guidelines
- Wood glue
- Sandpaper (80 grit and 150 grit)
- Hammer
- Clamps
- Mineral oil
- Bench vise (optional)
- 2x4 (optional)
- Always wear safety glasses to protect your eyes from flying wood splinters or metal shards.
- Use appropriate caution when working with sharp tools like chisels or knives. Cut away from yourself and ensure a firm grip.
- If the handle is severely cracked or weakened, it's safer to replace it entirely rather than attempt a repair. A compromised handle could break during use, causing injury.
Step-by-Step Instructions
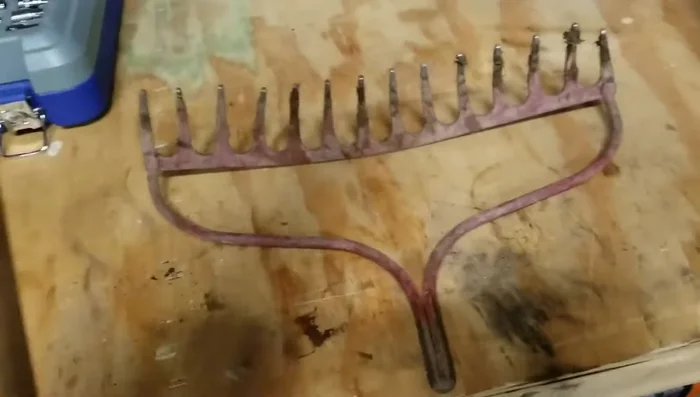
Prepare the Broken Handle
- Sand down the broken wood handle to create a clean surface for gluing.
- Sand the repaired handle, starting with 80-grit sandpaper and finishing with 150-grit for a smooth surface.

Prepare the Broken Handle Glue and Secure the Crack
- Apply a generous amount of wood glue to the crack in the handle.
- Clamp the handle tightly to ensure proper adhesion. Let it dry overnight.
Glue and Secure the Crack Straighten the Tines
- Straighten bent tines using a hammer and a hard surface (concrete or bench vise).
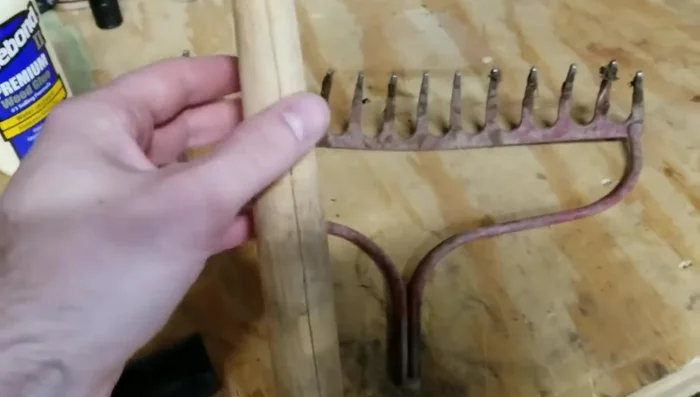
Straighten the Tines Reassemble the Rake
- Reassemble the rake head and handle.
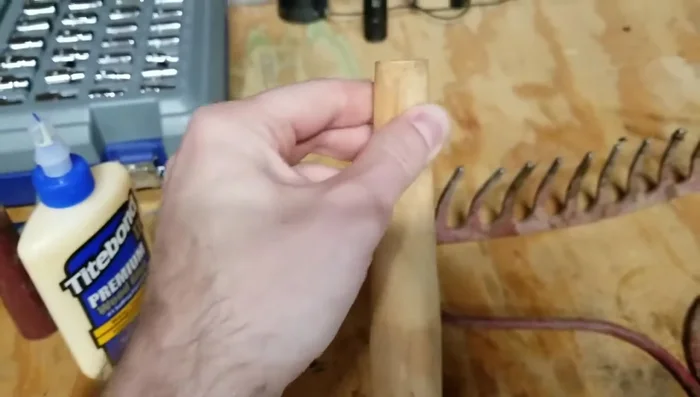
Reassemble the Rake Protect the Handle
- Apply mineral oil to the handle to improve flexibility and prevent future cracking.
Protect the Handle


Read more: Reinforce Wobbly Deck Railings: The Lag Bolt Method
Tips
- Using a bench vise and a 2x4 can provide extra leverage when straightening the tines.
- Paper towels can make cleanup easier after gluing.
- Mineral oil helps to swell the wood, making it more flexible and less prone to cracking.