Annoying rips and tears in your insect mesh can quickly turn a peaceful summer evening into a frustrating battle against buzzing intruders. Whether it's a delicate screen door, a protective window mesh, or the netting on your beloved garden plants, these small holes compromise the protection you rely on. Instead of replacing the entire mesh, which can be costly and time-consuming, learn a simple and effective repair method that will have you back to enjoying your bug-free space in minutes. This technique utilizes a surprisingly strong and visually appealing spiral stitch, perfect for patching those pesky holes.
Forget about complicated sewing techniques and cumbersome tools – this guide offers a quick and straightforward solution using only a needle and thread. The spiral stitch repair is surprisingly versatile, working on a variety of mesh types and hole sizes. Ready to say goodbye to unwanted insects and hello to a flawlessly repaired mesh? Let's dive into the step-by-step instructions that will show you exactly how to mend your screens with this efficient and easy-to-learn method.
Preparation and Safety Guidelines
- needle
- thread
- Always use sharp scissors or a seam ripper to avoid damaging the mesh fabric. Dull tools can cause tearing and make the repair more difficult.
- Work in a well-lit area to ensure accurate stitching and avoid accidental punctures to your fingers.
- If repairing a window or door screen, ensure the screen is securely supported to prevent accidental damage or injury during the repair process.
Step-by-Step Instructions
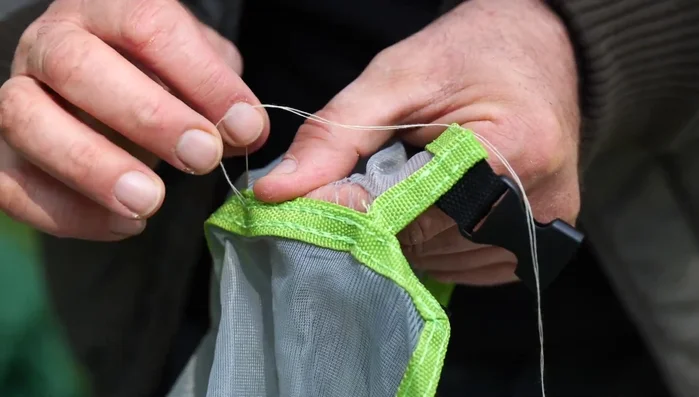
Prepare the Needle
- Thread the needle and tie a knot at the end.
Start the Spiral Stitch
- Insert the needle through the damaged mesh at one end.
- Re-insert the needle nearby to secure the first stitch.

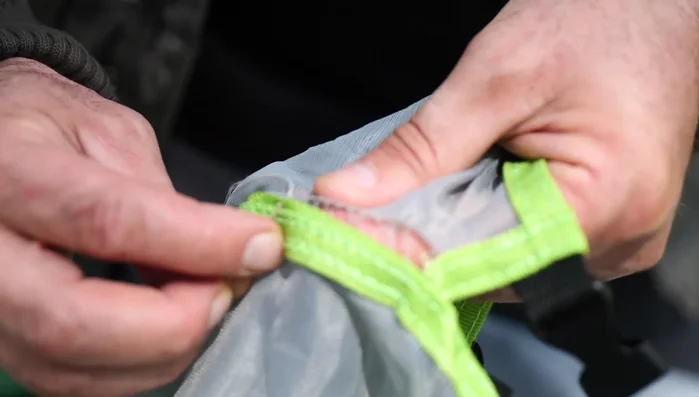
Start the Spiral Stitch Continue the Spiral
- Move approximately 2 millimeters into undamaged mesh and insert the needle.
- Repeat steps 3 and 4, spiraling along the damaged area.
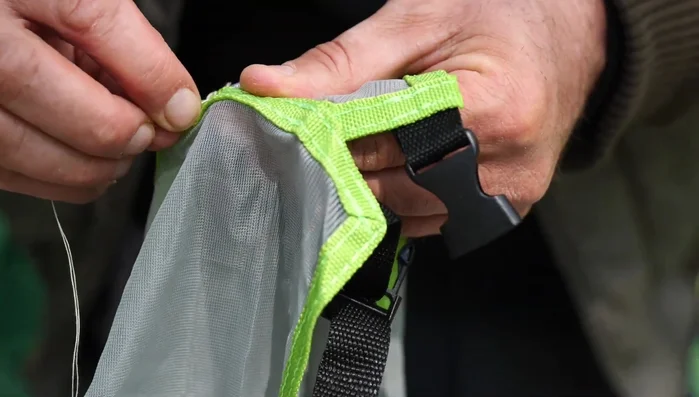
Continue the Spiral Close the Damaged Area
- Continue spiraling until the damaged area is closed.
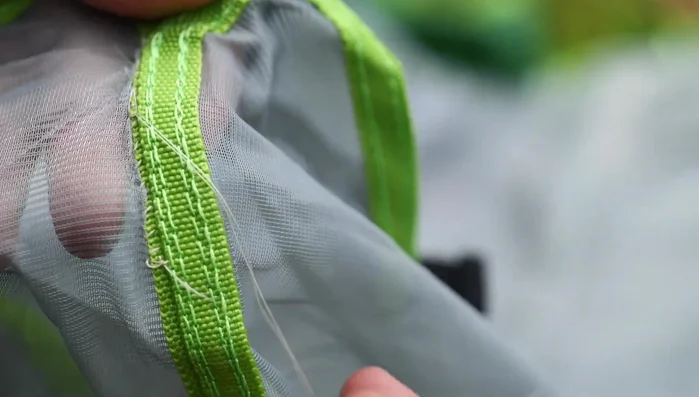
Close the Damaged Area Reinforce with Reverse Spiral
- Reverse the spiraling direction, creating a cross-stitch pattern for added strength.
Reinforce with Reverse Spiral

Read more: Reinforce Wobbly Deck Railings: The Lag Bolt Method
Tips
- The insect mesh is forgiving; don't worry about perfectly neat stitches.
- To finish, re-insert the needle through the same point, then through the last loop, pulling tight. Repeat once more for extra security.
- Cut or bite off the excess thread.