A malfunctioning sprinkler head can quickly transform a lush, green lawn into a patchy, brown eyesore. Frustration mounts as you watch water spray erratically, wasting precious resources and leaving dry spots in its wake. Fortunately, tackling this common lawn care issue doesn't require a costly call to a professional. With a few basic tools and a little know-how, you can effectively diagnose and resolve most sprinkler head problems yourself, saving time and money in the process. This often involves simple repairs like cleaning clogged nozzles or tightening loose connections.
This quick guide provides a straightforward, step-by-step approach to DIY sprinkler head repair and replacement. Whether you’re dealing with a simple adjustment or a complete head replacement, we'll walk you through the entire process, equipping you with the knowledge and confidence to tackle this common lawn maintenance task. Let's get started!
Preparation and Safety Guidelines
- Screwdriver (flathead)
- Water Filter
- Replacement Sprinkler Head
- Optional: Rain Bird adjustment tool
- Always turn off the water supply to the sprinkler system before attempting any repairs or replacements. Failure to do so could result in serious injury from high-pressure water.
- Wear appropriate safety gear, including safety glasses and work gloves, to protect yourself from sharp objects or flying debris.
- If you are unsure about any aspect of the repair or replacement, consult a professional irrigation technician. Improper repairs can lead to water damage or system malfunction.
Step-by-Step Instructions
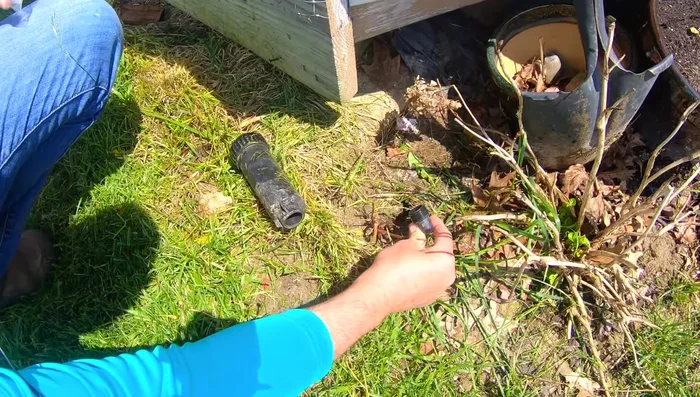
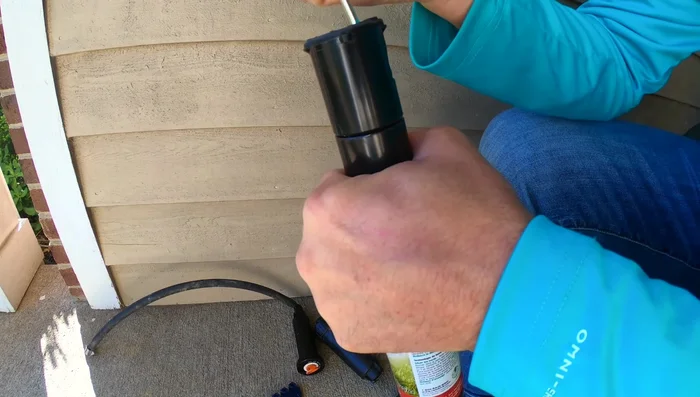
Prepare the Sprinkler Head
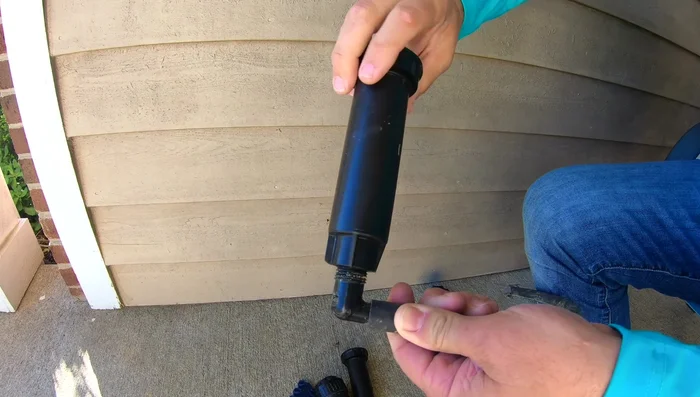
- Clear away dirt from the top of the damaged sprinkler head.
- Cover the inlet with a baggy to prevent debris from entering.

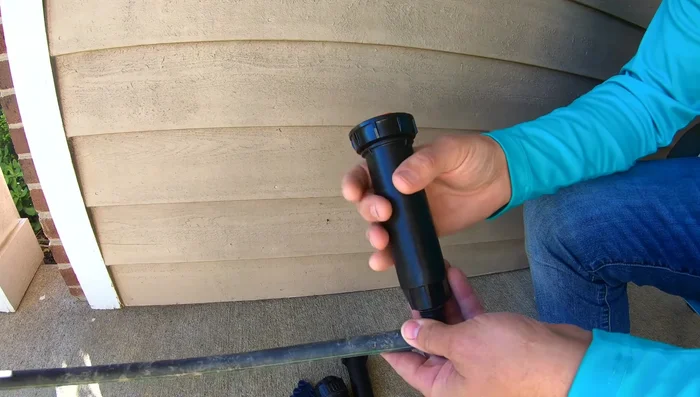
Prepare the Sprinkler Head Assess and Remove the Damaged Part
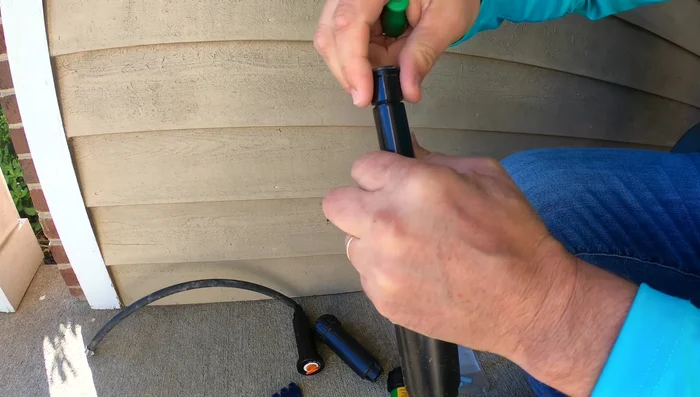
- Unscrew the internals of the sprinkler head and pull them out.
- If only the internals are damaged, replace them. If the body is damaged, dig down to expose the pipe connection.
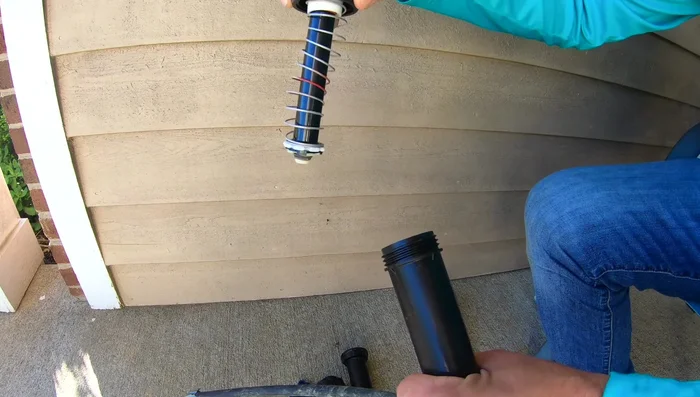
Assess and Remove the Damaged Part Install the New Sprinkler Head
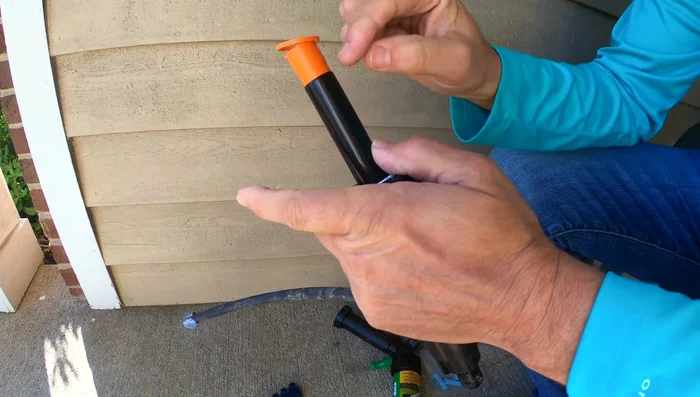
- Unscrew the damaged sprinkler head and replace it with the new one.
- Ensure you replace the sprinkler head with the correct type (e.g., gear-driven for longer distances, pattern sprinkler for specific patterns).
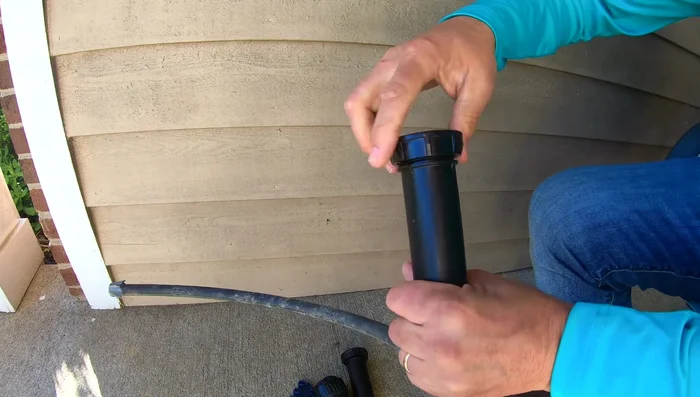
Install the New Sprinkler Head Install and Adjust the Nozzle
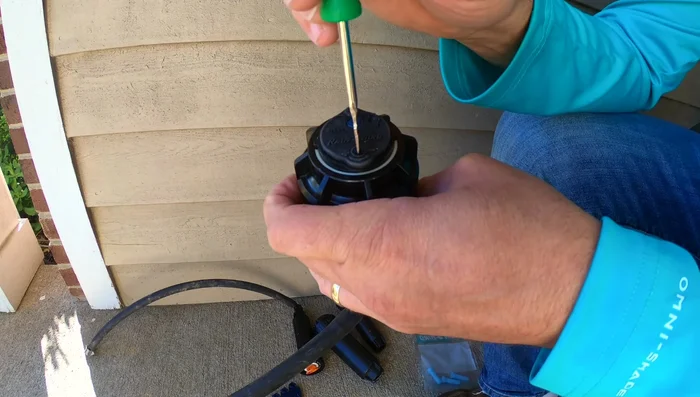
- Use the appropriate tool (or a flathead screwdriver) to adjust the nozzle. If it's a new sprinkler head, remove the cap and install the nozzle.
Install and Adjust the Nozzle Fine-Tune the Spray Pattern
- Adjust the nozzle orientation to achieve the desired spray pattern.
- Adjust the arc of the spray using the plus/minus adjustment on the sprinkler head.
- Adjust the left and right stops of the sprinkler head to fine-tune the spray area.
Fine-Tune the Spray Pattern
Read more: Reinforce Wobbly Deck Railings: The Lag Bolt Method
Tips
- Keep the inlet free of debris to avoid clogging the nozzle.
- Replace like-for-like sprinkler heads to avoid needing to replace the elbow fitting.
- Water filters can help to catch grime and debris in your sprinkler system.