The allure of steampunk lies in its ingenious blend of Victorian aesthetics and futuristic technology. Nowhere is this more captivatingly displayed than in the intricate and often ornate lamps that define the style. These beautiful pieces, however, are often victims of time and neglect, their once-brilliant gleam dulled by age and wear. But fear not, aspiring engineers and design enthusiasts! Bringing a neglected steampunk lamp back to its former glory is entirely achievable with a little patience and the right tools. The unique charm of these lamps, with their intricate gears, polished brass, and rich textures, makes the restoration process a rewarding journey.
This DIY guide will walk you through the process of restoring your own steampunk lamp, from initial assessment and cleaning to the more complex tasks of electrical repair and finishing touches. Whether you're facing a simple cleaning project or tackling a more significant overhaul, follow our step-by-step instructions to unveil the stunning beauty hidden within your antique lamp. Let's begin transforming that dusty relic into a gleaming centerpiece!
Preparation and Safety Guidelines
- Old lamp
- Galvanized steel
- Acid
- Water
- Black resin
- Ghost green pearl
- Metallic acrylics
- Copper paint
- Silver paint
- Clear satin coat
- LED fairy lights (optional)
- Vintage light switch
- Woodworking tools
- Electrical wiring supplies
- Always disconnect the lamp from the power source before starting any work. Electricity is dangerous; avoid shocks.
- Wear appropriate safety glasses and gloves to protect yourself from sharp edges, broken glass, and potentially hazardous materials.
- If working with old wiring or electrical components, exercise extreme caution. If unsure about any electrical work, consult a qualified electrician.
Step-by-Step Instructions
Preparation
- Gather materials and prepare the old lamp.
Metal Treatment
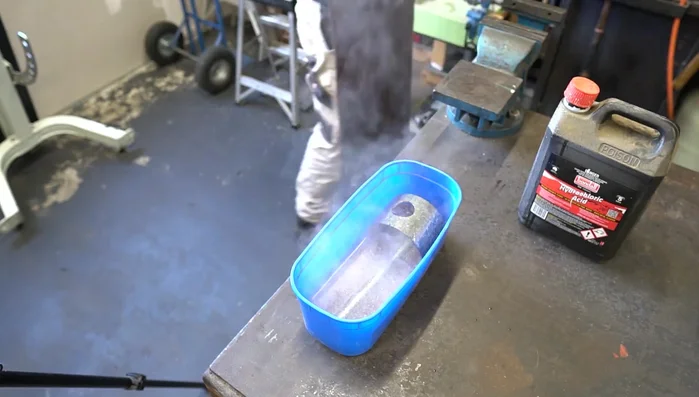
- Remove zinc coating from galvanized steel using acid, rinse thoroughly.

Metal Treatment Base Preparation
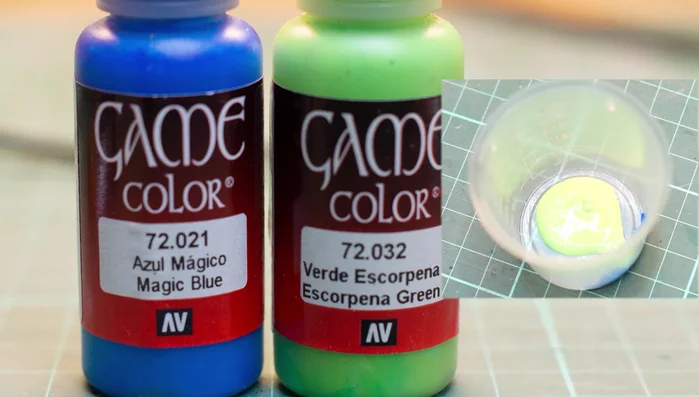
- fill cracks with black resin tinted with ghost green pearl.
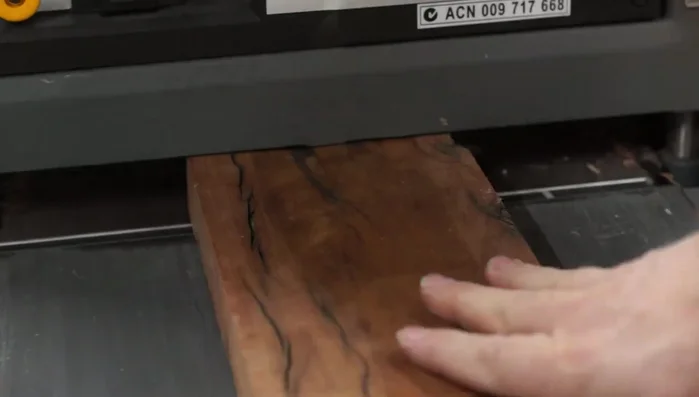
- Sand and polish the hardwood base after resin cures.
Base Preparation Painting and Finishing
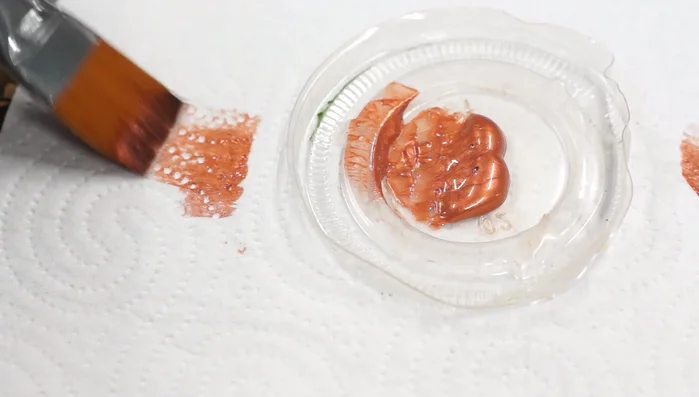
- Apply metallic acrylics using dry brushing technique for texture (copper, silver highlights).
- apply watered-down green and blue, wipe off excess for an oxidized patina.
- Apply a satin clear coat to seal the finish.
Painting and Finishing Electrical Work
- Wire the lamp (safely, preferably by a professional electrician).
Electrical Work Assembly
- Assemble the lamp components.
Assembly
Read more: Miniature Spider Welding Tutorial: Crafting a Tiny Metal Arachnid
Tips
- Consider the lamp's final placement to inform design choices.
- Use budget-friendly LED fairy lights instead of a traditional bulb for cost savings.
- Embrace imperfections as unique design elements.