A broken or misaligned wheelbarrow handle can quickly turn a simple chore into a frustrating and potentially dangerous task. Whether the wood is splintered, the metal is bent, or the entire handle has simply given way under pressure, a damaged handle significantly impacts the functionality and safety of your wheelbarrow. A poorly maintained handle can lead to back strain, awkward maneuvering, and even accidents. Thankfully, replacing or realigning a wheelbarrow handle is often a manageable DIY project that can restore your wheelbarrow to its former glory.
This guide provides a comprehensive, step-by-step process to tackle this common problem. From assessing the damage and selecting the right replacement parts to the actual fitting and final adjustments, we'll cover everything you need to know to successfully replace or realign your wheelbarrow handle, ensuring years of reliable use. Let's get started!
Preparation and Safety Guidelines
- Metal handles
- Nuts
- Bolts
- Drill
- Drill bits
- Center drill
- Clamp
- Vise
- Always wear safety gloves to protect your hands from splinters and sharp edges during the entire process.
- Ensure the wheelbarrow is stable and empty before attempting any handle adjustments or replacements. Use blocks or a sturdy surface to prevent it from tipping.
- Use appropriate tools for the job and ensure they are in good condition to avoid injury or damage to the wheelbarrow.
Step-by-Step Instructions
Handle Removal
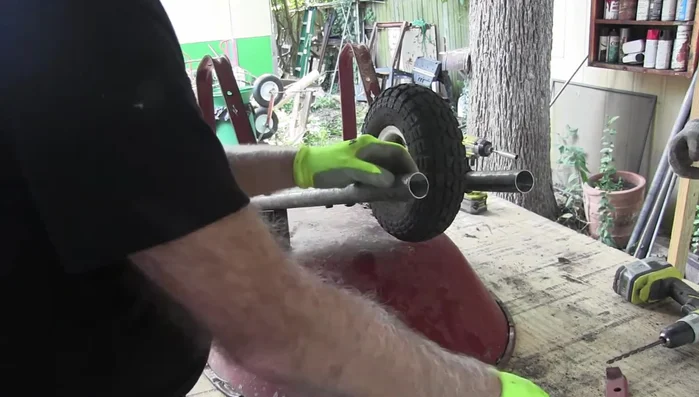
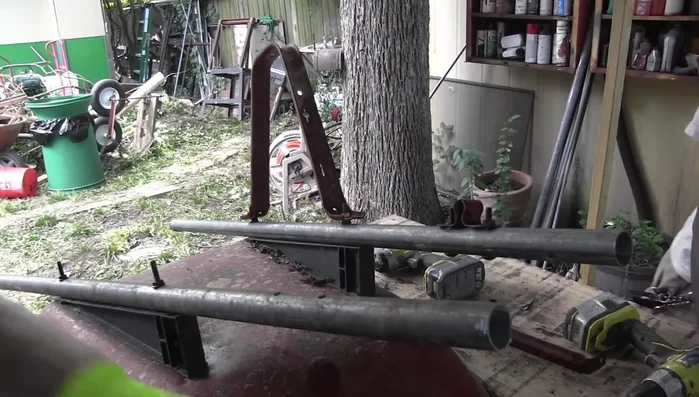
- Remove old wooden handles (implied from beginning dialogue)

Handle Removal Preparation for New Handle Installation
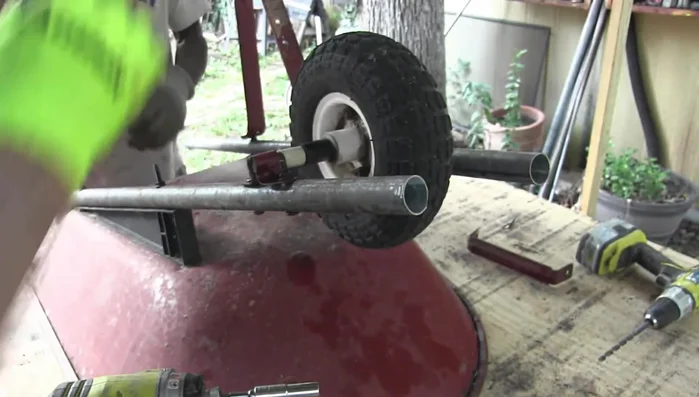
- Drill new holes for alignment with existing holes in the wheelbarrow frame.
- Precisely mark the hole locations using a drill bit that matches the existing hole size
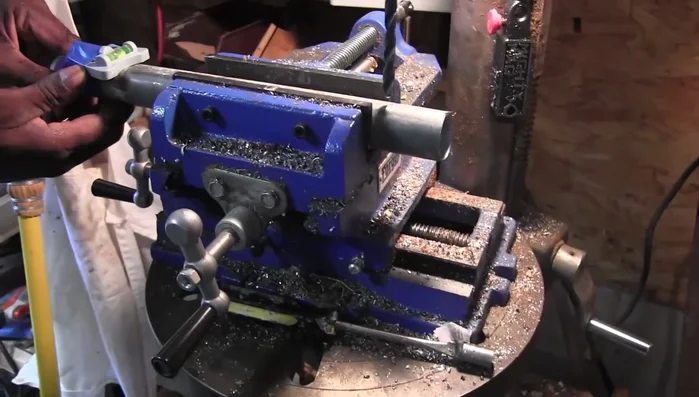
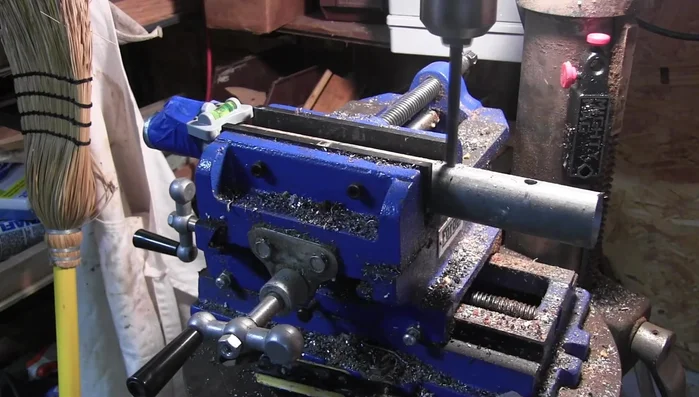
- Use a clamp and vise to secure the wheelbarrow during drilling
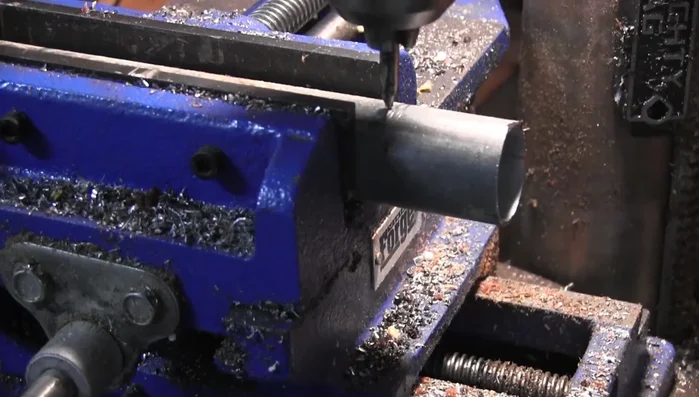
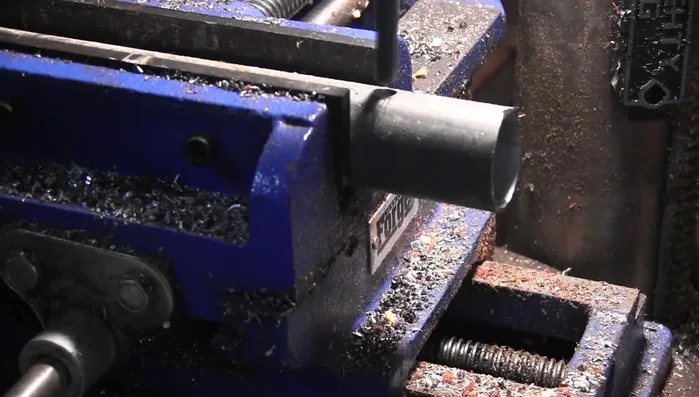
- Use a center drill to mark the exact center point of the mounting pipe, ensuring the new holes are centered
Preparation for New Handle Installation - Drill through the marked points using appropriate drill bits, avoiding any movement of the clamp/vise to maintain alignment
- Verify the alignment of the newly drilled holes
Preparation for New Handle Installation New Handle Installation
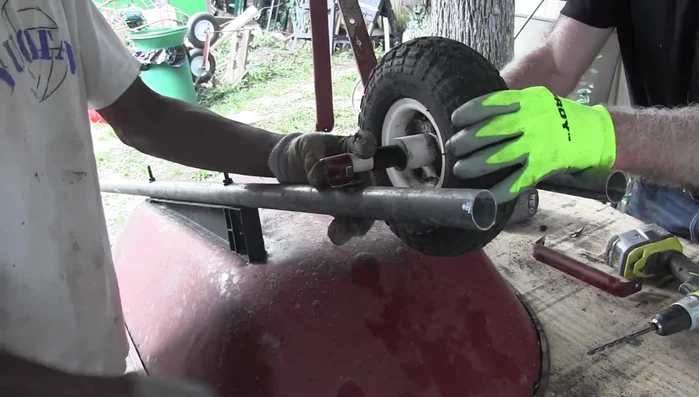
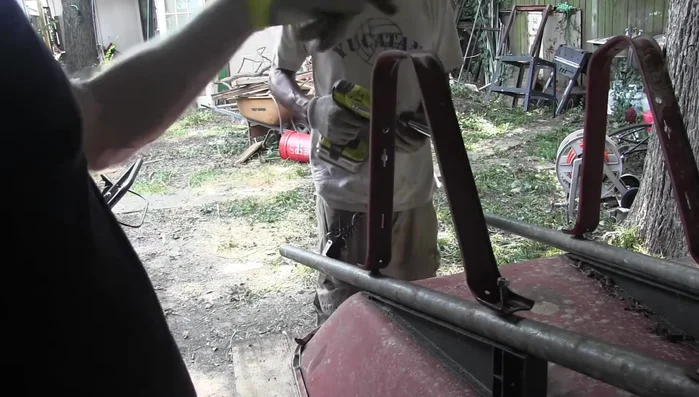
- Attach new metal handles, ensuring proper alignment with existing bolt holes
- Correctly orient the handles and tighten the bolts securing them to the wheelbarrow frame
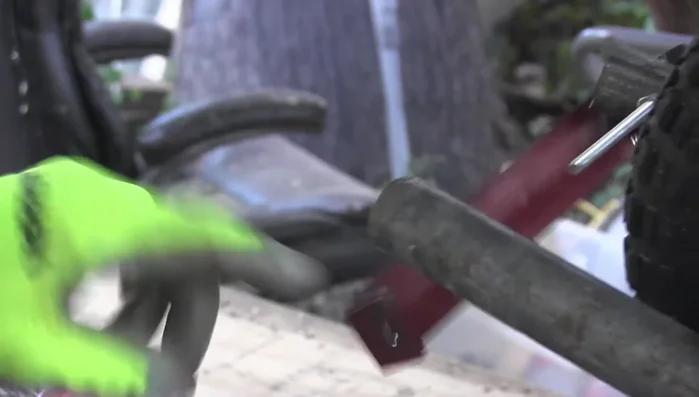
- Attach the wheelbarrow brackets
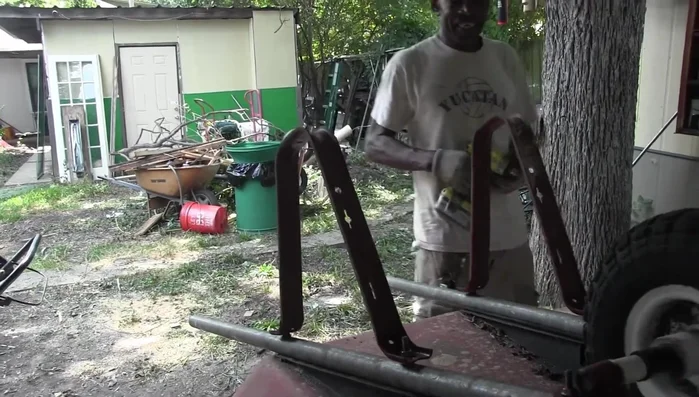
New Handle Installation Error Correction and Final Assembly
- Identify and address any installation errors (e.g., backward placement)
- Install the final piece connecting the fan paste (unclear what this is)
Error Correction and Final Assembly

Read more: Reinforce Wobbly Deck Railings: The Lag Bolt Method
Tips
- Double-check handle orientation before tightening.
- Use a center drill to ensure accurate hole positioning for proper alignment
- Secure the wheelbarrow in a vise to prevent movement during drilling.
- Maintain the vise's position after drilling the first hole to ensure the second hole is perfectly aligned.