Three-way lamps offer convenient lighting adjustments, but a faulty socket can leave you fumbling in the dark. A broken three-way lamp socket doesn't necessarily mean a trip to the hardware store for a replacement lamp; in many cases, you can easily replace the socket yourself. This simple repair is often quicker and cheaper than purchasing a whole new lamp, saving you both time and money. This is especially true for lamps with sentimental value or unique designs you're reluctant to part with. A little patience and the right tools are all you need to restore your three-way lamp to its former glory.
This DIY guide will walk you through the process of replacing a three-way lamp socket, step by step. We’ll cover everything from safely disconnecting the power to properly wiring the new socket, ensuring a safe and functional repair. Even if you're a complete beginner with home repairs, you'll find this guide easy to follow and will soon be enjoying the benefits of your perfectly functioning three-way lamp once more.
Preparation and Safety Guidelines
- Phillips head screwdriver
- Flathead screwdriver (optional)
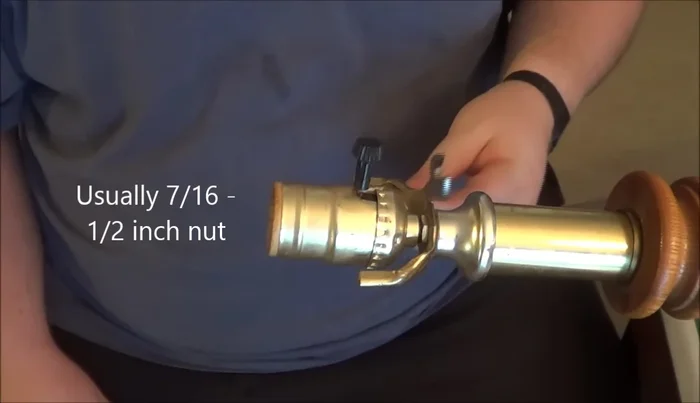
- 7/16" or 1/2" wrench or socket wrench
- New 3-way lamp socket
- Always turn off the power at the breaker box before starting any work on electrical wiring. Do not rely on the light switch.
- Use insulated tools to avoid electrical shock. If you are uncomfortable working with electricity, hire a qualified electrician.
- Ensure the new 3-way socket is compatible with your existing wiring and the type of bulbs you intend to use. Check voltage ratings.
Step-by-Step Instructions
Preparation
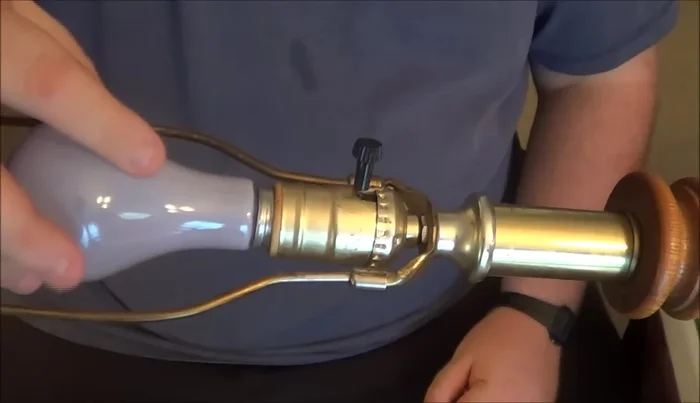
- Unplug the lamp and remove the light bulb.
- Remove the lampshade bracket.

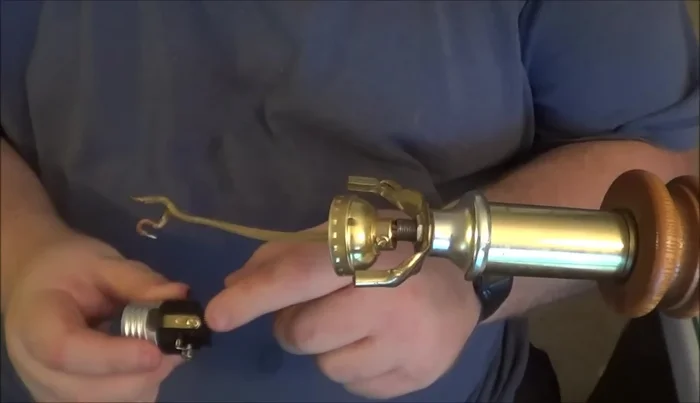
Preparation Remove Old Socket
- Unscrew the old lamp socket from the lamp's central rod using a wrench. If the socket is difficult to reach, remove the switch first.
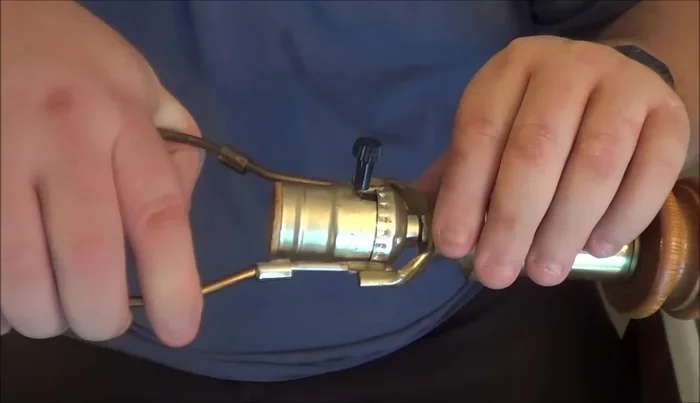
Remove Old Socket Wire Identification and Disconnection
- Disconnect the wires from the old socket. Note which wire (smooth or ridged) connects to which terminal (silver or copper).
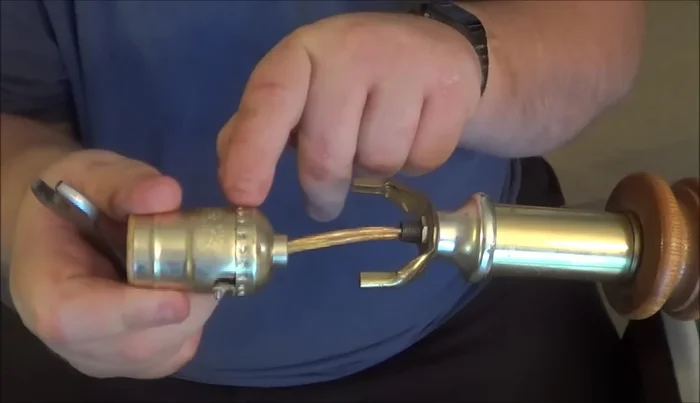
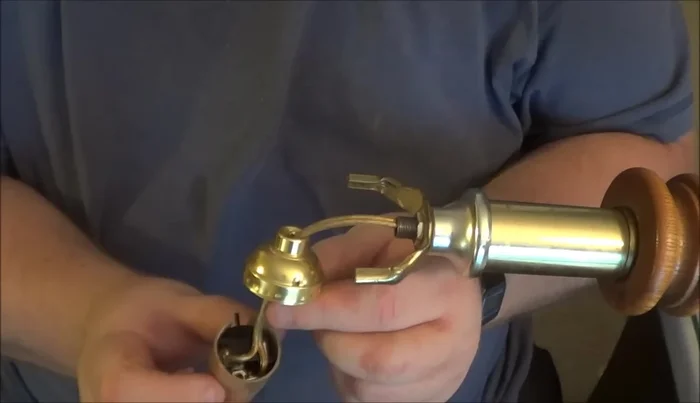
Wire Identification and Disconnection Install New Socket
- Attach the wires to the new socket, matching them to the corresponding terminals as noted in the previous step. The smooth wire goes to the copper terminal, the ridged wire to the silver.
- Reassemble the lamp, securing the new socket to the central rod and reattaching the base.
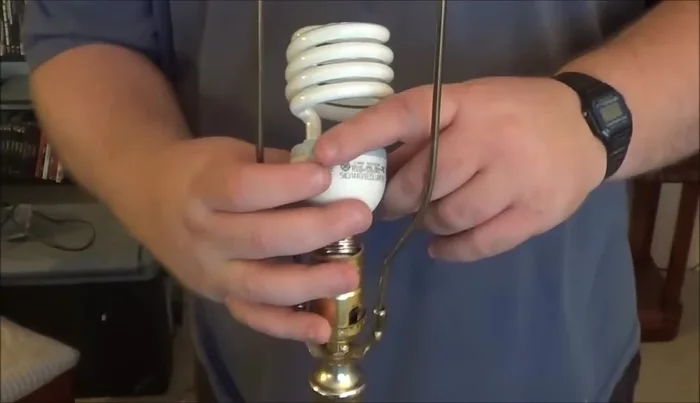
Install New Socket Final Assembly and Testing
- Replace the lampshade and bulb.
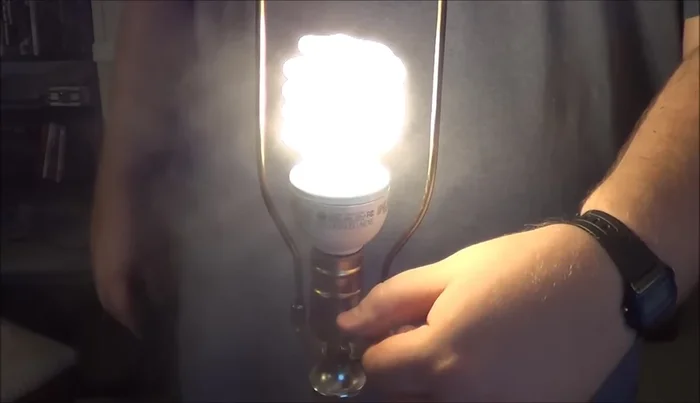
- Plug in the lamp and test the 3-way functionality.
Final Assembly and Testing
Read more: Installing an Outdoor GFCI Receptacle: A Step-by-Step Guide
Tips
- Always unplug the lamp before working on it.
- Identify hot and neutral wires by their texture (smooth for hot, ridged for neutral).
- Don't overtighten screws or nuts to avoid damaging the threads.
- Do not exceed the wattage rating of the new socket to prevent fire hazards.