Ever wondered what to do with that ever-growing pile of beer bottle caps? Don't toss them! These seemingly insignificant discs hold the potential for charming and unique home décor. With a little creativity and some simple materials, you can transform those discarded caps into functional and attractive DIY beer cap magnets. This upcycling project not only keeps waste out of landfills but also allows you to personalize your fridge or any magnetic surface with a fun and quirky touch. The possibilities are endless – from showcasing your favorite brewery collection to creating personalized gifts.
This fun and easy project is perfect for crafters of all skill levels, and the best part? You probably already have most of the supplies you'll need! Let's dive into the step-by-step process of creating your own customized beer cap magnets, and unleash your inner artist while giving those bottle caps a new lease on life.
Preparation and Safety Guidelines
- Brown magnets
- Glue sticks
- Hot glue gun
- Always supervise children during this project. Small parts pose a choking hazard.
- Use strong adhesive suitable for both metal and the chosen decorative material. Ensure proper adhesion before handling the finished magnets.
- Clean beer caps thoroughly before starting. Remove any residue or sticky substances to ensure a strong bond with the magnet and decorative elements.
Step-by-Step Instructions
Gather Supplies & Select Caps
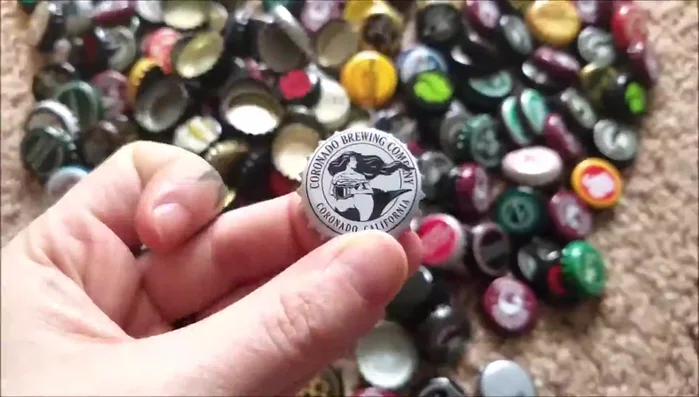
- Select your bottle caps.

Gather Supplies & Select Caps Prepare Hot Glue Gun
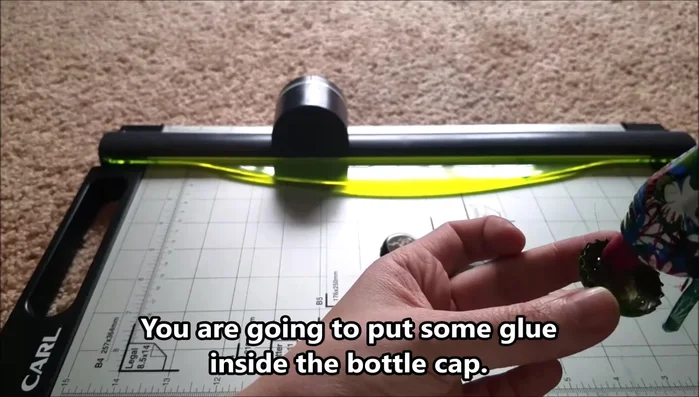
- Heat up your hot glue gun.
Prepare Hot Glue Gun Apply Glue and Attach Magnets
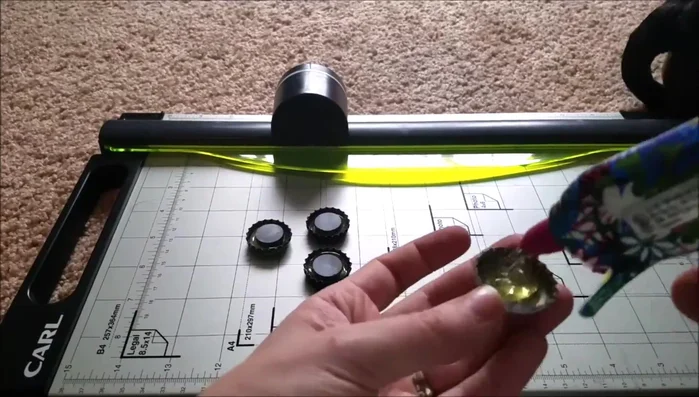
- Apply hot glue inside each bottle cap.
- Carefully place a magnet in the center of the glued bottle cap.
Apply Glue and Attach Magnets Repeat for all Bottle Caps
- Repeat steps 3 & 4 for all bottle caps.
Repeat for all Bottle Caps Let Glue Dry
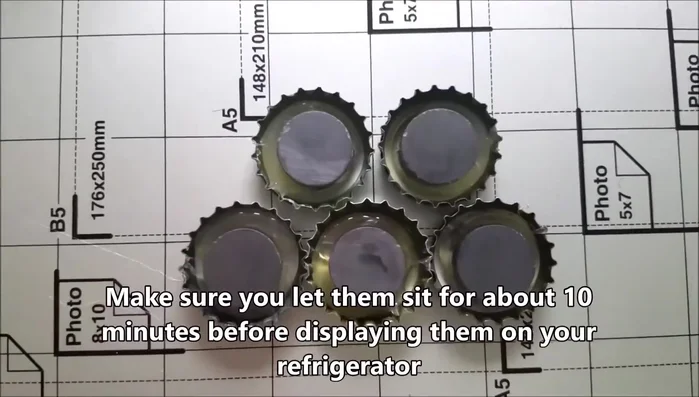
- Let the glue dry for at least 10 minutes.
Let Glue Dry


Read more: DIY Plastic Gallon Candy Basket: Upcycled & Adorable!
Tips
- Be careful not to get glue on the edges of the bottle cap or your fingers.
- If glue gets on the edges, it should clean up easily once dry.
- If the magnet is hard to center, gently push the air around it to help.