Love the sleek, modern aesthetic of Z Gallerie's Bella face sculptures, but the price tag leaves you feeling a little… pinched? Don't despair! You can easily recreate this iconic design at a fraction of the cost with this simple DIY project. Using readily available cardboard, paint, and a few other crafting essentials, you can bring a touch of Z Gallerie style to your home without emptying your wallet. This project is perfect for beginners, requiring minimal crafting experience and yielding surprisingly impressive results. The satisfying process of transforming ordinary cardboard into a stylish statement piece is incredibly rewarding.
This easy-to-follow tutorial will guide you through each step, from gathering materials to the final finishing touches, allowing you to create your own stunning Bella face replica. So grab your crafting supplies and let's get started on transforming plain cardboard into a chic, minimalist masterpiece that will be the envy of your friends and family!
Preparation and Safety Guidelines
- Cardboard
- Ruler
- Pencil
- Scissors/Craft Knife
- Hot Glue Gun
- Skewer/Tool for Spacing
- Poster Board
- Sharp Blade
- Mod Podge
- Sand
- Spray Paint (White and Blush)
- Glitter
- Cloth
- Use sharp craft tools with adult supervision. Cardboard can be sharp and cause cuts, especially for younger crafters.
- Always use a well-ventilated area when using spray paint or other aerosol products. Inhaling fumes can be harmful.
- Dispose of craft materials responsibly. Recycle cardboard where possible and properly dispose of paint and other chemicals according to local guidelines.
Step-by-Step Instructions
Prepare Materials
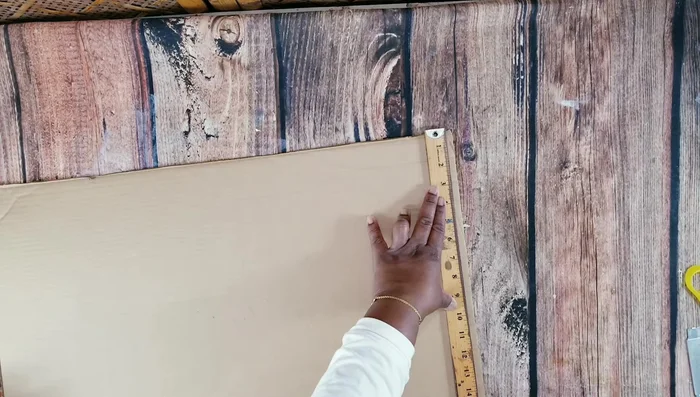
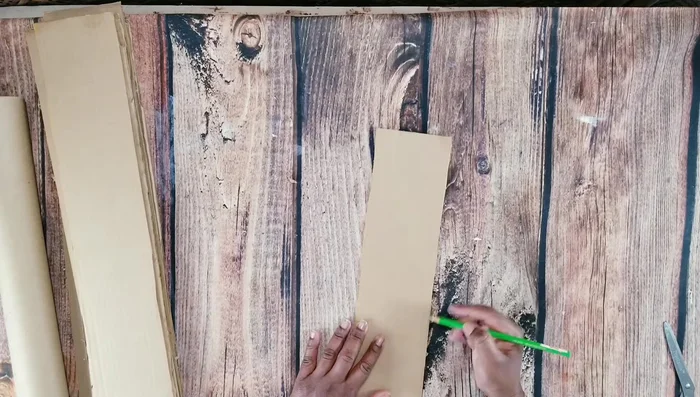
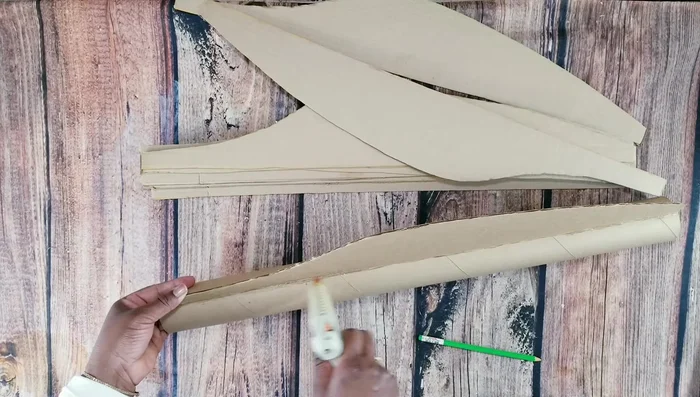
- Measure and cut 12 pieces of cardboard (4x20 inches).
- Draw the face shape on cardboard and cut it out as a template.
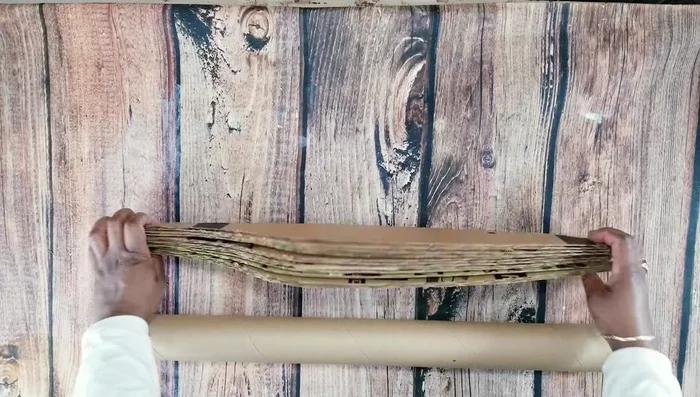
- Prepare a cardboard tube (20 inches long).

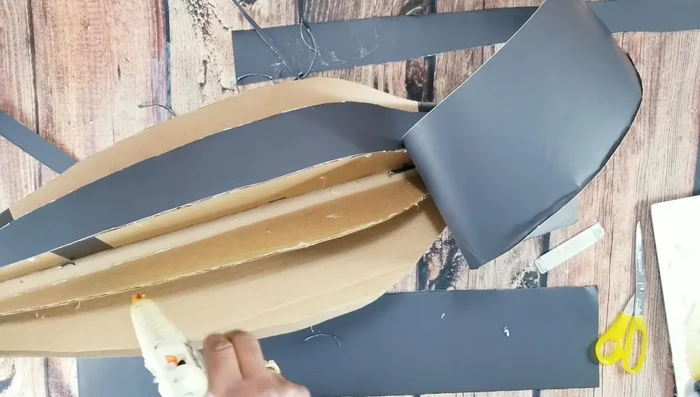
Prepare Materials Assemble the Frame
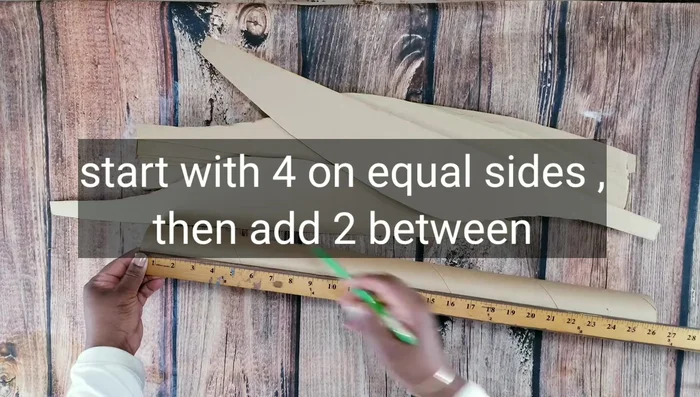
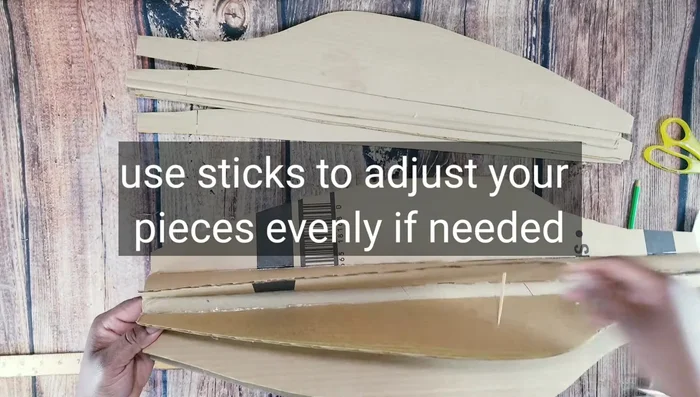
- Measure and mark the placement of cardboard pieces on the tube to ensure equal spacing.
- Glue the cardboard pieces onto the tube.
- Use a skewer to separate pieces and ensure equal spacing.
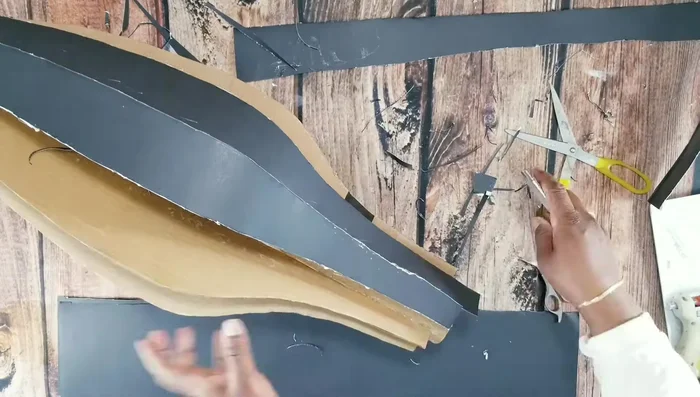
Assemble the Frame Fill Gaps and Shape
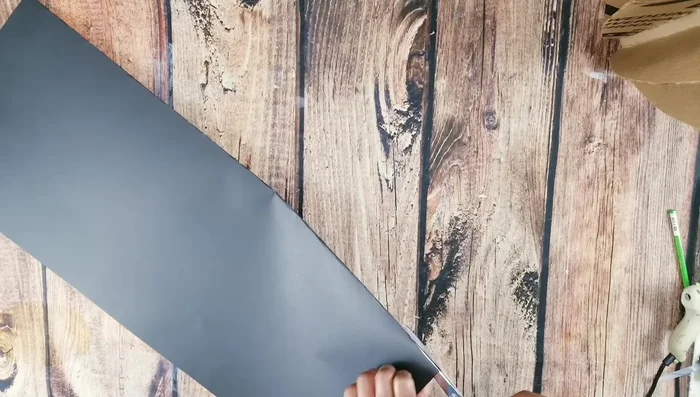
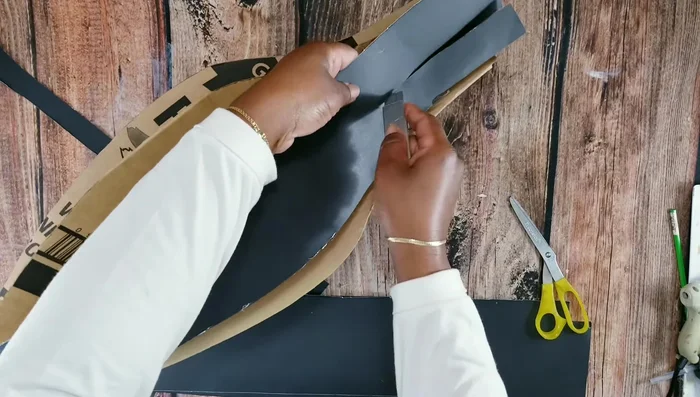
- Cut and glue poster board pieces to fill the gaps.
- Cut off excess poster board with a sharp blade.
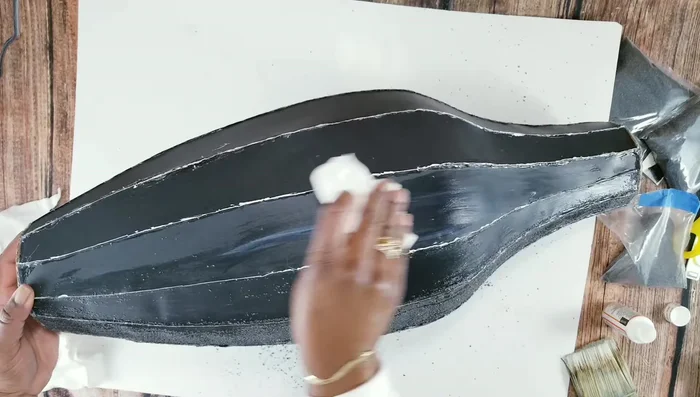
- Apply and press paper onto the frame to create texture and outline the cutting areas.
- Trim up the pieces for an even look.
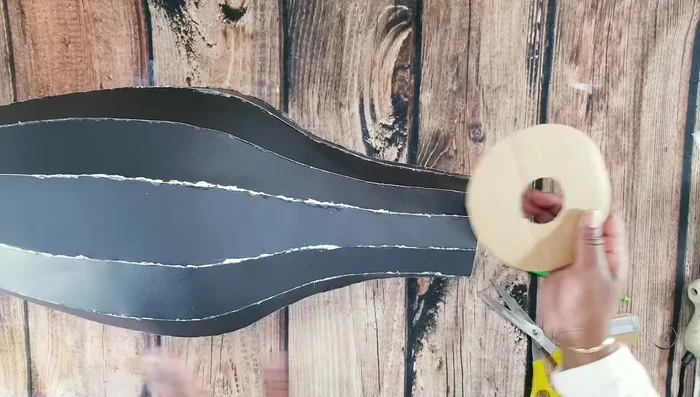
Fill Gaps and Shape Close and Seal
- Cover the top and bottom with cardboard pieces and seal the gaps with hot glue.
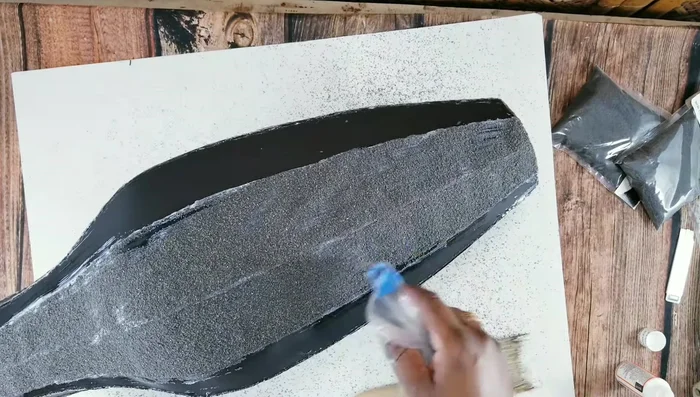
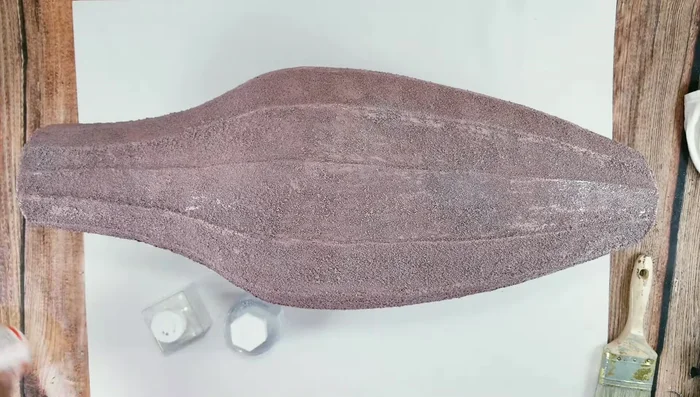
Close and Seal Add Texture
- The video suggests layering this for better results).
- Seal the sand with a cloth and Mod Podge.
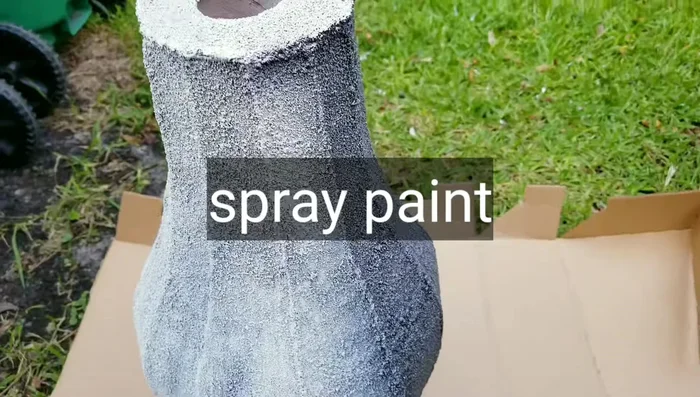
Add Texture Paint and Decorate
- Spray paint with white first, then blush pink.
- Apply Mod Podge and glitter for extra shine.
Paint and Decorate
Read more: DIY Farmhouse X-Style Coffee Table: Easy Step-by-Step Guide
Tips
- Use a sharp blade for precise cutting of poster board.
- Apply Mod Podge and sand in layers to avoid clumping.
- Press paper firmly to outline the cutting areas.