Ever dreamed of launching your own creation into the sky? The thrill of a homemade rocket soaring through the air, then gently floating back down under a deployed parachute, is a captivating experience. This isn't some distant, unattainable feat of engineering; it's a surprisingly achievable project within reach of anyone with basic crafting skills and a little bit of patience. Building a DIY bottle rocket with a deployable parachute is a fantastic blend of science, engineering, and creative fun, perfect for a family project, a science fair entry, or simply a satisfying afternoon of hands-on learning.
This ultimate guide will walk you through every stage of the process, from gathering the necessary materials to the exhilarating moment of launch. We'll cover the design considerations crucial for a successful flight, provide clear instructions for constructing both the rocket and the parachute deployment mechanism, and offer valuable tips for optimizing your rocket’s performance. Get ready to embark on this exciting journey, because the step-by-step instructions begin right now!
Preparation and Safety Guidelines
- Garbage bag
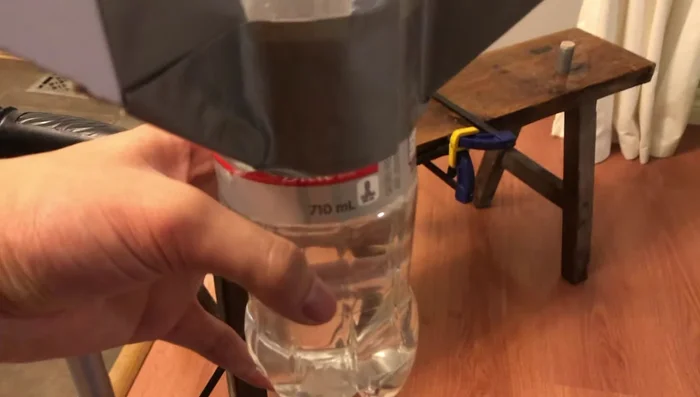
- Bottle (e.g., Coke bottle)
- String (15 pieces, 37cm long)
- 3 Fins (cut from carpet)
- Duct tape
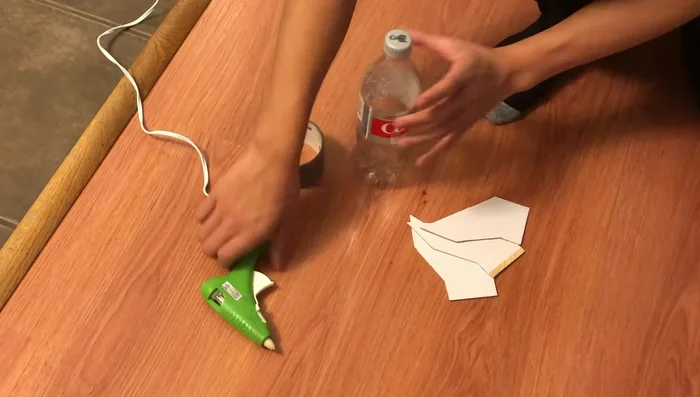
- Hot glue gun
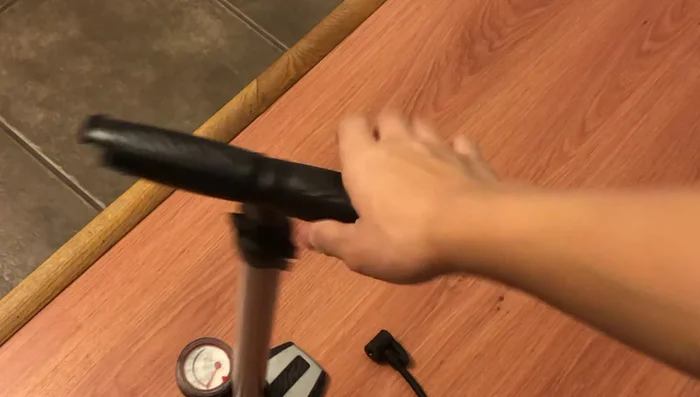
- Bike pump
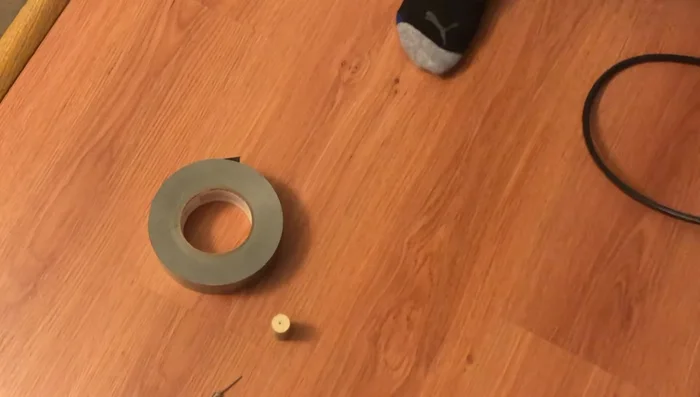
- Cork
- Ball pin
- Clamps
- Bench or sturdy surface
- Always wear safety glasses to protect your eyes from debris and unexpected pressure.
- Launch the bottle rocket in a wide-open area, away from people, buildings, and power lines. Ensure there's ample space for the parachute to deploy safely.
- Use only water as propellant. Never use any flammable liquids or compressed gases as this could lead to serious injury or property damage.
Step-by-Step Instructions
Make the Parachute
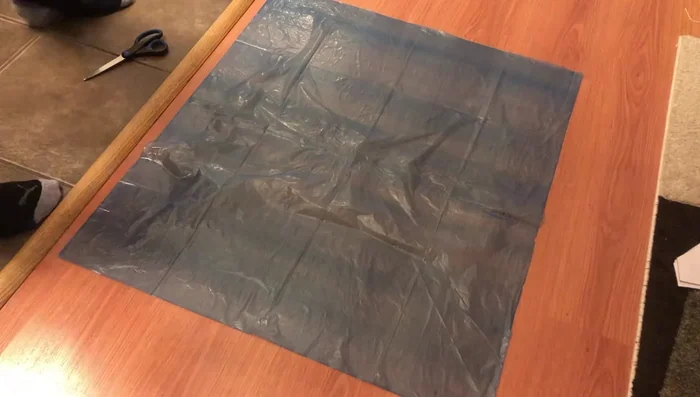
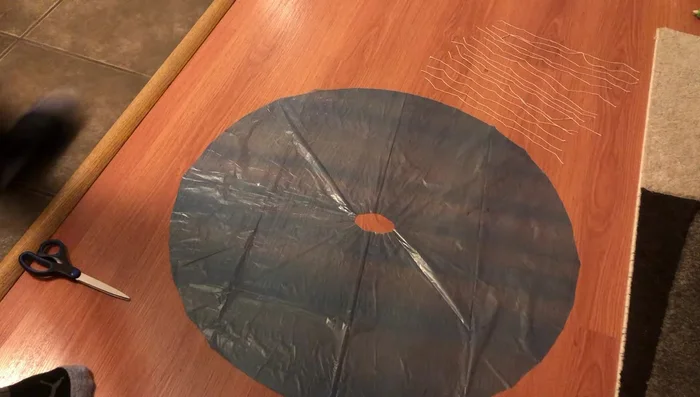
- Cut out and shape the parachute from a garbage bag. Cut a square, then fold it repeatedly to make a circle. Cut along the folded edge to create a circle.
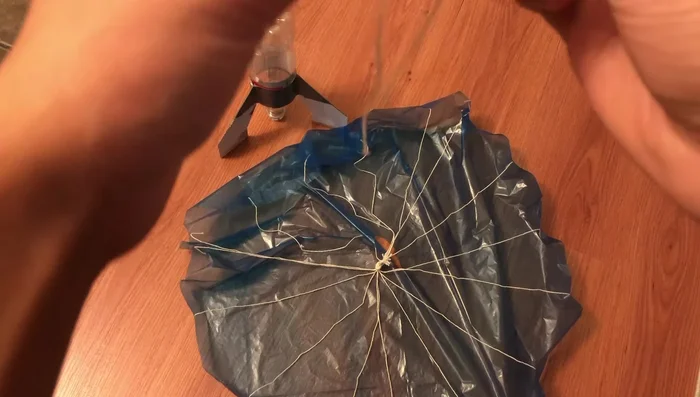
- Attach 15 strings (40cm long) evenly spaced around the parachute's edge using tape.
- Tie all 15 parachute strings together into a single knot near the top.

Make the Parachute Prepare the Rocket Body
- Attach the fins evenly spaced around the bottle using hot glue and duct tape to ensure balance.
Prepare the Rocket Body Connect Parachute to Rocket
- Cut a 30cm string, tie a knot in the middle. Attach one end of this string to the parachute knot, and the other end to the bottle top using a rubber band and hot glue.
Connect Parachute to Rocket Build the Launcher
- Wrap duct tape around the cork to make it fit snugly into the bottle, without being too tight. Drill a hole in the cork to accommodate the ball pin.
- Insert the ball pin into the cork and connect it to the bike pump securely using clamps.
Build the Launcher Launch the Rocket
- Fill the bottle (partially) with water and attach to the launcher. Pump air until the rocket launches.
Launch the Rocket

Read more: DIY Plastic Gallon Candy Basket: Upcycled & Adorable!
Tips
- Ensure even spacing of strings on the parachute to prevent flopping.
- Keep the fins evenly placed on the bottle for stability.
- Ensure the cork fits snugly in the bottle but not too tightly to prevent air leakage or getting stuck.
- The rubber band helps to control parachute deployment and relieve pressure.
- Test the launcher before launching the rocket.