Transforming an underutilized space into a functional and stylish haven is easier than you think! With a little DIY know-how and some readily available materials, you can build your own custom built-in shelves and bench, adding both storage and seating to any room in your home. Whether you're aiming for a rustic farmhouse aesthetic or a sleek modern look, this project offers endless customization possibilities to match your personal style and perfectly complement your existing décor. Imagine the satisfying feeling of creating a beautiful and practical piece of furniture that you designed and constructed yourself.
This comprehensive guide will walk you through each stage of the process, from initial planning and material selection to the final finishing touches. Get ready to unleash your inner craftsman and learn how to build your very own built-in shelves and bench by following the detailed step-by-step instructions below.
Preparation and Safety Guidelines
- 2x4s
- Shaker cabinets (24"x12")
- Baseboard
- Trim pieces
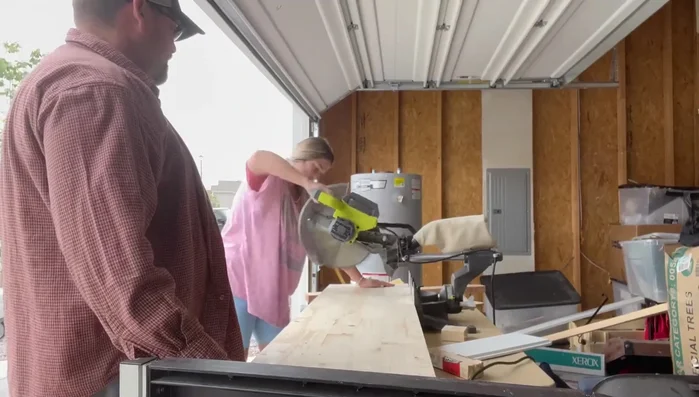
- Wood for countertop (1"x16" board)
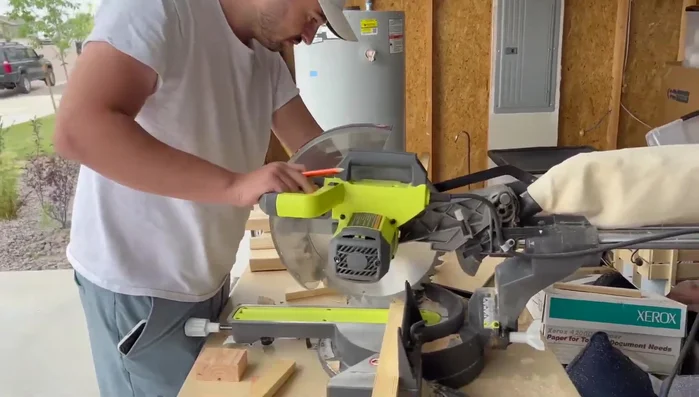
- Miter saw
- Acrylic base primer
- Paint (cabinet paint)
- Stain
- Shiplap
- Dowels
- Caulk
- Sandpaper
- Always wear safety glasses and a dust mask when cutting, sanding, or working with power tools. Wood dust is a respiratory hazard.
- Ensure all supports and fasteners are securely attached and able to hold the weight of the shelving and anticipated items. Overloading can lead to collapse.
- Before starting any construction, check and follow all local building codes and regulations regarding load-bearing walls, structural integrity, and electrical wiring.
Step-by-Step Instructions
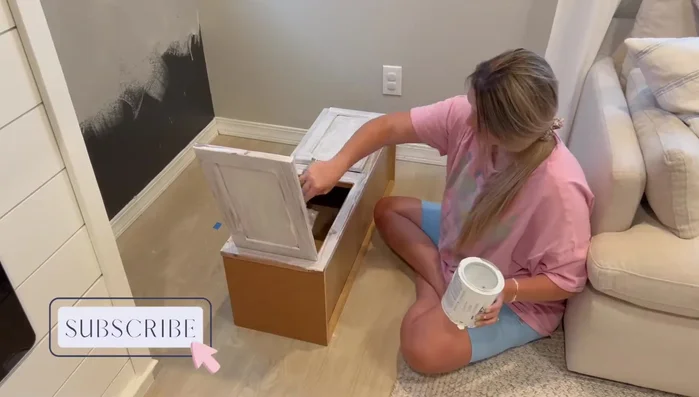
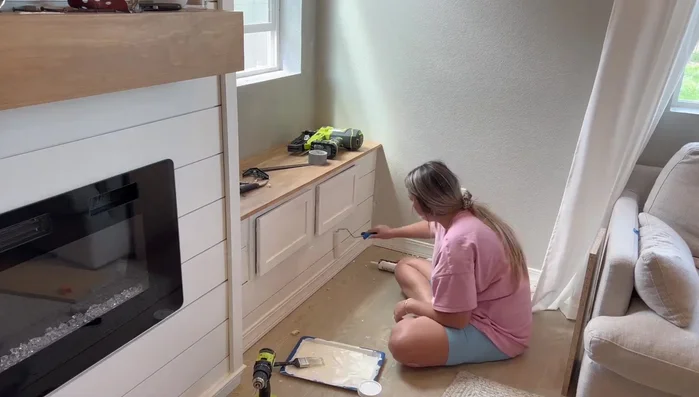
Prepare the Bench
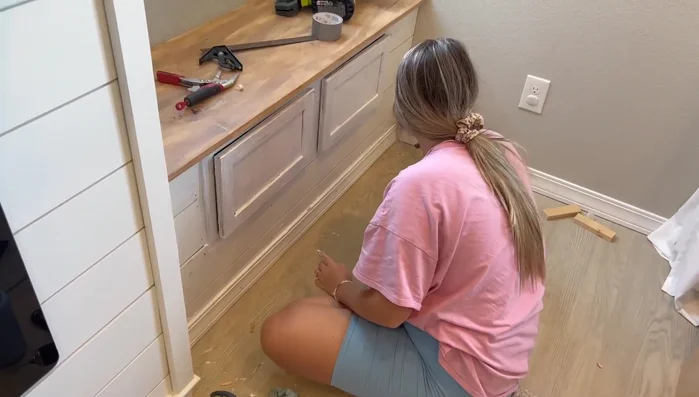
- Prime the thrifted cabinet that will be used as a bench.

Prepare the Bench Build the Shelves Base
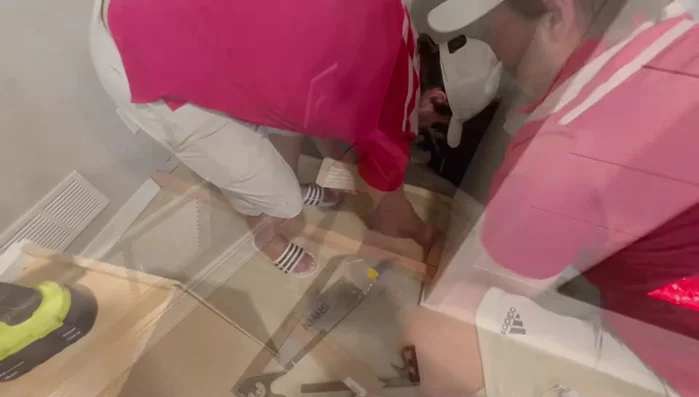
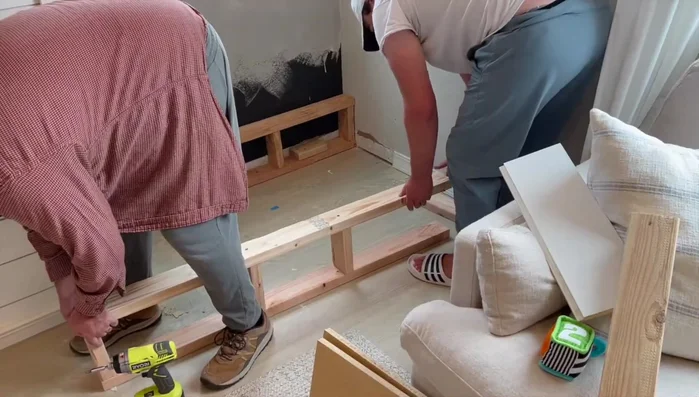
- Build a base for the built-in shelves using 2x4s. Attach this base to the wall studs for stability.
- Install the two 24-inch Shaker cabinets onto the base, securing them with screws.
- Cut a hole in the cabinet to accommodate an existing outlet.
- Cover open sides of the built-in shelves with trim pieces for a seamless look.
Build the Shelves Base Install Countertop
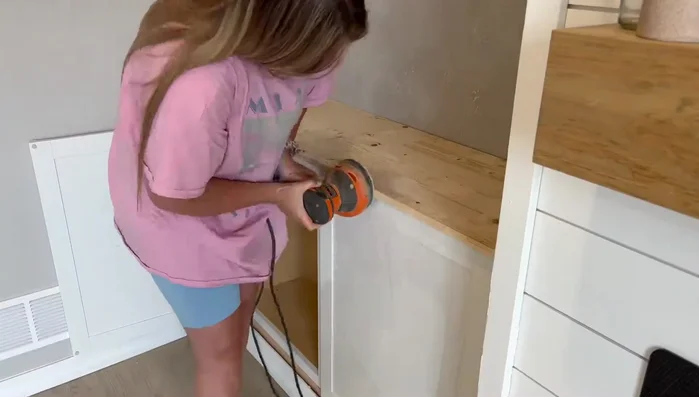
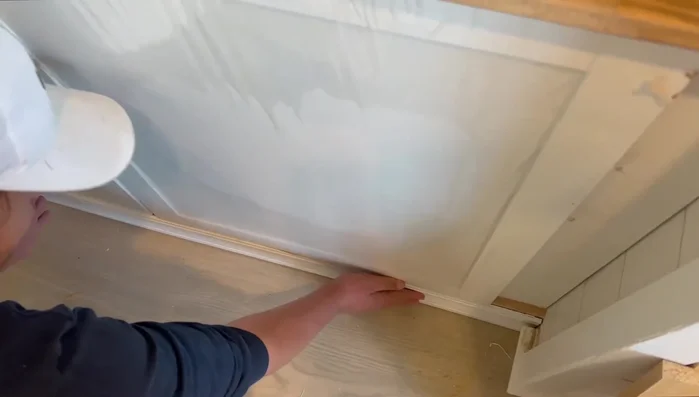
- Create the countertop using a 1"x16" board, cut to size and sanded for a smooth edge. Stain to match existing elements.
Install Countertop Build the Bench Base
- Build a higher base for the bench using the same method as the shelves, but with two upright 2x4 structures.
Build the Bench Base Frame the Bench
- Fill in the gaps beside the bench with framing made from scrap wood.
Frame the Bench Cover Framing
- Cover all framing with shiplap for a unified appearance.
Cover Framing Install Floating Shelves
- Install floating shelves using a large 2x10, dowels, and wall studs. Drill large holes in the back of the 2x10, insert dowels, and secure to wall studs.
Install Floating Shelves Finish Trim
- Add baseboards to cover the bottom and framing.
Finish Trim Caulk and Seal
- Caulk all holes and seams.
Caulk and Seal Paint
- Paint the entire structure with cabinet paint.
Paint


Read more: DIY Farmhouse X-Style Coffee Table: Easy Step-by-Step Guide
Tips
- Prime the cabinet separately for easier application.
- Use an acrylic base primer for better paint adhesion.
- Secure all components to wall studs for maximum stability.
- Sand the countertop edges for safety and a softer look.
- Test stain colors before applying to ensure a good match.