Cracks appearing between your ceiling and walls are more than just unsightly blemishes; they can be indicators of structural issues or simply unwelcome drafts. These gaps not only detract from your home's aesthetic appeal but can also compromise its insulation, leading to increased energy bills and discomfort. Fortunately, many small cracks are easily repairable with readily available materials and a little bit of DIY know-how, saving you the expense of professional repairs. This often overlooked area can be transformed with a few simple steps, enhancing the overall look and feel of your room.
Addressing those frustrating gaps doesn't require extensive construction skills; with the right tools and techniques, even a beginner can achieve a seamless and professional-looking finish. This guide provides a comprehensive step-by-step process for effectively repairing cracks between ceilings and walls, enabling you to reclaim a clean, polished interior. Let's get started on transforming those imperfections into a thing of the past!
Preparation and Safety Guidelines
- No More Gaps caulk
- Caulking gun
- Putty knife or similar tool for removing loose pieces
- Paints (matching ceiling and wall colors)
- Always wear safety glasses and a dust mask to protect your eyes and lungs from debris and dust.
- Turn off the power to any electrical outlets or light fixtures near the crack before starting repairs to prevent electrical shock.
- Use proper ventilation while working with expanding foam or other potentially harmful materials. Follow all manufacturer instructions carefully.
Step-by-Step Instructions
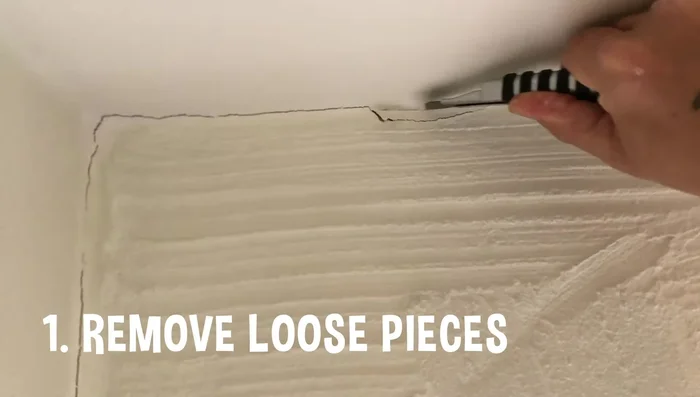
Preparation
- Remove loose pieces around the crack.

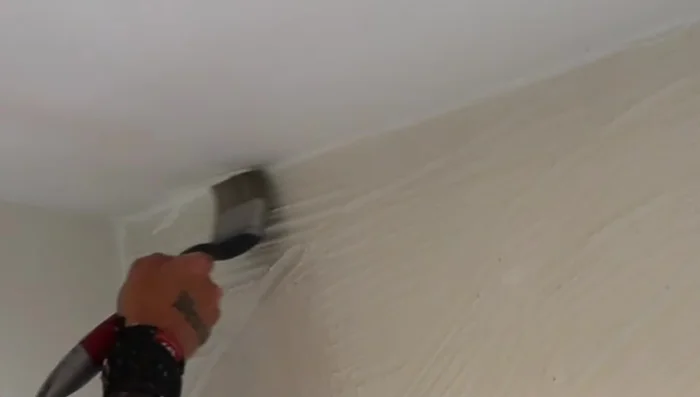
Preparation Caulk Application
- Apply a sufficient amount of 'No More Gaps' caulk using a caulking gun.
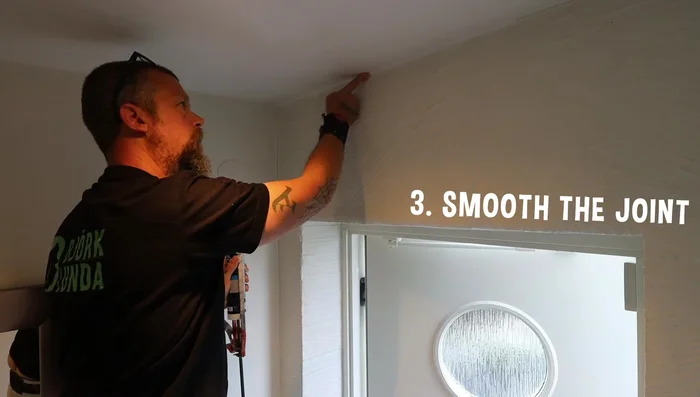
- Smooth the caulk using your fingers (dampen them with warm water if needed).
Caulk Application Drying
- Allow the caulk to dry completely.
Drying Paint Touch-up
- Touch up the ceiling paint first, letting it dry completely.
- Touch up the wall paint to blend with the surrounding area.
Paint Touch-up


Read more: Fixing Drywall Nail Pops: A Quick and Easy DIY Guide
Tips
- Houses naturally settle, creating cracks, especially above doors, windows, and in corners.
- Temperature and moisture changes cause expansion and contraction of framing, leading to cracks, particularly where different materials meet (like drywall and concrete).
- Use warm water on your finger to help smooth the caulk application for a better finish.